
Kit Out Your Garden Shed as a DIY Workshop
If you haven't got any space in the home to set up a DIY workshop but have a shed in the garden, here's how you can kit it out to serve as a DIY workshop.
25/11/2021
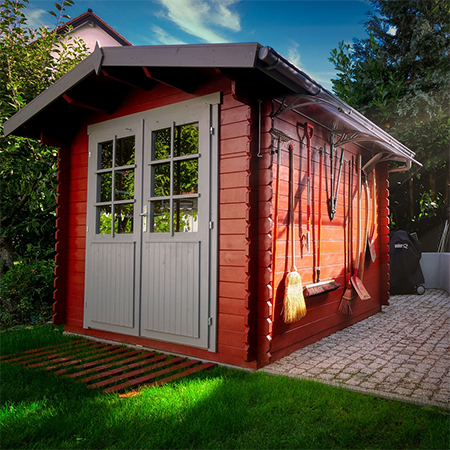
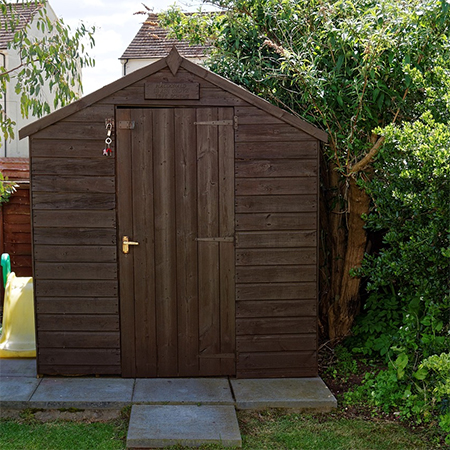
A garden shed might look pretty when tucked away under the shade of an overhanging tree, or surrounded by flower beds, but did you ever think about how you can turn that shed into the perfect DIY workshop? Even a tiny garden shed will provide enough space to set up a small workshop if you kit it out properly, and don't forget to invest in the best digital caliper for accurate measurments. When used for storage, garden sheds can soon become cluttered and filled with too much stuff, but if you spend a little time organising, you may find that there is more space than you imagined and that can be put to good use. Even buying a small tool shed for garden tools to free up that space in the garden shed will be money well spent.
Cleaning out and organising any room in a home is the best way to sort out what you have and what you no longer need, and it gives you the opportunity to assess spaces to their best advantage. A 3 x 3m metre shed might be small, but it is also possible to set up a workbench and shelves and install power outlets to have your workshop up and running in no time.
In many other countries, woodworkers and DIY enthusiasts alike have kitted out their garden sheds to set up a fully functional workshop at home.
Clean out and organise the garden shed to make space for a DIY workshop.

We offer 6 helpful tips to keep in mind when you want to turn a garden shed into a DIY workshop.
1. Clean and Assess the Space
Depending on the current location of the shed, you may need to look at insulating the space for the hot and cold months of the year. This is easily done by purchasing a roll or two of Think Pink insulation that you can purchase at most Builders stores, applying this to the inside perimeter of the shed and covering this up with a layer of 6mm or 9mm plywood or OSB board, also available at Builders. Both are reasonably affordable, and this method will help to insulate the shed better if you want to use it all year round. While you are assessing the shed, you might also want to consider installing additional windows to provide plenty of natural light.
2. Provide Power to the Shed
Unless you will only be using cordless power tools, you are going to need electrical supply for your new workshop to operate tools and provide lighting. You have a couple of options here to either have a reliable electrician wire up the electrical supply or purchase heavy-duty extension leads that you can use to power your tools. Of course, this only applies to smaller power tools that draw far less electricity than larger tools.
You can install some floating shelves if you want your shed to look neat and clean or get some free-standing ones with wheels so you can pull them around the space to suit your needs.
3. Invest in a Festool Dust Extractor
I have a Festool Mini Dust Extractor in my own workshop, and I can honestly state that it was the best investment ever. I can use power tools indoors or outdoors and never have to worry about dust. Having recently sanded down a laminated wall unit for painting, the sander was attached to my dust extractor and ensured that the house wasn't covered in dust. Will be sharing this project with you all shortly.
Working in a small space such as a garden shed means you really do have to have a system to remove dust, as this is extremely harmful to your health. You can opt for a fitted system with a shop vac or extraction system that could cost quite a bit or settle for a Festool Dust Extractor that does the same for less.

houzz.co.uk
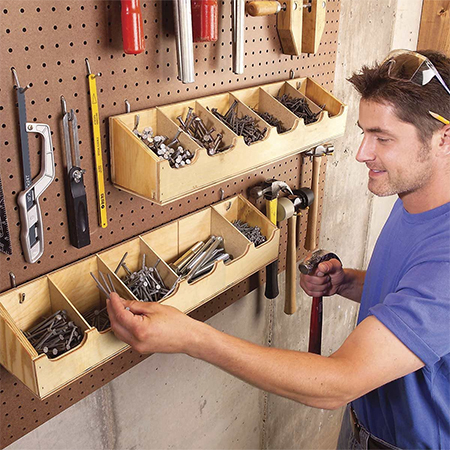
A sheet of pegboard is an affordable and practical way to store all your tools. Mount on the back wall of the shed so that it is immediately visible when you enter and you can easily find what you are looking for.
family handyman
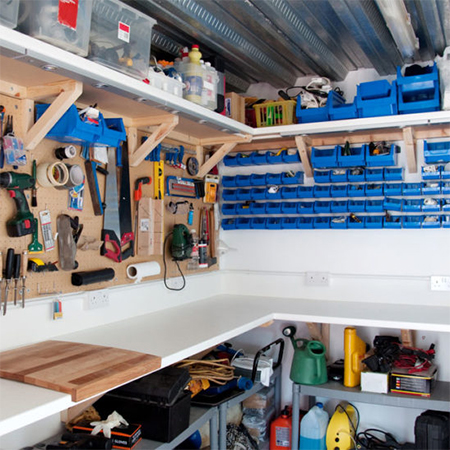
4. Ensure There is Plenty of Storage
Most pre-assembled garden sheds don't come with much in the way of storage, but that's OK. It gives you the opportunity to customise the space and add as much storage as you need. Shelves are the best way to go since they won't take up valuable floor space and you can make them narrow enough to move around them easily and add more up the sides of the shed if you need additional storage. With limited space on the floor, shelves let you store all the accessories you need for your DIY workshop.
Don't forget to make use of the shed doors as well, as there is plenty of under-utilised space that you should be making the most of! By adding some storage hooks, you can hang up lots of different items there.
australian handyman magazine
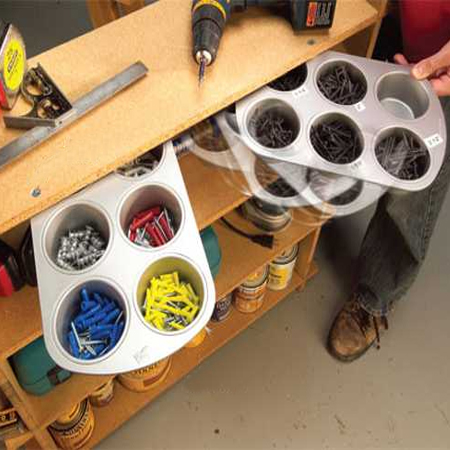
5. Recycle What you Have
Setting up a new workshop is the perfect opportunity to recycle jars and containers to store small items such as nails, screws and other fasteners and hardware and will make it easy to find what you need without having to dig around. Make sure to sort and label all the items so that you don't mix up or confuse your supplies.
family handyman
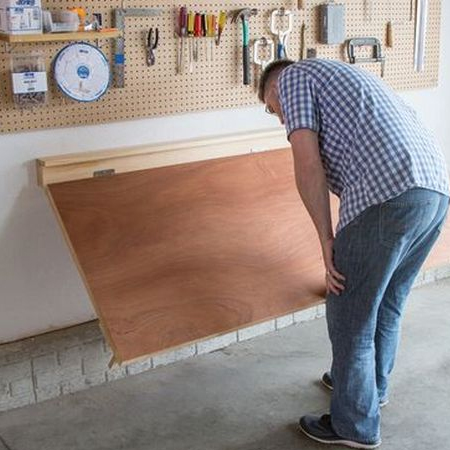
6. Add in a Workbench
If you are turning a shed into a workshop, you are going to need a workbench. It doesn't need to be a large one and you could also make do with one that folds up when not in use. The more space you have to work on - the more projects you can do. Find instructions here to use a hollow-core door to make a fold-down workbench.
Last word
Making use of an under-utilised garden shed is the perfect solution for a DIY or woodworking workshop. Taking the time to clean out and organise a shed is a great weekend project for you to take on, and it's a great feeling to see the end result and have your own workshop for all your projects and tasks.