
How To Make A Comfortable Patio Swing
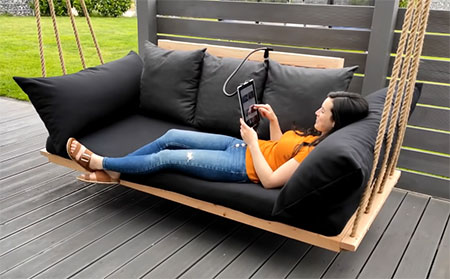
Relaxing in the garden is easy with this comfortable patio swing that you can make over a weekend.
04/05/2021
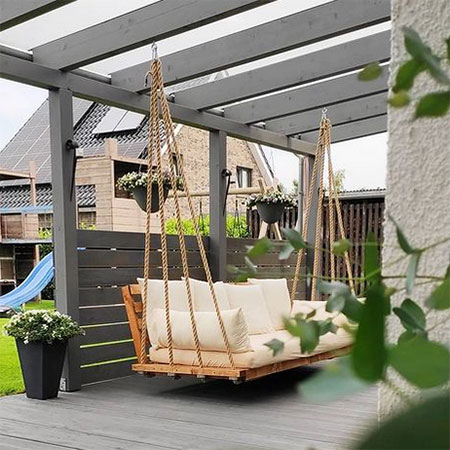
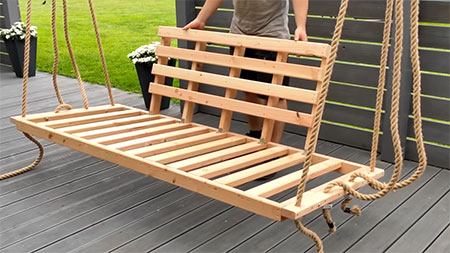
Everyone should be able to relax in their garden and have a place to sit back and enjoy the outdoors. This comfortable patio swing is easy enough to make over a weekend and you will find all the materials you need to make it at your local Builders store.
The patio swing is assembled using PAR pine and you can finish it off by adding a foam-wrapped seat and plump cushions to set up a relaxing outdoor area to kick off your shoes and enjoy.
I have included the video for this project but unfortunately, the narration is in German, so use the step-by-step instructions below to assemble the patio swing and use the video for visual reference. BTW... there are some components used in the assembly of the patio swing that is homemade and there is a link on the video page to view this additional video.
YOU WILL NEED:
SEAT FRAME
2 of 32 x 67 x 1800mm PAR pine - seat frame front/back
13 of 32 x 67 x 736mm PAR pine - seat frame slats
2 of 32 x 67 x 800mm PAR pine - seat frame rope supports
SEAT BACK
5 of 32 x 67 x 600mm PAR pine - seat back uprights (cut ends at 30-degree angle)
4 of 32 x 67 x 1184mm PAR pine - seat back slats
Exterior wood glue
5.5 x 90mm timber screws
6 x 60mm chipboard screws
6 x 120mm screws for seat frame
6 x 120mm chipboard screws for seat back
5 of steel angle braces plus 30mm chipboard screws
4 of hex screw and nut (8 x 100mm)
20mm diameter rope, calculate length of rope based on height of patio support
8 of rope clamps
TOOLS:
Drill/Driver plus assorted bits
Spade or MAD bit, 20mm diameter
Orbital sander plus 120-grit sanding pads
Tape measure and pencil
HERE'S HOW:
ASSEMBLE SEAT FRAME
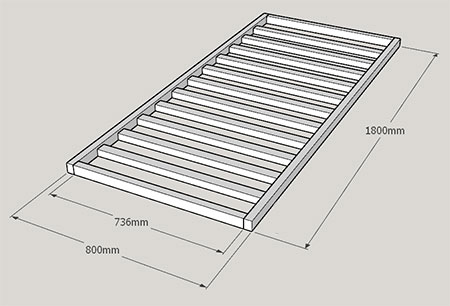
Step 1
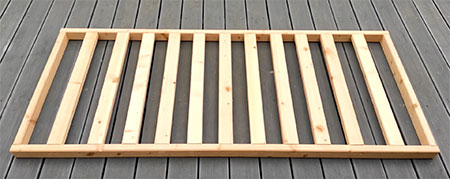
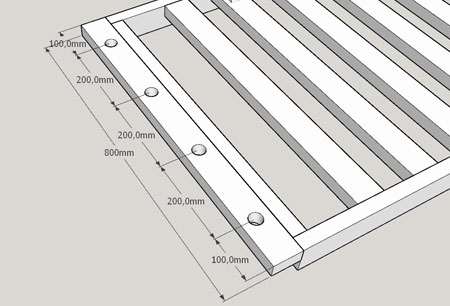
Assemble the seat frame as shown in the diagram above. Use 6 x 120mm screws to secure the front and back to the seat slats. Note that the front, back and seat side ends are on their sides and that the seat slats are flush with one edge (the top). Allow equal spacing between the seat slats.
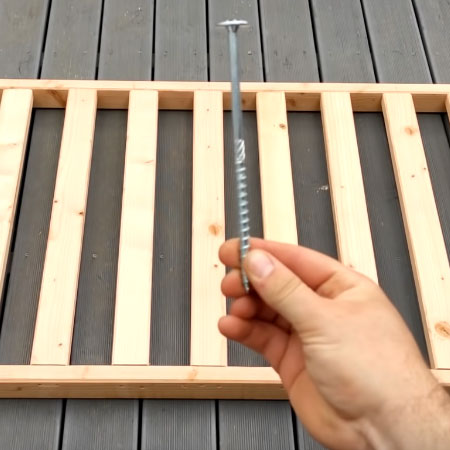
It is important to pre-drill 4mm pilot holes before driving in the screws.
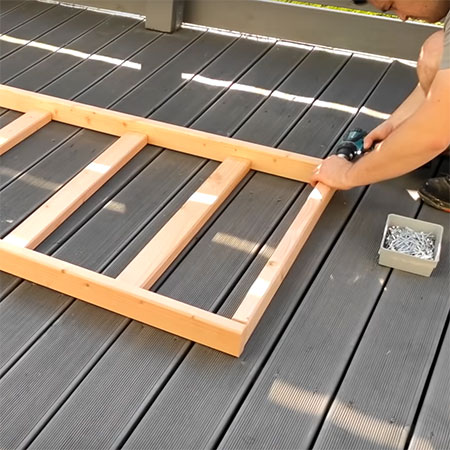
GOOD TO KNOW: You will be using 120mm chipboard screws to assemble the seat frame but DO pre-drill pilot holes beforehand.
Finished seat frame
ATTACH SEAT BACK
Step 2
Cut the [5] seat back uprights at 30-degree angles at one end.
Step 3
Pre-drill 4mm pilot holes all the way through along the seat frame back and at the centre mark for the seat slats.

GOOD TO KNOW: Rest the seat frame on a couple of scrap pieces of timber to elevate as you drill through the seat frame back.
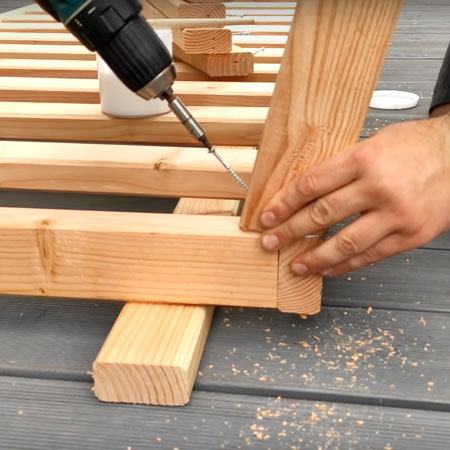
Step 4
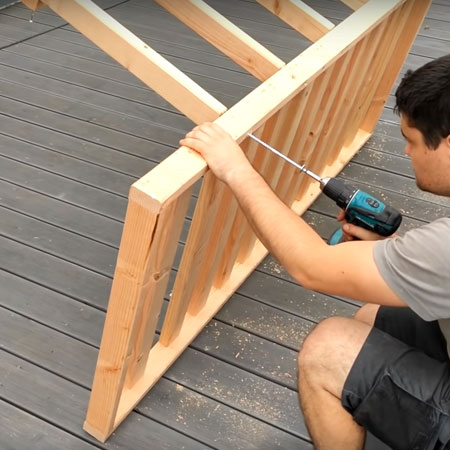
Apply wood glue to the seat back uprights, position along the seat back and seat slat and then drive in a 60mm screw at an angle as shown below.
Step 5
Secure [1] seat back slat at the top of the seat back uprights, flush with the top edge. Secure with wood glue and 60mm screws.
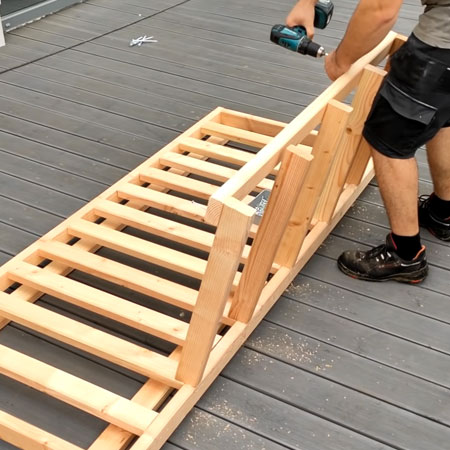
Step 6
Tilt the seat forward in order to drive in 120mm screws for all seat uprights.
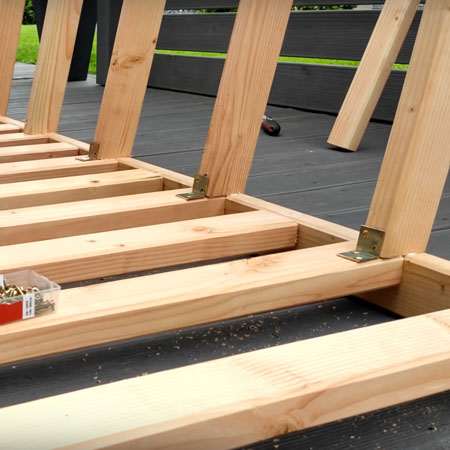
Step 7
Add the steel angle braces as shown using 30mm chipboard screws. You might need to drill out the holes to enlarge them to accept the 30mm screws.
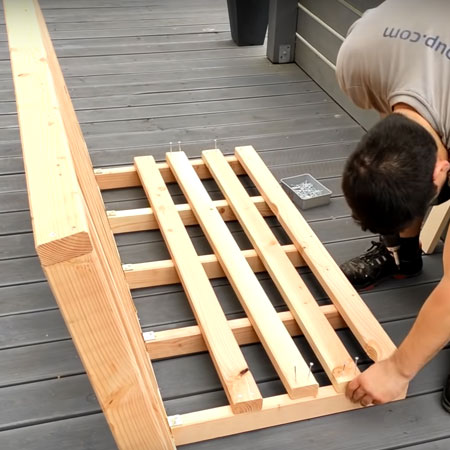
Step 8
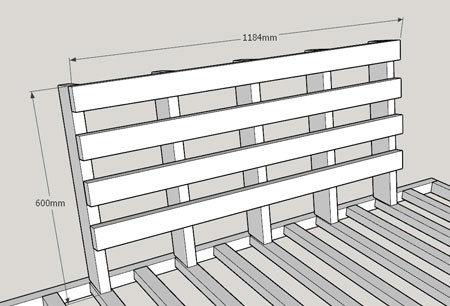
Add the remaining seat back slats, leaving a 60mm space between each slat.
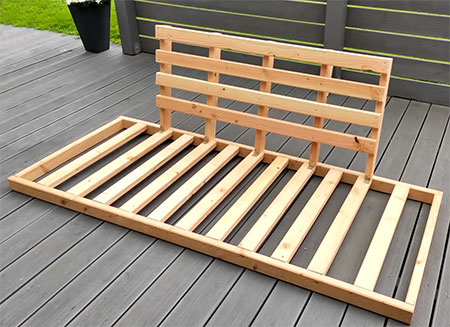
Finished seat back
ADD ROPE SUPPORTS
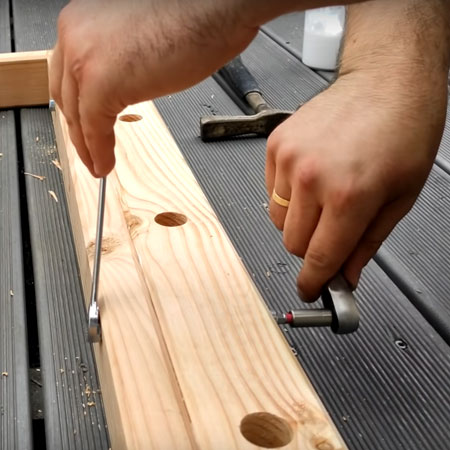
Step 9
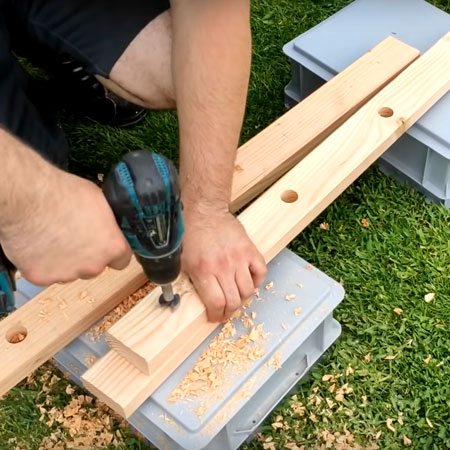
Mark the location for drilling out holes for the ropes. These are marked and drilled as per the diagram above. Use a 20mm spade or MAD bit to drill the holes. Make sure to place a scrap of timber underneath when drilling to prevent any chipping or splitting.
Step 10
Support the rope support section on scrap timber so that the top is flush with the seat frame, as can be seen below. Secure to the seat frame with wood glue and 90mm screws.
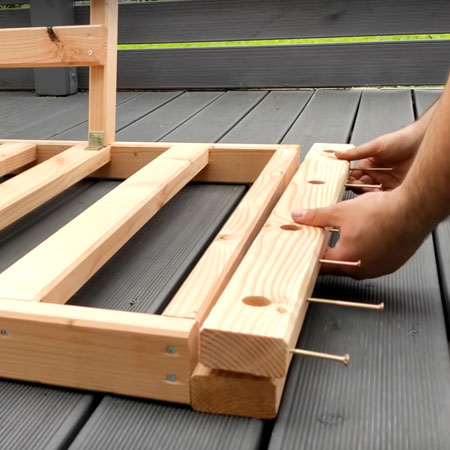
Step 11
Add extra support by pre-drilling for [2] 8 x 100mm hex screw and nut and secure tightly in both rope supports at the end of the seat frame.
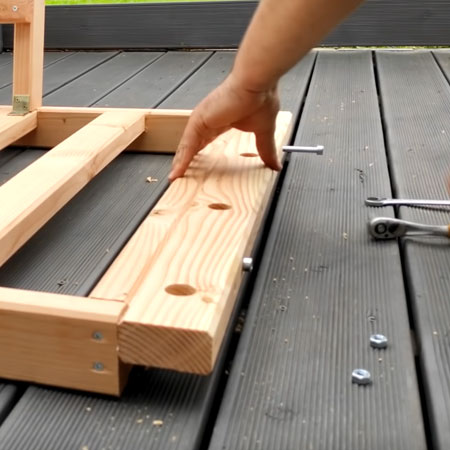
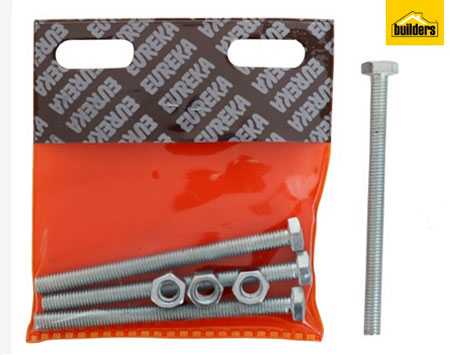
GOOD TO KNOW: Tighten the hex screw and nuts - 2 per side
MOUNTING THE PATIO SWING
After cutting the rope to the required length and wrapping the ends with masking tape - 2 lengths per side - this is threaded through the rope support at both ends of the seat. Be sure to allow enough rope to tie off underneath the seat support. See below for more details on this.
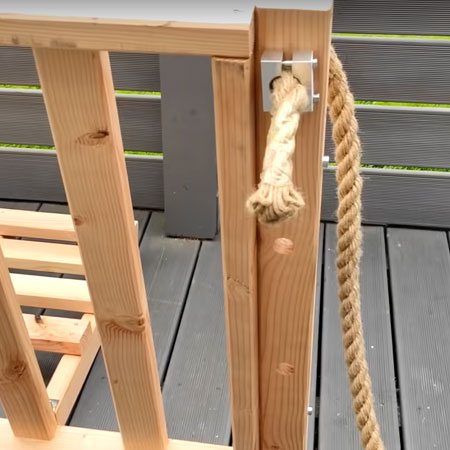
The clips used to fasten the rope underneath the rope support and as shown below, were handmade for the project and can be seen here. As an alternative, you can use a rope clamp in addition to tying a large knot underneath the seat support.

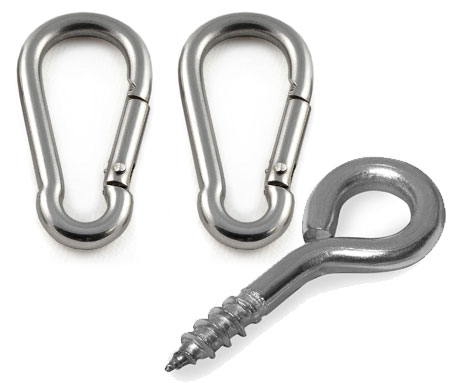
The ropes are threaded through a carabiner which is hooked onto a heavy-duty eye-hook screwed into a strong beam.
GOOD TO KNOW: Before mounting the patio swing on an exiting frame, make sure that the beam is thick enough to support the weight. If you are not sure or the beam is not a thick one, add additional support for the patio swing.

As you thread the ropes through the carabiner and eye-hooks, you will need to adjust the height of the swing and pull extra rope through. It's a good idea to have someone on hand to help you with this step.
FINISHING

Now that the swing is installed, it's time to add finishing touches. The entire assembly should be sanded smooth and wiped clean before applying a suitable exterior sealer. Apply this according to the manufacturers recommended guidelines and be sure to apply regularly as specified.
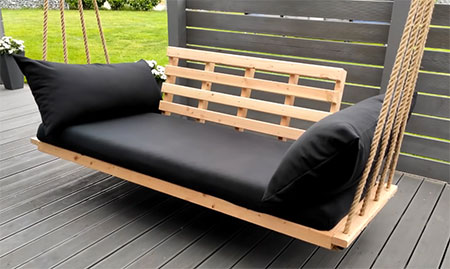
Now you can add the comfortable elements that make this patio swing the perfect place to sit and relax outdoors in the garden.
What the video below for a visual reference on the step-by-step instructions above.