
How to Convert Your Shed into a Tiny House
Are you thinking about converting your shed into a tiny house for your teenager? Read on as we tell you the steps you need to take to commit the conversion.
01/10/2021
People are converting their sheds into living spaces for their children. With the pandemic and job crisis, many young adults are forced into living with their parents. This fact is causing many parents to become creative with the space that they own, going as far as converting their sheds into tiny houses for their adult children to use as their houses.
It’s not easy to convert a structure for something already present into something else entirely. However, it’s still possible to convert the space to give your child some privacy and independence without them having to pay rent. The conversion may seem like a weird concept. However, companies like Fair Dinkum Builds have been talking about livable sheds for a while. So, the concept isn’t foreign to pioneers in the shed industry.
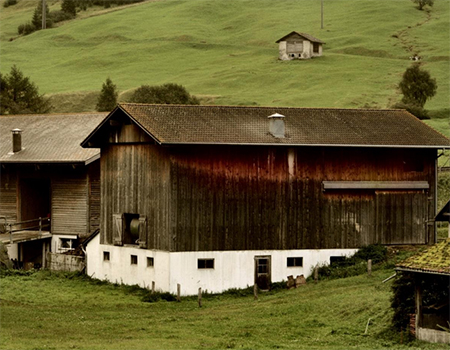
You must look at the space your shed occupies and check if it would be easy for your child to exist in that space. If it’s not, you can always make a shed from one of those shed building kits and then customize it accordingly.
Steps to Convert a Shed into a Tiny House
The first thing you need to do before starting conversion is check if the site is fine and that it doesn’t have any obstructions around for you to clear. You should also get a permit for construction and conversion if that’s required in your local code. You don’t want to complete renovations and learn that the entire place is illegal.
1. Set a Level Pad and Grade for Drainage
One of the most important aspects of any living space is drainage. You’re going to scrape the land around your shed in a way that creates an angle. Once an angle is built, you can fit in drainage pipes and sewer connections. So, there’s a bathroom and kitchen which your children can use, if they have friends over or if they need to use facilities later in the night.
2. Make Utility Connections to Your Shed
You have to make connections for electricity, power, water, and gas. Make sure that you consult a professional so they can guide you regarding these conversions and the best way to go about it. You’ll likely have to open up the walls so you can fit some connections here. Once these connections are complete, you can proceed to close up the walls.
3. Put in Your Electrical, Water, and HVAC
To convert your shed into a truly living
space, it needs to have electricity and running
water. You must put in your electrical lines,
water lines, internet connections, and any HVAC
needs you have. You should also go as far as
attaching some lights and outlets on the outside
of your shed so that you can connect your garden
equipment to it when necessary.
Even within
the shed, try not to overdo the outlets. Make
sure there’s one main outlet in each room of the
shed. If you need more, you can attach an
extension cable to get your work done. Try to do
the brain work regarding how many outlets you
would need and for what, so you can keep the
outlet work to a minimum. If you’re someone who
requires a lot of outlets, you can add a lot of
outlets since they’re not expensive.
4. Seal up Every Little Crack
Sheds aren’t very air-tight, which means that tiny bugs can get through. If your roof isn’t placed properly, you can likely see the light from the closed ceiling. In the winter months, you’ll be cold all the time due to all this extra wind passing through. For all of these reasons, you need to seal all the cracks in your shed. Look at the junctions, seams, and transition points and make sure you seal all of them. You can also use spray can foam to fill up the spaces which are difficult to fill.
5. Insulate Your Shed Walls and Ceilings
For insulation, you can either use the insulation spray foam or bat insulation. Bat insulation is easy to install and cost-efficient. You have to get bats the size of your wall-cavity, so no space is left behind. However, most people recommend closed cell spray foam. It is a great vapour and air barrier, so you’ll stay protected regardless of the precipitation and airflow. This foam provides you protection from extreme temperatures, so you’ll find yourself protected even during extremes.
6. Insulate Your Floors
People think about insulating their sheds, but they rarely think about insulating their floors. You want to insulate your floors so your feet aren’t cold and the floor doesn’t start to condense. You can insulate your floor by applying foam to it from beneath and then applying an extra layer of plywood. There is some fallback of insulating your shed using plywood; it decreases the height of your shed.
7. Final Touches
Final touches can include anything from applying cabinets and toilets in your space to using drywall to ensure that your shed is protected. You can also paint your shed and add to its aesthetic so it looks like a standalone home for your kid.