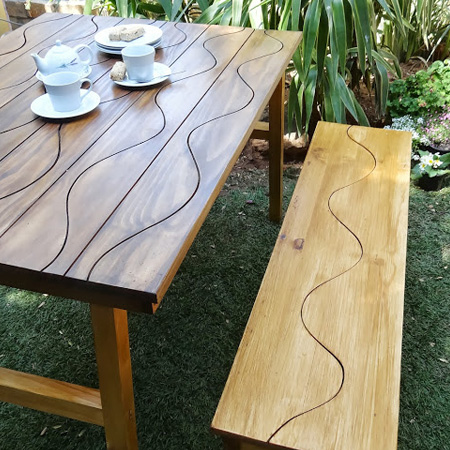
Make a groovy folding garden table
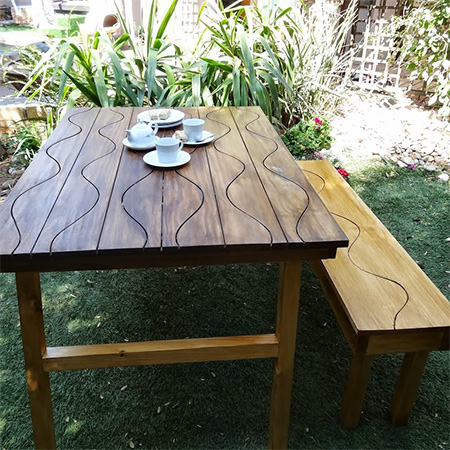
Entertain in style with this groovy garden table. We used PAR pine to make our table and then finished it off with exterior sealer. The groove design adds an decorative touch to the table and is not something you can buy in a store. You'll find everything you need to complete this project at your local Builders Warehouse.
YOU WILL NEED:
6 of 140 x 1200mm PAR pine – table planks
2 of 44 x 1160mm PAR pine – apron, long sides
2 of 44 x 800mm PAR pine – apron, short sides
3 of 140 x 800mm PAR pine – top supports
4 of 44 x 44 x 730mm PAR pine – legs
2 of 44 x 610mm PAR pine – narrow side, cross beams
2 of 44 x 720mm PAR pine – wide side, cross beams
4 steel angle brackets, small
4 drop-down/flap hinges
16mm wood screws
4.5 x 65mm wood screws
3.5 x 3.5mm wood screws
Exterior wood sealer and stain
TOOLS:
Drill/Driver plus assorted bits
Countersink bit
Tape measure and pencil
Carpenter’s square
Jigsaw and clean-cut blade
Paintbrush
HERE'S HOW:
Preparation
Take the time to sand smooth any rough edges before assembly. Always apply wood glue to joints.
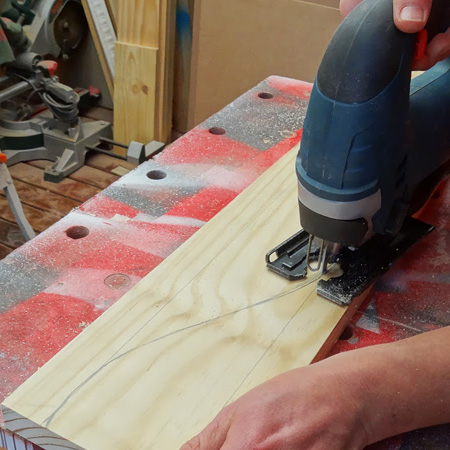
1. Cut the wavy planks
On each of the planks for the top draw a wavy line and then cut out with a jigsaw.
GOOD TO KNOW
I found it easier to cut one and then use this as a template to cut out the rest of the planks.
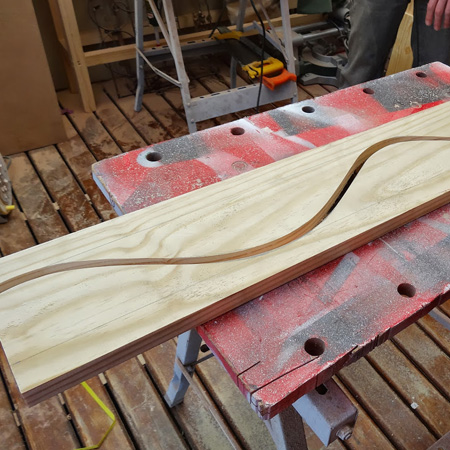
2. Sand smooth, stain and seal
Sand the cut edges smooth with 180-grit sandpaper
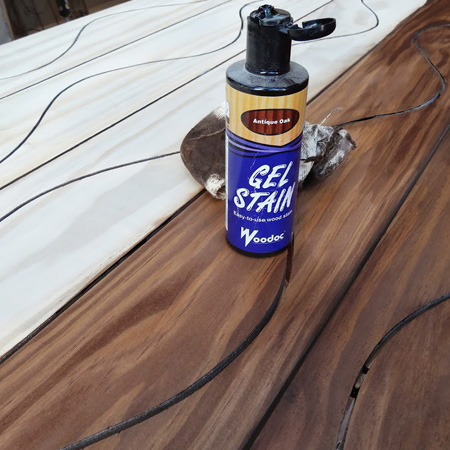
3. Stain and seal planks
Now is the best time to apply stain and sealer to the planks – before assembling the project. If you leave until later, you will find it very difficult to stain and seal the gaps between the top planks.
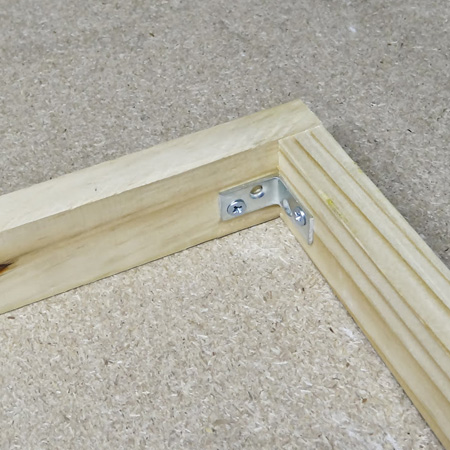
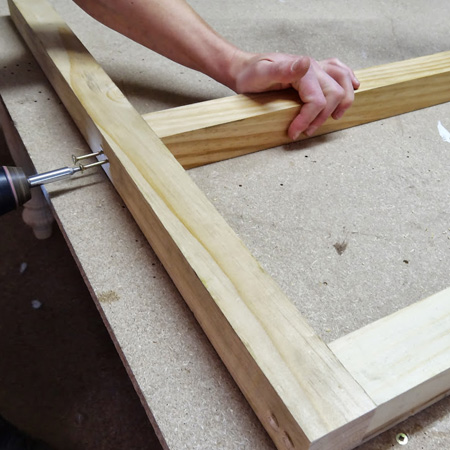
4. Assemble the top frame
While waiting for the sealer to dry you can start assembling the top frame. To make the frame to support the top planks, attach the short sides to the long sides with steel angle braces and 16mm screws.
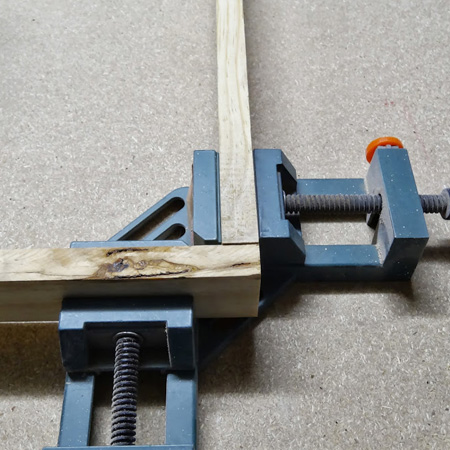
GOOD TO KNOW
Corner clamps come in very handy when you are working on your own - it's like having an extra pair of hands to help you.
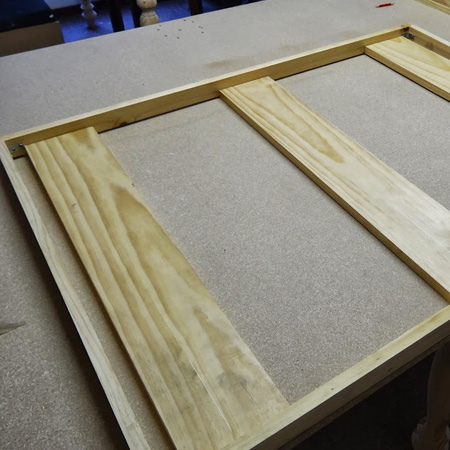
5. Attach top supports
Working on a flat, level surface, place the top supports within the frame; one at the ends and one in the centre. Leave a 20mm gaps between the support frame and the apron.
6. Attach top supports
Pre-drill a 3mm pilot hole on the outside of the frame; countersink before attaching the frame to the top supports with 4.5 x 65mm screws.
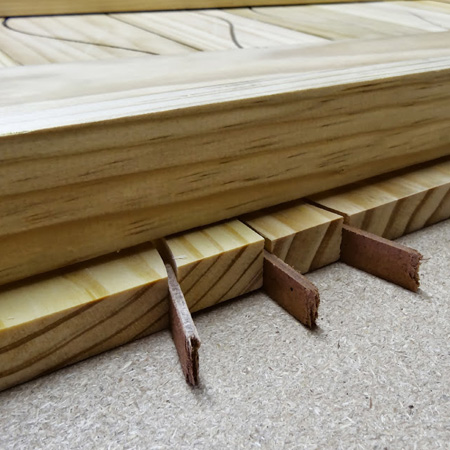
7. Layout the table top
Place the assembled frame on top of the wavy planks. Make sure to leave an equal spacing all the way around.
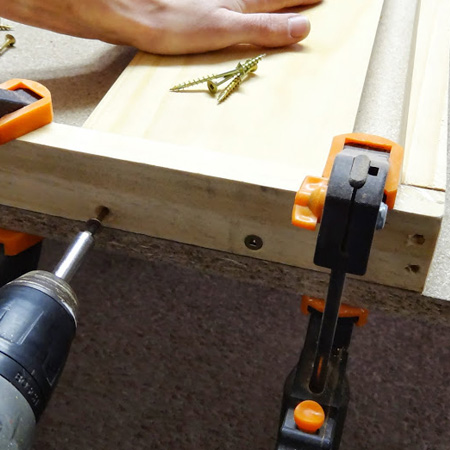
8. Attach frame to top
Use 3.5 x 35mm screws through the top supports to hold the top planks in place. Make sure to drive a screw all the way along the length and width to firmly secure the top to the supports.
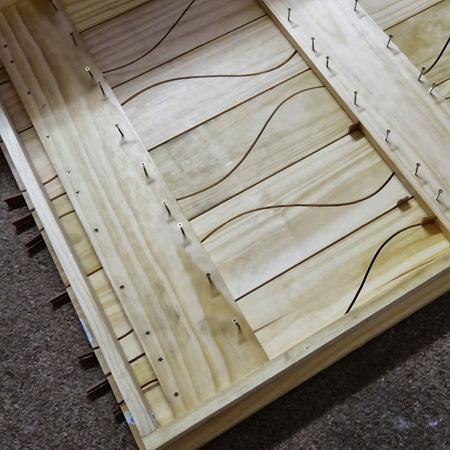
GOOD TO KNOW
Drive a screw through each and every section along the top supports. You can see that quite a lot of screws were used, but this ensures a firm table.

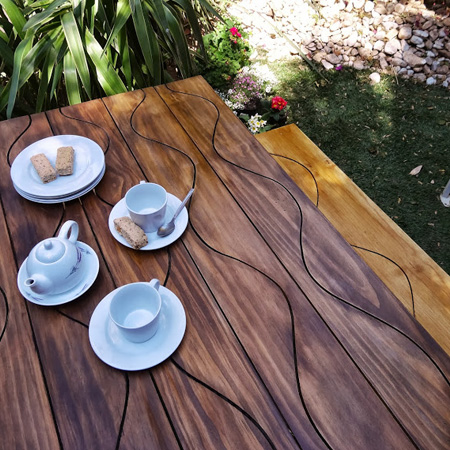
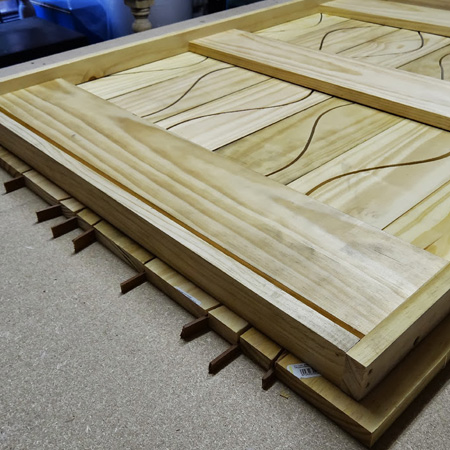
Here is what the finished tabletop will look like. No screws are visible in the top, since everything was fastened underneath.
9. Assemble the legs
Measure down and mark at 200mm from the top of each leg. Drill 3mm pilot holes, countersink and drive 4.5 x 65mm wood screws through until the tip of the screw shows. Press a cross beam onto the screw tips to make a mark. On the mark at the end of each cross beam, drill a 3mm pilot hole. Drive 4.5 x 65mm screws through the legs and into the cross beams.

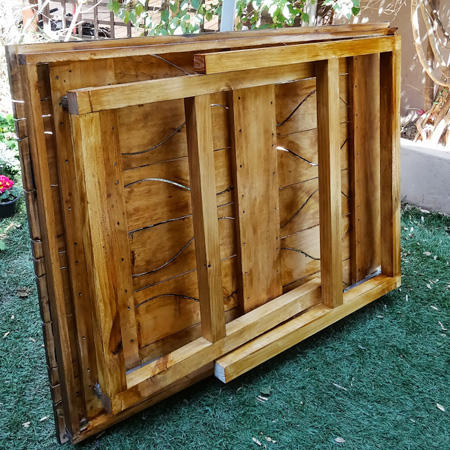
One set of legs is narrower than the other, to allow the table to be folded and put away when not in use.
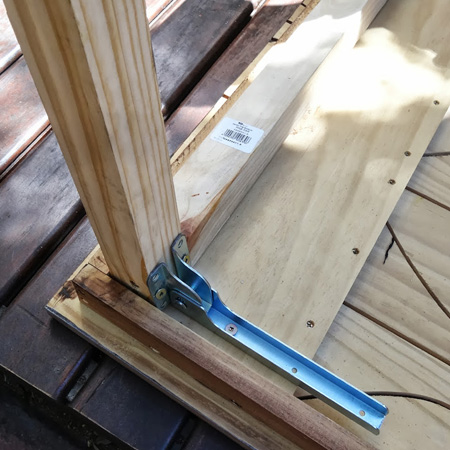
10. Attach legs to table
Place each set of legs flush against the inside of the apron. Attach the drop-down/flap hinges as shown.

Finishing
To provide protection from the elements, it is essential to apply a sealer to the table. Wipe clean to remove all traces of dust before applying three coats of exterior sealer.
Here is the table folded up. As you can see, the legs overlap each other and take up little space if you need to store the table when not in use.