
How To Have Sustainable Garden All Year Round
Sustainable gardening and growing your own is becoming a lifestyle for many and building your own greenhouse lets you extend the growing period all year round.
13/03/2021
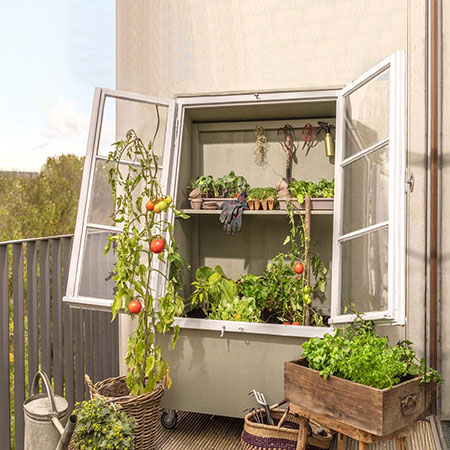
Sustainable gardening is now just a hashtag, a buzz word or a trend, it has become a lifestyle for many who have access to a garden, large or small, or even a balcony. When you are growing your own produce, you want to grow as much as you can all year round to ensure you can feed your family without having to rely on bought vegetables. Having a small greenhouse is an asset you will be able to make full use of during the colder months of the year and still be able to establish seedlings for planting when the weather gets warmer.
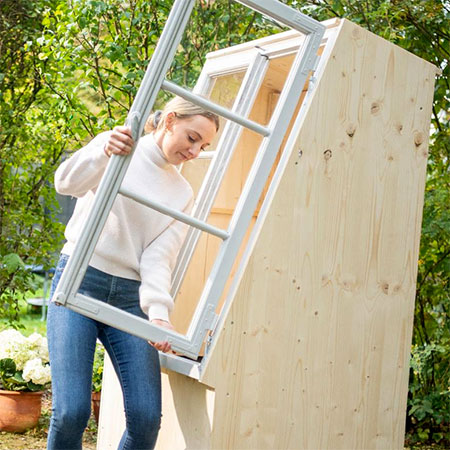
In this feature, we'll show you how to make a DIY greenhouse using plywood and a couple of reclaimed window frames. Depending on how much you want to spend on this project, you can use affordable shutterply or commercial plywood for the greenhouse frame, or purchase more expensive marine plywood to make the greenhouse and have it last a lot longer and look great in any garden or on a balcony.
This greenhouse is large enough for a small garden or balcony and you can always vary the size if the windows you buy are smaller or larger or you prefer a greenhouse that offers more growing space.
YOU WILL NEED:
Reclaimed window frames
Shutterply or marine plywood 19mm thick for components A–E and K
12 of PAR pine 44 x 44mm for components F-H
2 of PAR pine 32 x 32mm for component I
1 of Laminated pine shelving for component J
Wood screws 4x35 and 4x50 mm
Thick plastic or pond liner to cover the shelf and base
Caster wheels with brake, 70 - 80kg
TOOLS:
Drill/Driver plus assorted bits
Jigsaw
Sander plug 80-grit sanding pads
Heavy-duty staple gun
Utility knife
Clamps
Tape measure and pencil
Safety gear
HERE'S HOW:
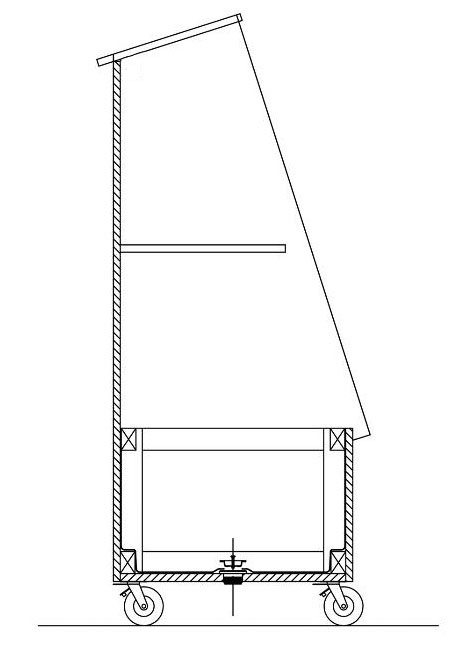
1. The dimensions for the greenhouse are based on the size of the windows you can obtain. This means that you will need to use the diagrams below as a guideline for size of the various components and use the steps mentioned underneath for the assembly.
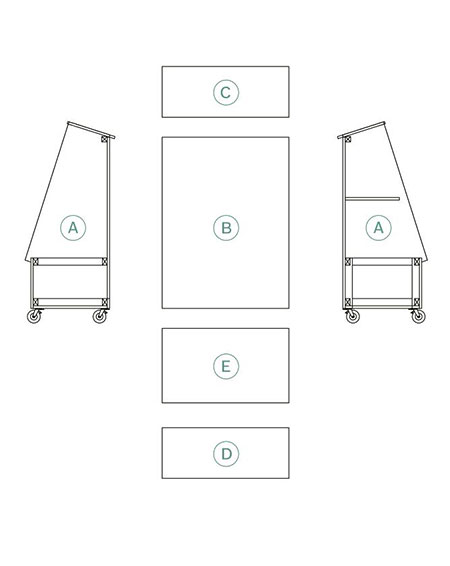
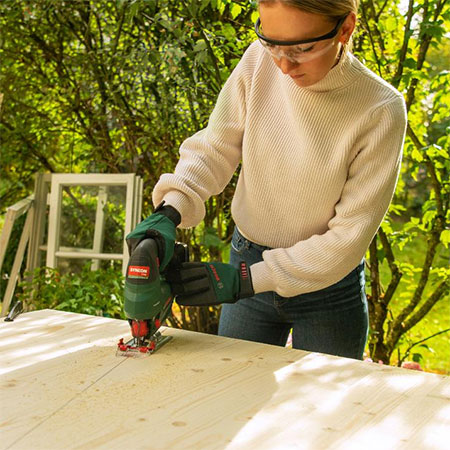
2. Since no measurements for the components are given unless you put together a sketch beforehand that you can take along with you when you buy your materials and have them cut to size, you will need to cut all the components yourself using a jigsaw.
3. To work out the sizes for cutting the various components necessary to assemble the greenhouse, note that the total width of the Front Board [D] will correspond to the total width of the window frames you have for the project. If you are making use of a drawing program such as SketchUp, start with component [D] and work your way through the diagram from this point.
GOOD TO KNOW: The front face of the greenhouse is angled to allow for fitting the window frames.
4. Although not shown here, it is a good idea to sand all the components before assembly, as well as applying a good quality exterior sealer product that will protect the greenhouse from the elements. Applying the sealer before assembly will ensure that all edges are sealed.
GOOD TO KNOW: Keep in mind that most products need to be re-applied every so often, so make a note of this for future reference.
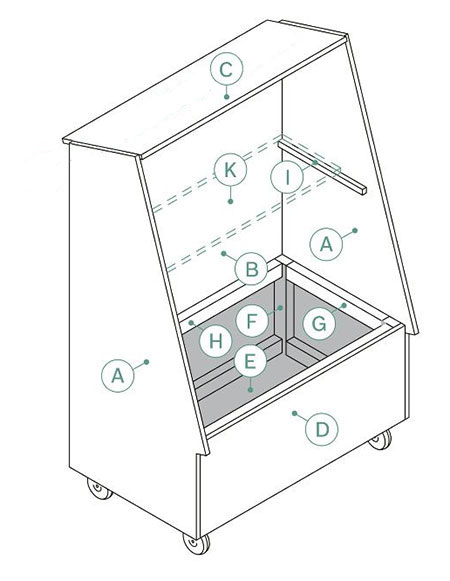
5. To assemble the components for the greenhouse, you can use the diagrams above as a reference. It is recommended that you start the assembly process by securing components for the back frame and components G-I and then adding the remaining components to finish the assembly. The shelf and base are wrapped in thick plastic or pond liner and secured using a heavy-duty stapler and this will prevent mould or rot.
6. The last step is to add the caster wheels and then secure the window frames in place.
all about diy