Outdoor storage coffee table
A couple of months back we featured step-by-step instructions for making your own outdoor sofa. In this project we made a storage coffee table, so that we can store the upholstered seat cushions when not in use and make sure they are kept dry.
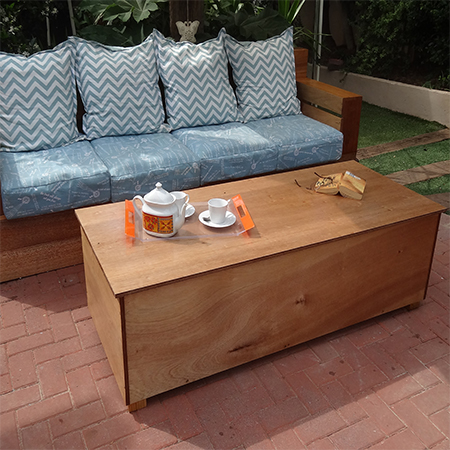
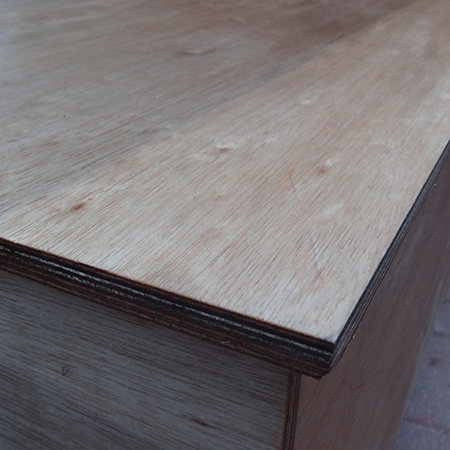
The outdoor storage table is made using 16mm marine plywood with a meranti veneer, which matches the meranti outdoor sofa perfectly!
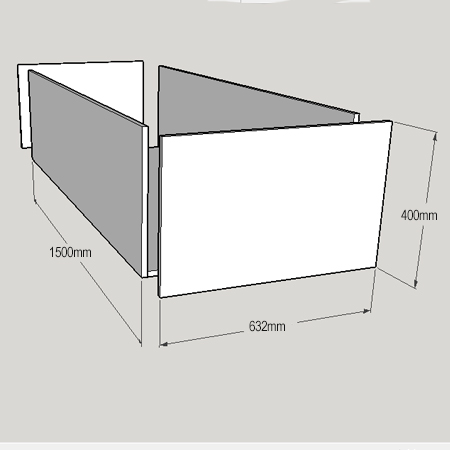
The storage table is large enough to store the sofa cushions and measures 1532mm L x 632mm W x 400mm D. Two sheets of marine plywood will be required if you plan to make a table that is the same size as the one shown here.
YOU WILL NEED:
1 of 664 x 1564mm 16mm marine plywood - lid
1 of 600 x 1500mm 16mm marine plywood - base
2 of 400 x 1500mm 16mm marine plywood - sides
2 of 400 x 632mm 16mm marine plywood - ends
2 of 200 x 200mm 16mm marine plywood - lid supports
4 of pine / meranti offcuts or your choice of feet (plus screws for feet)
4 x 30mm screws
8 of 5 x 65mm screws
Pattex No More Nails adhesive, exterior plus caulking gun
Pattex acrylic sealer
Exterior varnish
Paintbrush
TOOLS:
Drill / Driver plus assorted bits
Countersink bit
Mitre saw or jigsaw
Buy all the supplies you need for this project at your local Builders Warehouse. Marine plywood is available from timber and board suppliers.
HERE'S HOW:
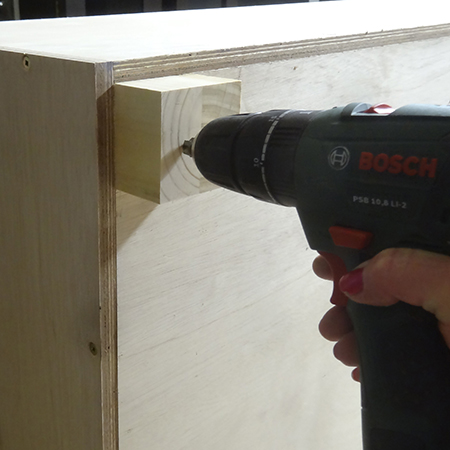
1. Start by assembling the bottom section of the table. Lay laying the base on a flat, level surface and then place the sides and ends around the base. Start with one side and an end piece. Drill 3mm countersunk pilot holes through the ends and into the sides. Repeat this to add the remaining side and end.
2. Secure the ends and sides to the base using two [2] screws in both ends and four [4] screws along the length of the sides.
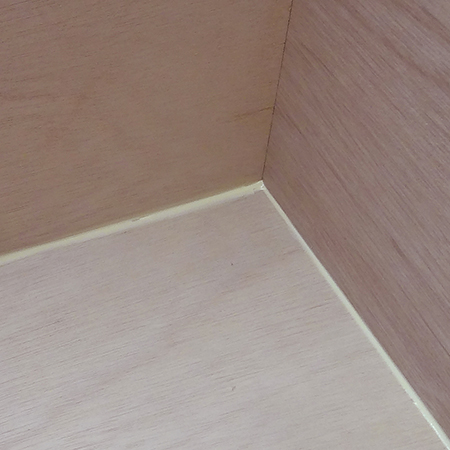
3. Place a bead of Pattex acrylic sealer along all the joins on the inside of the box. This will make the box waterproof and ensure your upholstered accessories stay dry.
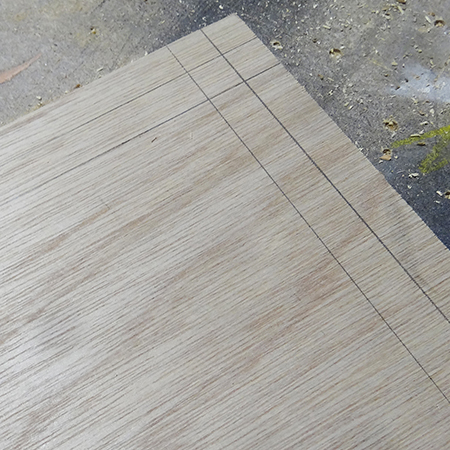
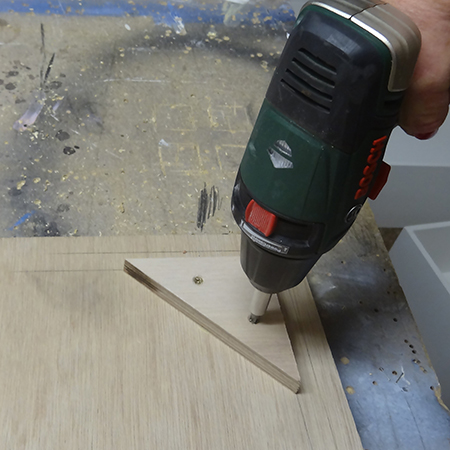
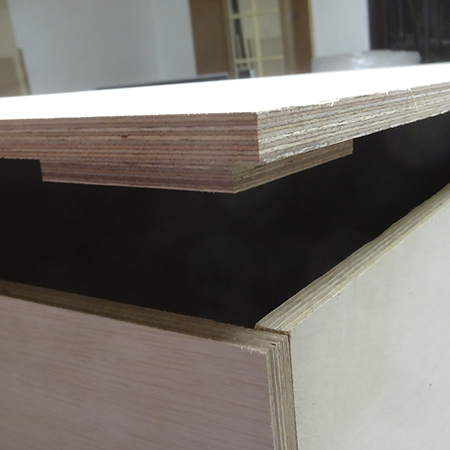
4. The lid has a 16mm overhang all the way around. Measure and draw a line 32mm in from the edge at all corners. Cut the lid supports diagonally for the corner supports.
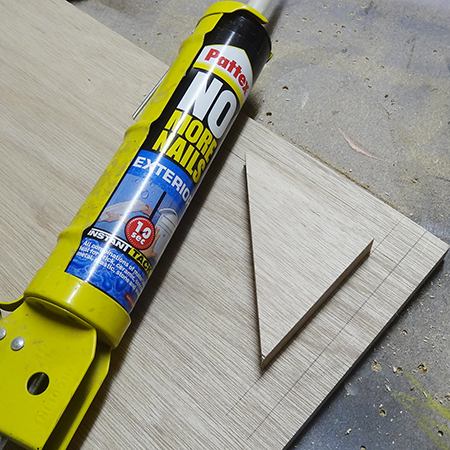
5. Apply a bead of Pattex No More Nails exterior adhesive to the corner supports at the inner mark and press firmly in place. Leave for about an hour and then add a couple of 30mm screws to each corner block.
GOOD TO KNOW
The corner blocks hold the lid firmly in place.
6. For the feet we cut a 69 x 69mm PAR pine offcut into four pieces 50mm high. These were attached with Pattex exterior adhesive and left for an hour before drilling two 4mm countersunk pilot holes in each block to secure with 65mm screws.
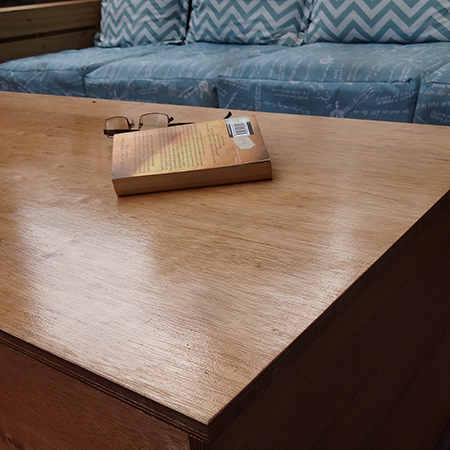
Finishing
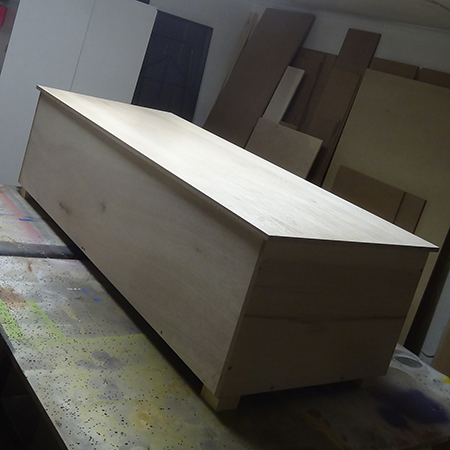
Although we used marine plywood, it is still essential to provide protection from the elements. Plascon Sunproof varnish was applied to both the interior and exterior of the table. One coat of varnish was applied, left to dry and then rubbed down with fine steel wool before applying a second coat. On the feet a third coat of varnish was applied.
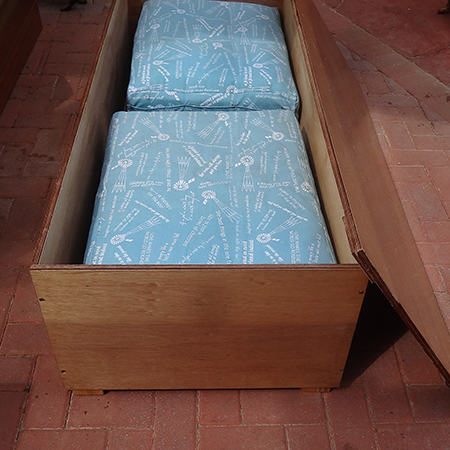
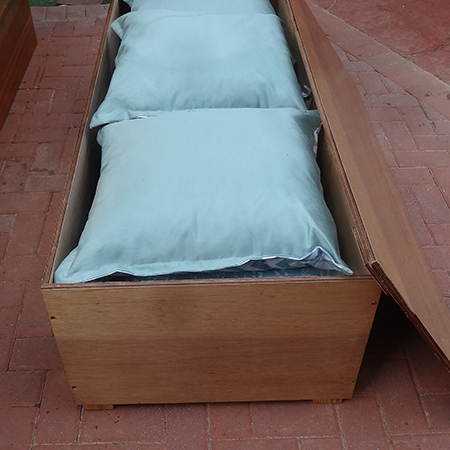
The completed table provides plenty of room for storing the upholstered seat cushions for our sofa when not in use. We even allowed a little extra space for packing away the cushions.