
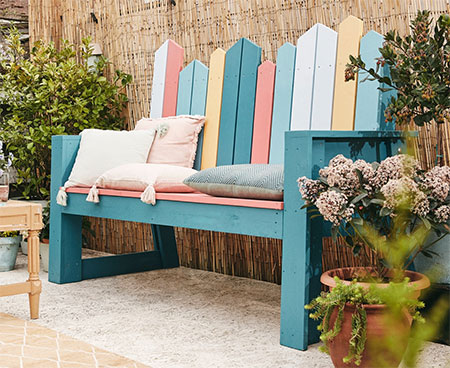
Quick and Easy Garden Bench
Spend the days outdoors with this quick and easy DIY garden bench that you can finish with a splash of colour.
18/10/2019
all about diy
Make this quick and easy DIY garden bench and you will have the perfect place to sit and relax outdoors in the garden. Once assembled, finish with a splash of colour that brightens up the garden or patio..
YOU WILL NEED:
Rough pine planks 24 x 100mm cut to:
- 12 x 760mm - foot supports and arm rests
- 2 x 705mm - tops of arm rests
- 2 of 650mm - seat and backrest frame
- 2 of 600mm and 2 of 100mm - side rests of the bench
- 2 of 190mm and 1 of 600mm - centre strut
2 of 1420mm and 1 of 1372mm - crosspieces
5 of 1420mm - seat
13 of 764mm to 590mm (or choice) - backrest
4 x 45mm and 4 x 60mm screws
2 of carriage bolts, 110mm
4 of carriage bolts, 80mm
Paint, sealer or varnish to finish
TOOLS:
Drill/Driver plus assorted bits
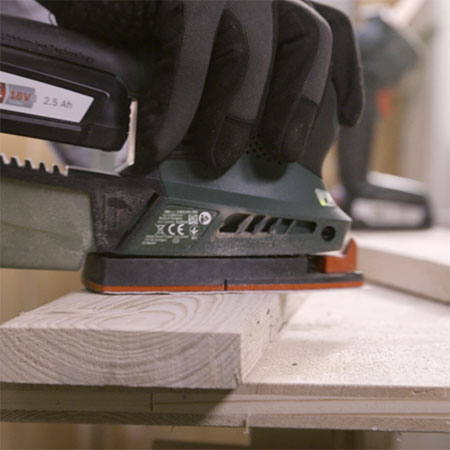
Sander plus assorted sanding pads
Jigsaw
Clamps
Wrench or spanner set
Tape measure and pencil
Painting equipment
Safety gear
HERE'S HOW:
Preparation
Sand all the planks smooth before assembly.
1. Beginning with the support structure for the bench, mark out a template to ensure that the two side panels are exactly identical when you assemble and scrap SupaWood or Plywood is ideal. Download the diagram here.
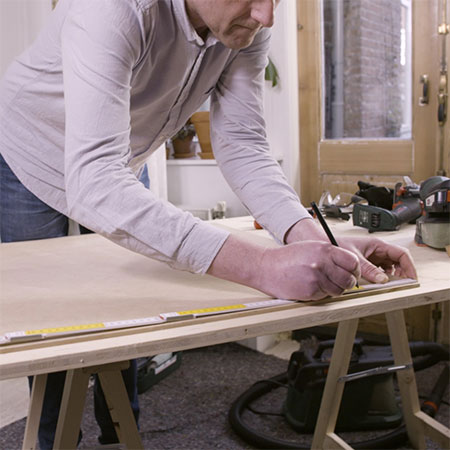
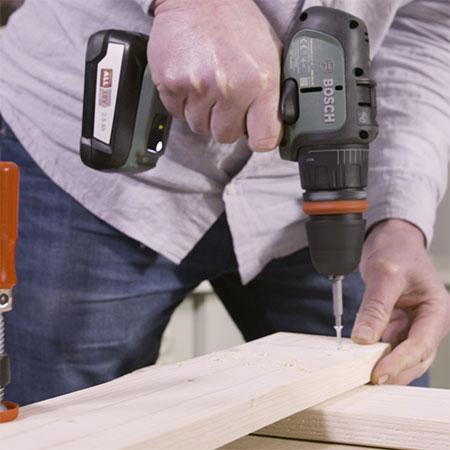
2. Using the drawn template, position the planks as indicated and drill pilot holes in the four overlapping corners. Cut off any protruding ends with a jigsaw, or sand the cut edges for a perfect finish.
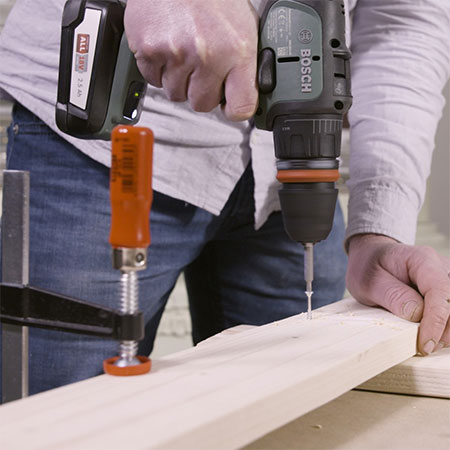
3. Flip the side panel and position [2] planks with lengths at the top and bottom. Drill holes and screw together with 45mm screws. Cut off any protruding ends with a jigsaw, or sand the cut edges for a perfect finish. Repeat the last three steps to assemble the second foot section.
4. Now you will assemble the [2] side rests. Use the template again and position the planks needed for the first side rest making sure the overlapping ends are at the right angle.
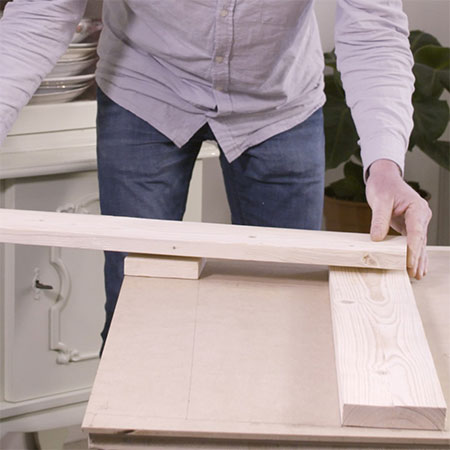
5. Drill pilot holes into the planks and screw them together with 45mm screws. Cut the ends or sand as previously mentioned. Repeat to assemble the second side rest.
GOOD TO KNOW: Keep in mind that second side rest is the mirror image of the first!
6. Use the template again and position a foot part in the correct place and then position a pre-assembled side rest onto that. Drill pilot holes in the centre of each of the [3] overlapping points. Make sure to drill through all of the planks this time. Repeat for the foot part and side rest for the other side keeping in mind that the other side has to be back-to-front (mirror image)!
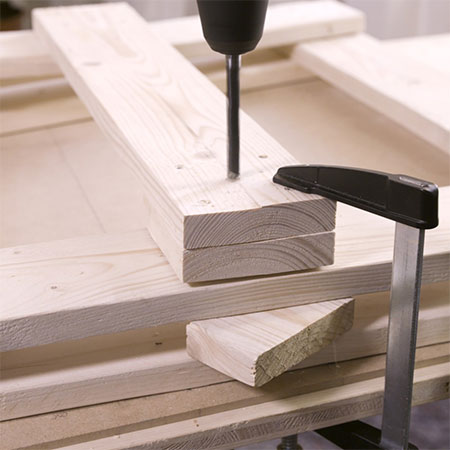
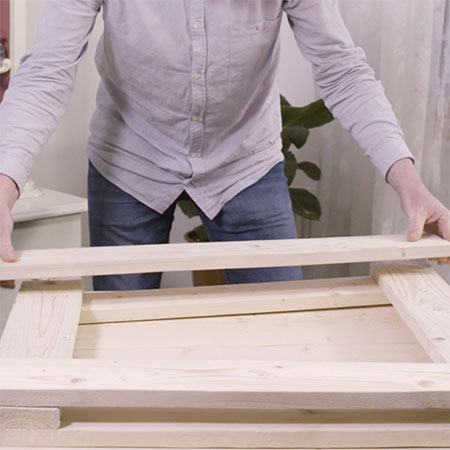
7. A centre support is essential for the seat of the bench to be stable. Place [3] more planks (two small ones and one large one) on the template and drill pilot holes before screwing together. Cut off or sand the ends.
8. Using the long wooden plank, the [2] side rests and the centre support, position these pieces on your work surface and clamp together.
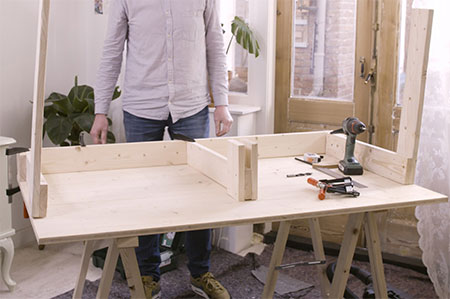
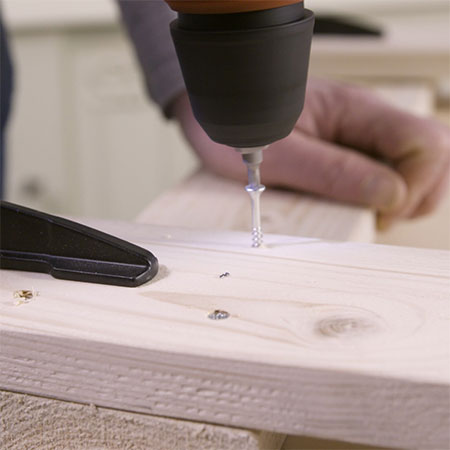
9. This is now the frame of the seat. Join all the components together with 45mm screws.
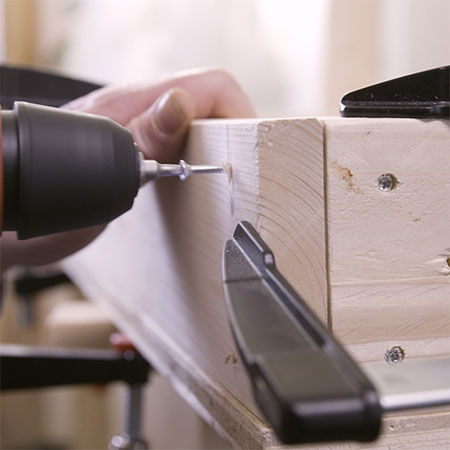
10. Position the assembled frame so that the backrest is lying on the work surface. Secure [2] more planks to the backrest to add stability. Once all the planks are in the correct position, drill pilot holes and assemble using 45mm screws.
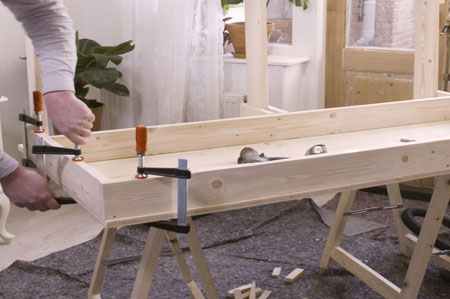
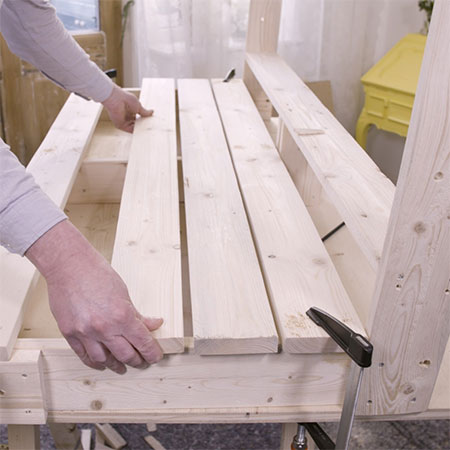
11. Take [5] seat planks and secure to the frame with 60mm screws.
GOOD TO KNOW: Let the foremost plank protrude by about 10mm and leave a little space between each of the other slats, use a spacer to help with this or make do with a suitable alternative.
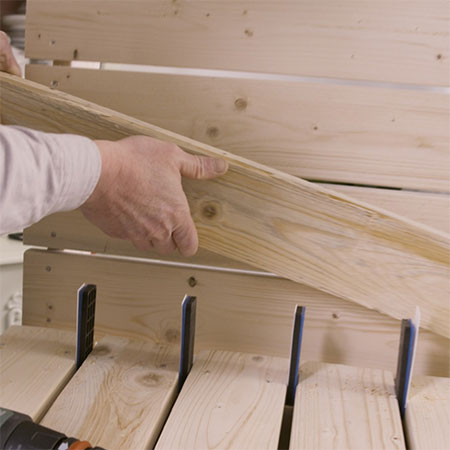
12. Now you need [13] more planks for the backrest. Cut off the top ends of the bench to suit your own choice to give your bench a unique look. Position [2] outside planks level with outside edge of the frame and lay down the rest. A spacer will come in handy here. Drill pilot holes and screw all the slats down with 45mm screws.
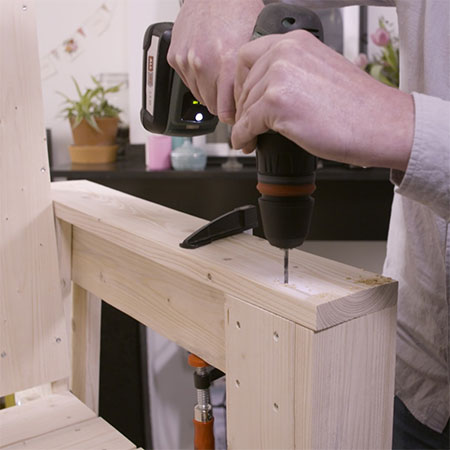
13. Attach the [2] foot supports.
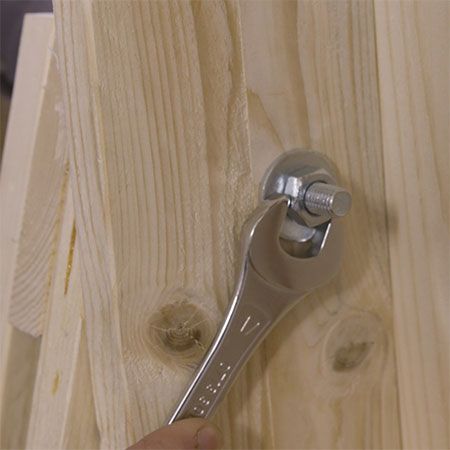
14. To insert the carriage bolts, first, use a hammer to get the bolts into the correct position and then tighten them with a spanner. Use the longer bolts at the top and the shorter ones at the bottom.
15. To finish, position the planks for the arm rests on both sides of the bench. You should also attach another plank to the front of the side rest to improve stability and appearance. Use 45mm screws.
Finishing
Now you have the option to paint, seal or varnish your finished bench to finish off. Make sure to use only paint, sealer or varnish that is recommended for outdoor use.
For more information on this project, watch the video below.