Plan and Build a Deck
The cooler months of the year are a great time to get stuck in and build a deck and finish it for the summer.
22/06/2019
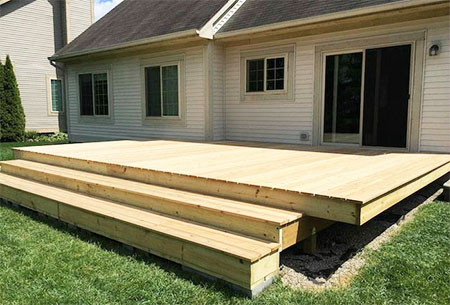
Building a deck isn't a difficult project if you plan it right and you should be able to build your own floating deck in a couple of weekends - giving you plenty of time to plan and build before summer.
Steps to build a deck
1. Plan for a deck
The first step is to plan where you want to place the deck. A floating deck, as shown in this project, is a free-standing deck that you can assemble anywhere. With a free-standing deck for you to build close to your house, situate in a shady corner, or pick the ideal spot for the deck.
When trying to decide where to position the deck, take into consideration sunny and shady spots that would be ideal, as well as privacy. Draw a basic sketch of the deck and where you want it placed as this will provide you with essential points to keep in consideration and necessary measurements for ordering the materials required.
Don't forget to include measurements for any doors or stairs and make sure to allow plenty of space to move around. If you are going to the expense of building a deck, you want to get it perfect.
2. Check with your local Municipality
Before buying any materials, supplies and tools, check with your local Municipality regarding planning permission or any other setbacks that could interfere with the project. It is crucial to be aware of any restrictions BEFORE you start building.
3. Measure up
Having chosen the ideal location, you are ready to measure out and mark where you will assemble the deck. DO check for any servitudes including water, gas or sewer lines. Knowing the precise location of these will assist in the designing process should you want to include an outdoor kitchen or add power points into your design.
4. Excavate the are (if necessary)
It may be necessary to remove any large obstacles before getting started on your deck. This can include boulders, shrubs or trees that will affect the construction process.

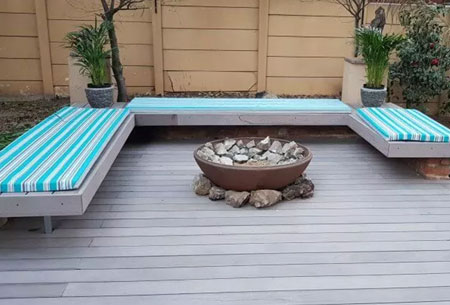
5. Assemble the deck
With all the necessary preparation work out of the way, you can now begin to assemble the deck according to your plan.
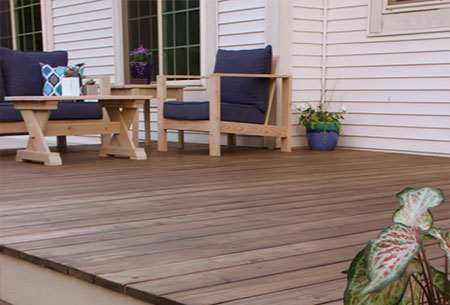
6. Finish and stain/seal the deck
After completing the deck, you need to decide whether to leave it raw or apply a suitable deck sealer. Take into consideration that soft- or medium-hardwoods will require protection from the elements for a long-lasting deck area. If you prefer a more maintenance-free deck design, you might want to consider installing your deck using composite decking materials.
decking-flooring.co.za
Whether you’re building a small or large deck, do yourself a favour and make the job easier. The Kreg Deck Jig lets you assemble a beautiful and functional deck that is completely free of exposed fasteners.
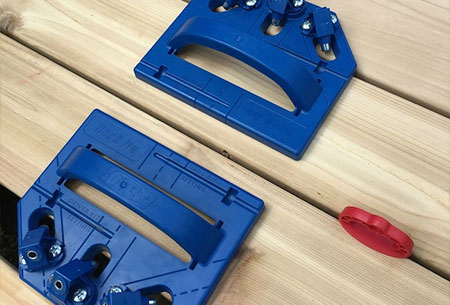
For more information on this particular deck project by Rogue Engineer, click here for the full instructions.