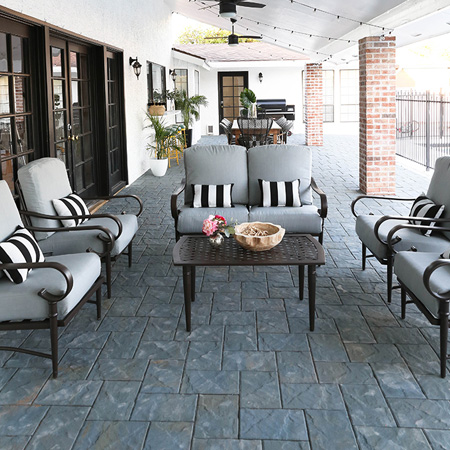
Patio paved to perfection!
Savannah of Classy Clutter transformed her concrete slab patio with paving bricks and the transformation is amazing.
08/10/2018
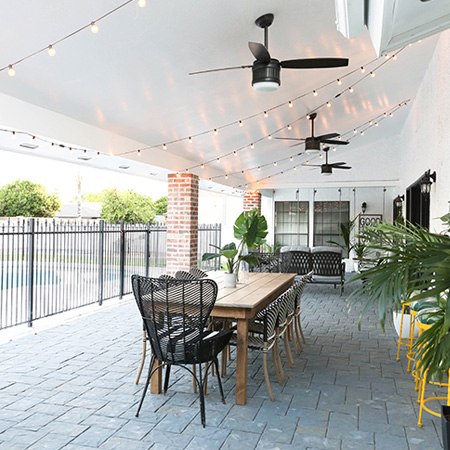
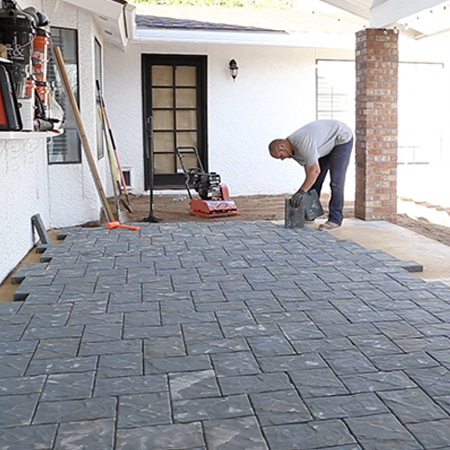
A patio with a concrete slab can look a bit drab and boring but adding paving bricks makes a huge difference and gives a patio a finished, classy look and feel. In this project you will see how easy it is to install paving bricks on a concrete slab to transform your outdoor area.
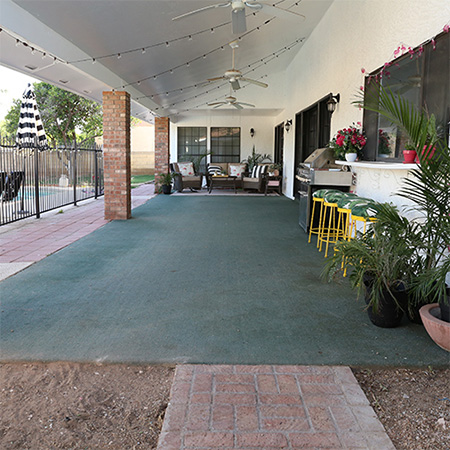
There's nothing wrong with a concrete slab patio, and it can look appealing if you have the concrete stamped or stained, or even polished. But adding stylish paver bricks gives any patio a more finished-off look and lends to the overall appearance of an outdoor patio.
YOU WILL NEED:
Pavers*
Fine sand for paving
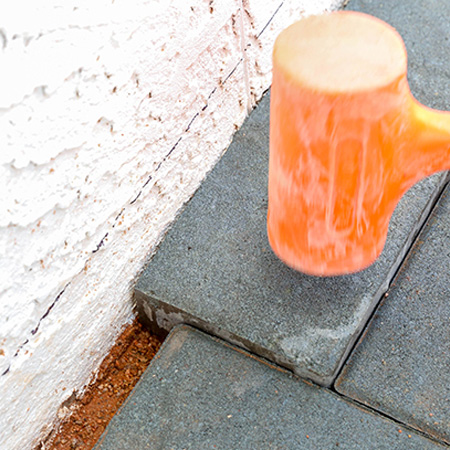
Rubber mallet or rubber dead blow hammer
Spirit level, long and straightedge or plank
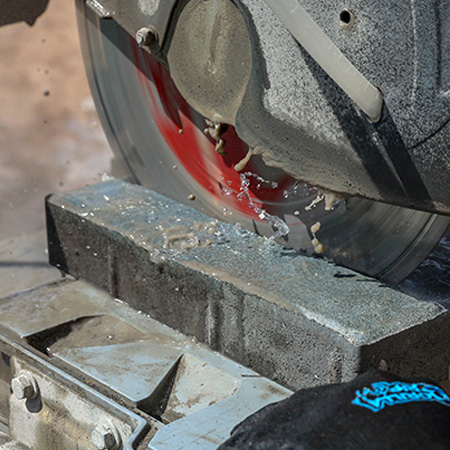
Wet saw or angle grinder (hire for a day)
Plate compactor (hire for a day)
Soft sweeping brush
Tape measure and pencil
Shovel and wheelbarrow
HERE'S HOW:
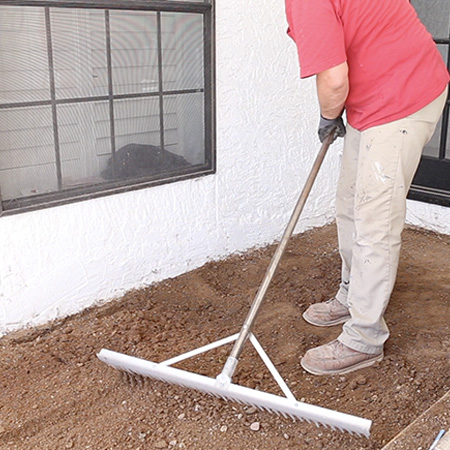
1. If you are laying the pavers on a soil base, use a rake to clear away all the stones, as these will be a nuisance if you want level paving. Rake the area level, checking with a spirit level and straight edge. If you have a problem with water pooling on your patio, give the pavers a slight gradient away from your property to rectify this problem.
GOOD TO KNOW: Before undertaking any paving installation, check to make sure that the pavers will not be higher than the DPC (top of the foundation) on your house, as this will cause damp if water collects or pools against the wall. A easy solution to rectify this if the paving is higher is to make a concrete trench around where the paving butts against the wall, to carry water away quickly.
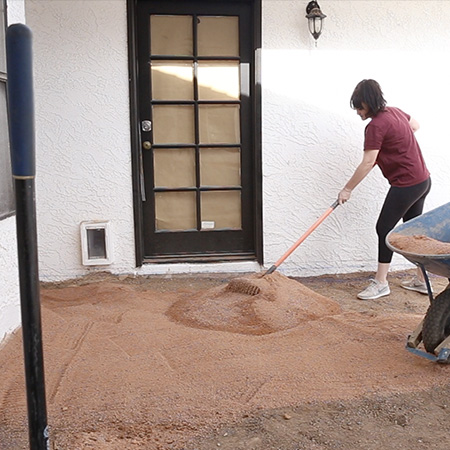
2. Cover the soil base or concrete slab with a thin layer of fine paving sand. This provides a firm base on which to install the pavers. Once the sand is in position, use a rake to level out and distribute over the surface.
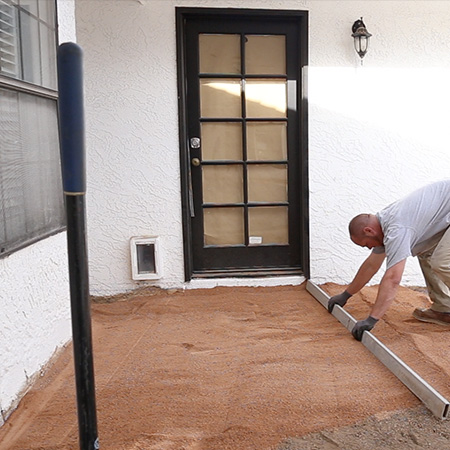
3. Double check the level with a spirit level and straightedge and screed the sand base to slope the paving away from surrounding walls towards the outer edge. Keep checking the level as you work your way outwards.
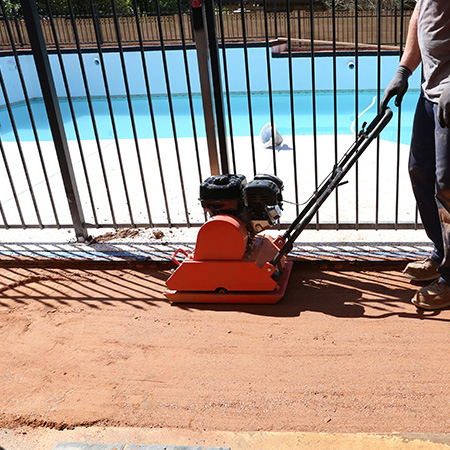
4. Where pavers are installed on a soil base, use a plate compactor to compact the base ready for laying pavers. On a hot day, lightly wet the sand with a garden hose and mist spray nozzle. This will cut down on the dust and help with compaction. You will need to do several passes for a solid base.
5. You will have decided on a pattern before you bought the bricks, as the pattern you choose will determine the number of bricks needed to finish the project. However, if you're not sure about patterns, take a look at the paver pattern designs on this website. It's not a local site, but will at least give you some options for attractive designs for your patio.
GOOD TO KNOW: Start laying pavers up against the wall (or next to previously laid concrete trough if you need to re-direct water away from walls), working your way outwards to the edge of the paving.
GOOD TO KNOW: Pavers can be cut to fit using a wet saw or angle grinder, both of which can be hired for a day or more from a tool hire shop.
6. You will need to cut bricks to fit around edges and areas surrounding pillars or posts, and these can then be slotted in place and tapped down with a rubber mallet or hammer. Gently tap the pavers into place to avoid breaking the bricks.
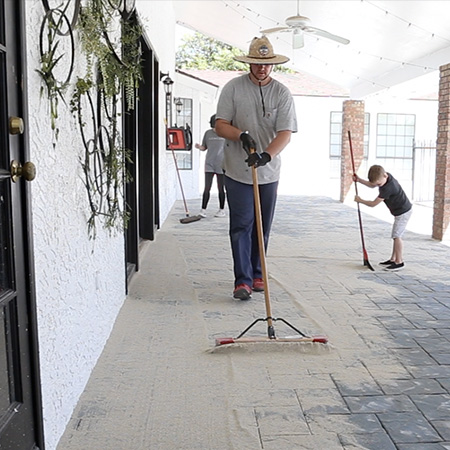
7. Once the pavers are laid, cover the entire area with fine paving sand. This will help to bed the pavers firmly in place. Shovel the sand over the pavers and use a soft sweeping brush to fill all gaps between the pavers. Repeat until there are no gaps whatsoever.