Custom Cover for Outdoor Sofa
You may recall a few years back I made my own outdoor sofa, and now I've made a custom cover to protect the sofa and cushions when left outdoors.
23/12/2018
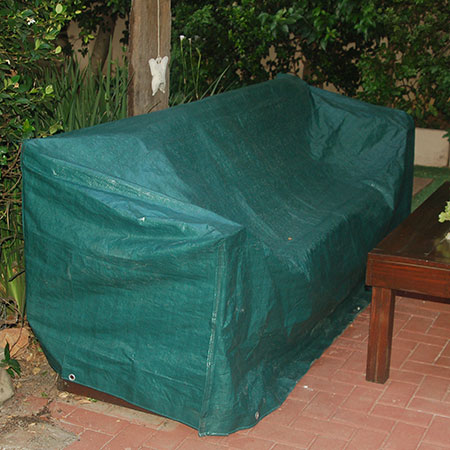
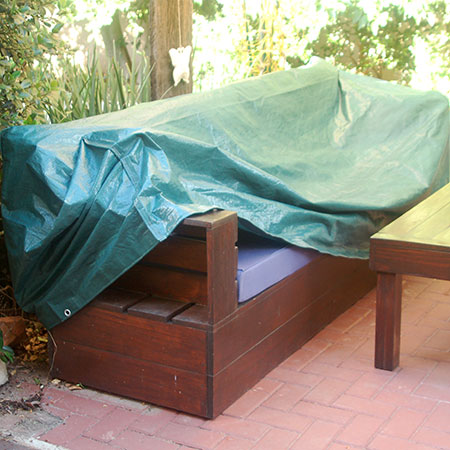
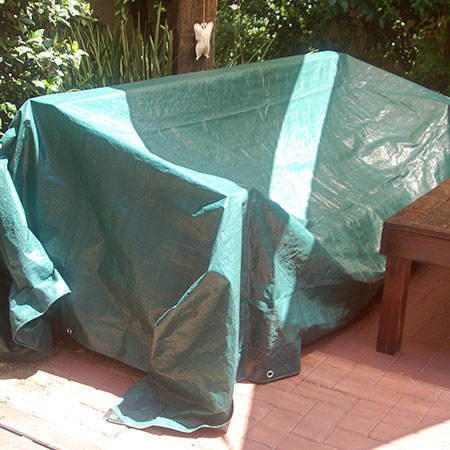
The outdoor sofa that I made a few years back is still the main piece of furniture outdoors. It takes up a lot of space but provides plenty of comfortable seating. Because the sofa is not under a covered patio, I wanted to make a custom cover that would protect the wood sofa and also allow me to cover the seat and cushions.
I tried to buy a ready-made sofa cover, but they don't make for such a large sofa and I also thought they were a bit pricey, considering that they are really only tarp sewn to fit. I resolved the solution by buy a tarp of 2.5 metres x 4 metres to fit the sofa - with a bit of sewing for a custom fit.
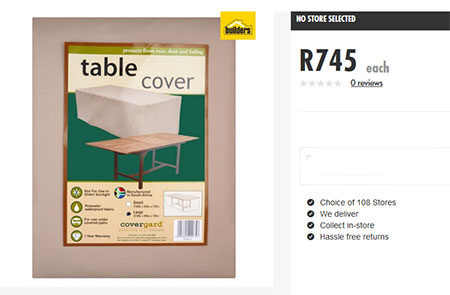
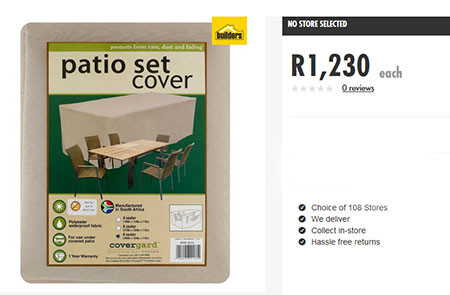
The tarp was bought from Builders Warehouse and cost only R470, which is far, far less than what you pay for a ready-made cover. And in fact, I couldn't find a cover large enough to fit the outdoor sofa, and the two that came closest are shown below. The custom cover for the outdoor sofa only took 30 minutes to make, including measuring up and all the sewing.
YOU WILL NEED:
Tarpaulin large enough to cover your furniture, Builders have a selection
Permanent marker
TOOLS:
Sewing machine and accessories
Scissors
HERE'S HOW:
1. Place the tarpaulin over the furniture, making sure it is evenly spaced all around. You need the tarp to cover the front, back and sides.

2. Use a permanent marker to mark the corners and also where you need to cut off the corner sections.
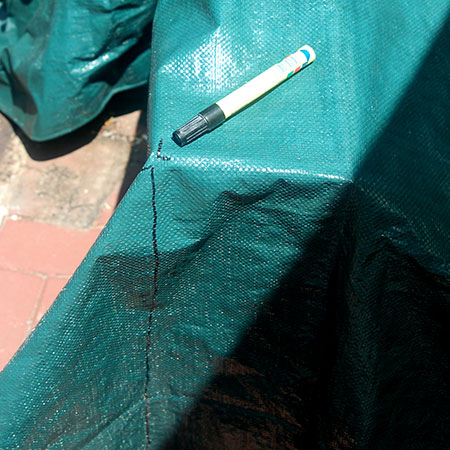
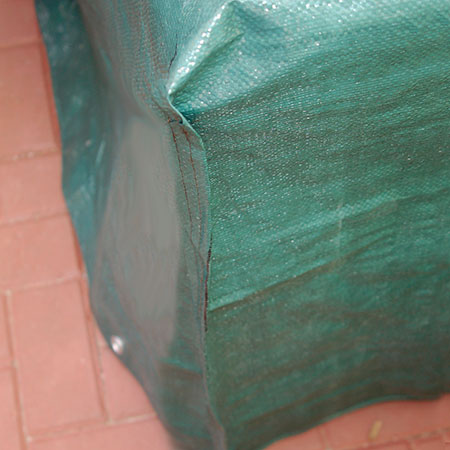
3. Use sharp scissors to cut off the corners - allowing 2cm extra for folding over and sewing a strong seam. Add more to this allowance for a looser fit for furniture that has an awkward shape.
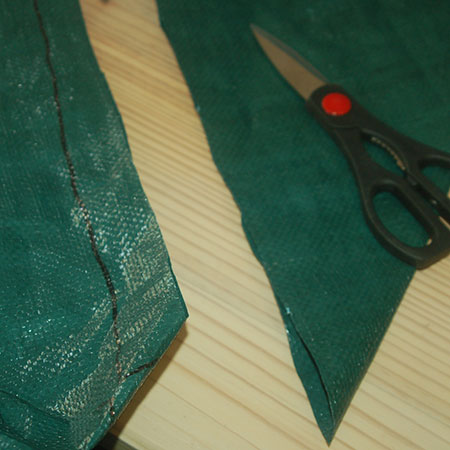
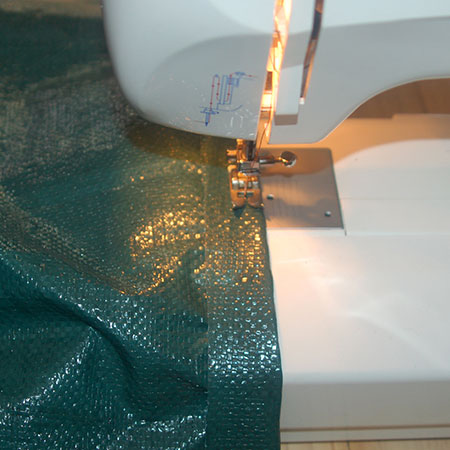
4. Fold over 2cm where you cut the corners. Use a sewing machine to sew two rows of running stitch from top to bottom. Do the first row close to the folded edge and the second row about 6 to 8mm further in.
GOOD TO KNOW: Do a reverse stitch at the beginning and end of both rows to ensure stitching does not come undone, and also set your sewing machine for a reasonably small stitch (#3).