
Tips for Installing DIY Garden Irrigation
Installing a DIY garden irrigation system isn't as hard as it seems, and will not only work towards saving water but also ensuring that all your plants and vegetables receive enough water.
27/04/2020
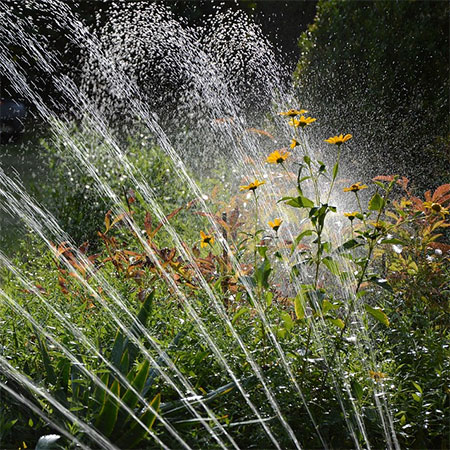
Nowadays, Installing a DIY garden irrigation system is an economical way of setting up water-wise garden management while ensuring that all your plants and vegetables receive enough water. If you are considering the installation of a do-it-yourself irrigation system, consider that now is the best time to plan, prepare and install this.
During the winter months, the garden goes into hibernation; a lawn dies down and plants, shrubs and trees no longer put forth new growth. Digging out trenches and removing and replacing plants are best done at this time of the year to have minimal disruption to a garden.
By doing the installation yourself and buying all your supplies at Builders or store that offers a variety of options at affordable prices, you also save yourself the cost of paying someone else to do the work for you.
We offer some tips and practical advice on installing your own garden irrigation system:
1. Consider your requirements
When opting to take the do-it-yourself route for installing an irrigation system it is important to consider the reasons why you need such a system. In a small garden with minimal lawn and plantings, an irrigation system might be more than you need. However, if you have a reasonably-sized lawn area, lots of beds and borders, and perhaps even a herb or vegetable garden, then the installation of an irrigation system will save you time and money.
Other considerations include the type of grass you have, as many varieties require a regular watering - particularly Kikuyu. The same consideration applies to the soil type, as some types will absorb more water than others.
GOOD TO KNOW: While an irrigation system provides control over the amount of water your use, too much water will result in runoff and wastage.
Lawns are thirsty and account for more water usage than the rest of the garden. Where possible, try to reduce the amount of lawn for a water-wise garden.
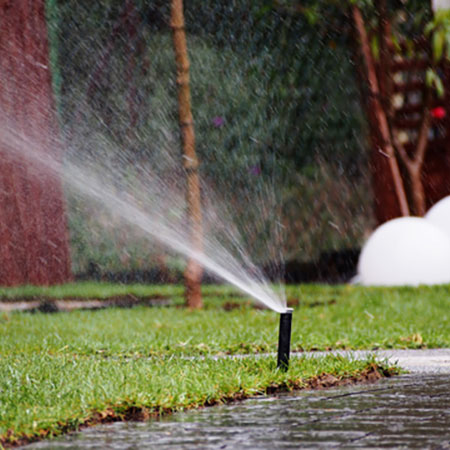
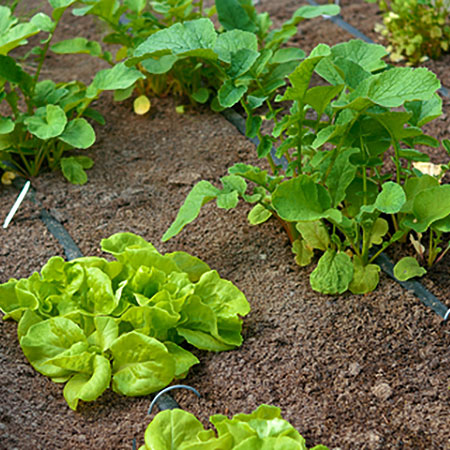
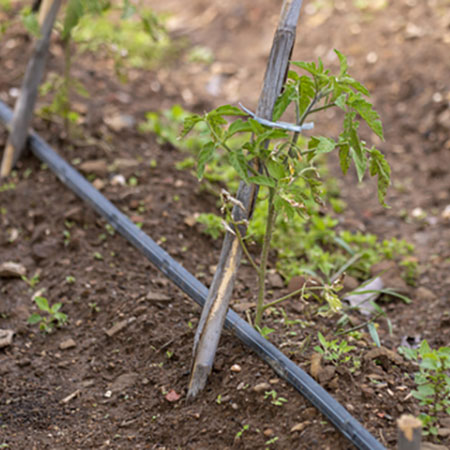
2. Plan the layout for sprinklers or drip lines
Once you’ve determined that a sprinkler system is the right project for you, you’ll want to begin to plan out where exactly you will put it. You will want to avoid trees and plants with large root systems, as well as any mulched areas. If there are paths and walkways, try to work around these. This will necessitate the need for multiple watering zones to avoid wastage.
There are many different types of irrigation systems, from pop-up sprinklers to drip irrigation. Choose the irrigation depending on your requirements.
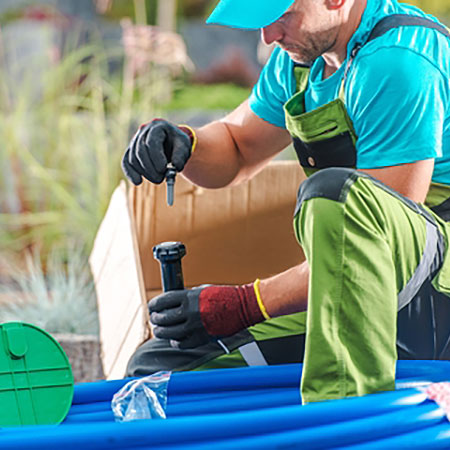
3. Digging trenches for lawn or pop-up sprinklers
Once you’ve decided where your pop-up or lawn sprinkler system will go it's time to start digging. Begin by laying out a string along the line of the new system, using stakes to ensure the string doesn’t move. It’s a good idea to use flags where any sprinkler heads will be located.
• Dig a Trench
Any trench should be deep enough to allow the entire sprinkler head to retract into the ground, otherwise, they may break if they come in contact with other machines used on your lawn, such as a mower. It should also be positioned deep enough to avoid damage when aerating or loosening the soil with a garden fork, especially if you regularly use a hired gardener or gardening service. Where possible, make sure to mark the location of pipes to avoid future damage.
• Install As You Go
To avoid digging up the entire lawn in one go, it is recommended that you install as you dig. That way you can cover up or replace sod and avoid minimal damage and mess.
GOOD TO KNOW: Assembling the components in advance will go a long way towards an easier job and faster completion time. If you are unsure about the proper installation procedure, refer to the instruction manual, as this can vary by type and manufacturer.
• Flush Out Debris After Installation
A helpful tip is to flush any debris from the system prior to connecting your sprinkler heads, as it can be difficult to find a blockage after everything is in place. Furthermore, a final flush will ensure that there are no leaks anywhere.
4. Connect Your System to the Main Line
Once all the pipes are placed and the fittings installed, it's time to connect the individual sections to the main line. This is when you will need to check each and every component to make sure it is working as it is supposed to do and that fittings are secure.
Before You Go
Installing your own sprinkler system may seem like a lot of work, but in the long run, it will save you money and bring your lawn, plants and vegetable garden the water it needs. Now all you have to do is grab the right tools and get to work!