
Make an indoor hanging planter
Bring your garden indoors with this easy hanging planter. Easily modified to fit any size of plant pot, your plants will float in front of a sunny window for an interesting indoor display.
02/09/2018

YOU WILL NEED:
1 of 19 x 220 x 1800mm PAR pine cut to lengths:
- 4 of 220 x 200mm (or increase quantity for longer hanger)
Rope, length as required
Ceiling hook
TOOLS:
Drill / Driver plus assorted bits
Corded drill, min 500W
Hole saw, depending on diameter of flower pots
Jigsaw or circular saw
Sander plus 80- and 240-grit sanding pads
Tape measure and pencil
Ruler
Have your PAR pine cut to length at your local Builders store to save time.
HERE'S HOW:
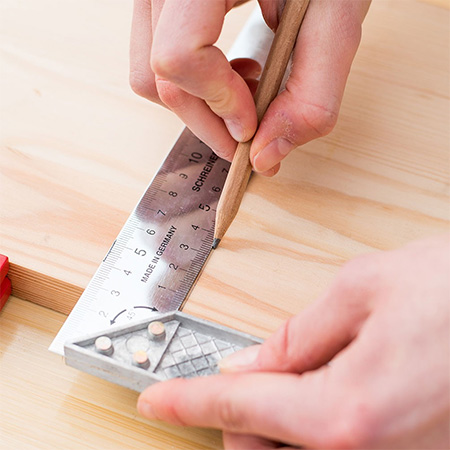
1. If not having your PAR pine cut to length, divide into 220mm long sections, allowing for the width - usually 3mm - for the jigsaw or circular saw blade. Draw a diagonal line on each 220 x 200mm section to determine the centre point.
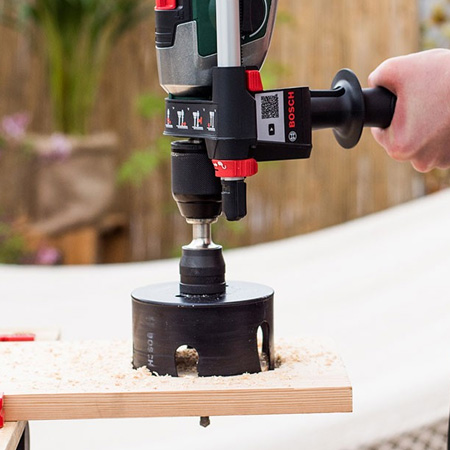
2. Place the tip of the hole saw centre bit on the centre point and drill out a hole in each 220 x 220mm section.
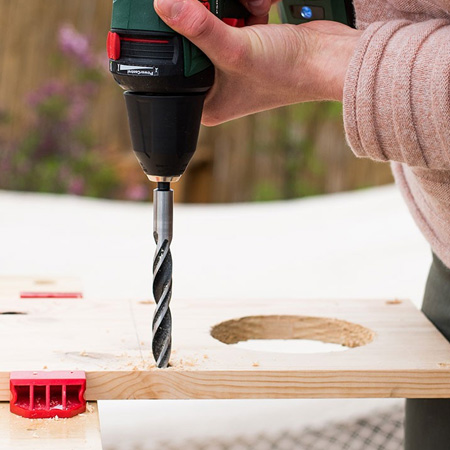
3. Also drill [4] corner holes using a 10mm wood bit. Place these about 10mm in from the edges. These will be for threading the rope through to make the hanger.
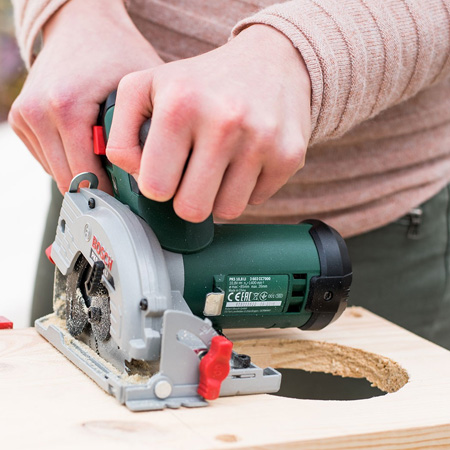
4. Use a jigsaw or circular saw to cut the long length into individual 220 x 220mm pieces.
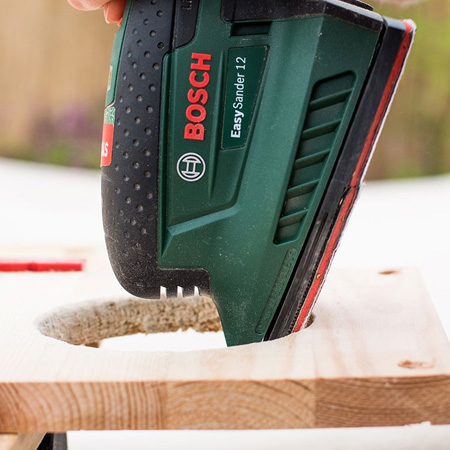
5. Sand the rough edges smooth with 80- and then 240-grit sanding pads.
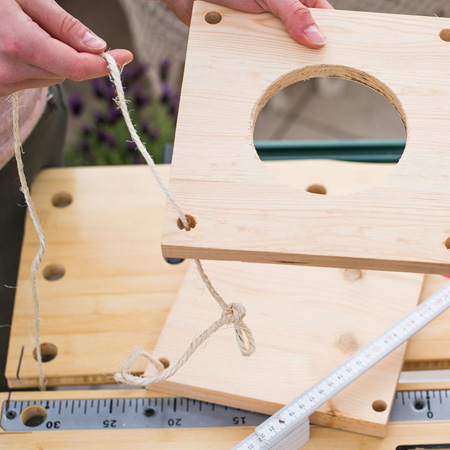
6. Cut [4] lengths of rope and thread the rope through the corner holes. Tie a knot at the end to thread through the bottom piece and then tie a knot where the next piece will be secured. You can adjust the height according to the height of the plants you will be placing in the hanger. The gap will probably be around 300mm between each hanger.
7. At the top, tie the [4] pieces together and form a loop. Screw your ceiling hook through the ceiling board and into a ceiling beam before hanging up your planter.
all about diy