Make a hanging herb garden
Plant up an indoor herb garden and display close to a sunny kitchen window. With this hanging herb garden you will always have fresh herbs at your fingertips.
07/01/2018

You can make this hanging herb garden to any size and hang in front of a sunny kitchen window. Plant up a variety of your favourite herbs for easy picking when you need them. Not only will this hanging herb garden add some fresh greenery to your kitchen, it will also fill your kitchen with wonderful scents.
YOU WILL NEED:
4 of wire cables or thick string* (length as required)
8 of cable clamps for wire cable
4 of ceiling hooks (with wall plugs)
Herb pots, small (approx. 100mm top dia)
Compass or circular template (according to pot size)
TOOLS:
Drill / Driver plus assorted bits
Jigsaw and clean-cut jigsaw blade
Sander plus 120- and 240-grit sanding pads
Tape measure and pencil
*If using thick string, tie knots to support
Find all your tools and materials at your nearest Builders store.
HERE'S HOW:
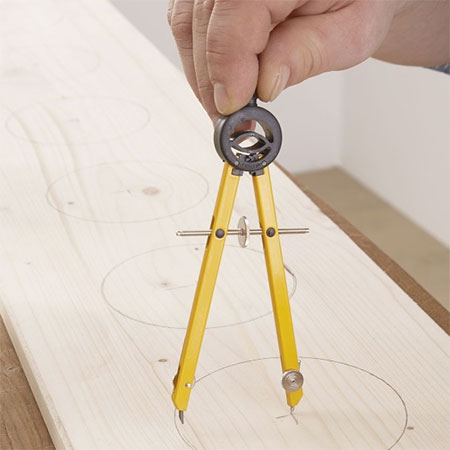
1. We specify a 1000mm-long piece of pine and this will accommodate around six herb pots with a top diameter of 100mm. Use a compass or suitably sized template to draw the outlines for the pot holes.
GOOD TO KNOW: Make the diameter of the pot holes about 10mm smaller than the upper lip of your pots.
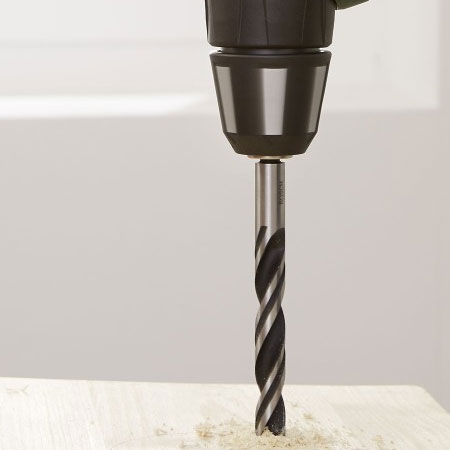
2. Drill a hole at each corner of the board for mounting. If you are hanging with wire cable, drill a 2.5 mm hole. For string, drill the hole to accommodate the thickness.
3. Drill at 10mm hole where each pot will be placed. These holes will be used to cut out the circles.
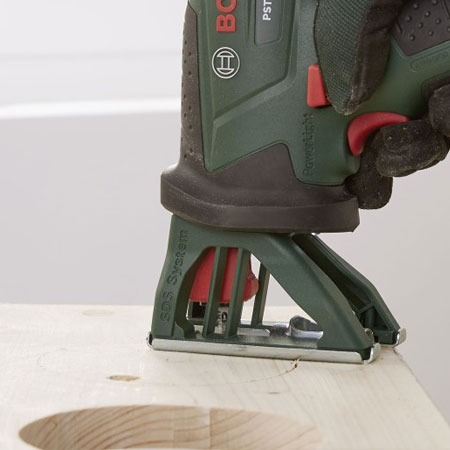
4. Place the board in the centre of an open workbench and firmly clamp down. Insert your jigsaw into the pre-drilled holes and cut around the drawn circle.
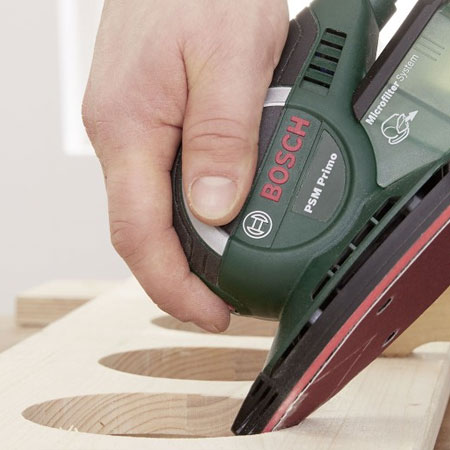
5. Sand the cut edges, first with a 120-grit sanding pad to remove rough edges and then with a 240-grit sanding pad to smooth. Sand evenly without applying pressure, moving in one direction.
6. To hang from the ceiling, drill 4 holes in the ceiling. These holes should be the same size as the wall plugs. Make sure the holes line up with the holes you drilled into the corners of the board. Push in the wall plugs and screw in the ceiling hooks.
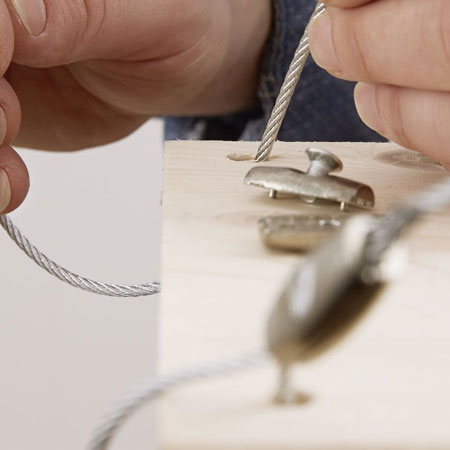
7. Cut the wire cable to the required length and thread the ends of the cables through the holes in the board. Fasten in place with cable clamps before threading through the ceiling hooks to secure with the remaining 4 clamps.
GOOD TO KNOW: If you are hanging your rack with thick string, tie off knots to support the rack and secure the string to the ceiling hooks.