
Make a Custom Wooden Planter for Patio or Garden
This DIY wooden planter can be made in any size to add to your patio, deck or outdoor area, plus you can use your choice of material.
11/07/2020
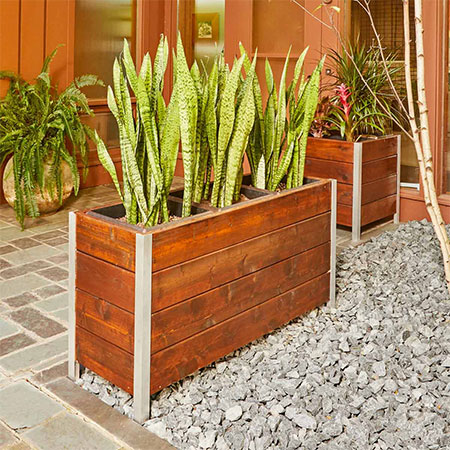
This custom wooden planter isn't something you can buy in the shops and even if you could, it would probably cost a fortune. We don't give any sizes for this project simply because you can make it to any size you want. You can make a square or rectangular planter that is the same height as the one shown here, or you can make a lower or higher design.
This wooden planter is ideal if you are looking at creating a privacy wall for your patio, deck or entertainment area. Allow enough space for screening plants such as bamboo or grasses, decide the height that you want and then make up enough planters to fill the space and offer privacy.
YOU WILL NEED:
Your choice of wood planks (pine, meranti, saligna, reclaimed pallet or other)
Silicone sealer
Aluminium corners and square (available at Builders)
4 x 40mm cut screws
4 x 30mm cut screws
Plastic planter boxes (which will determine the size of your planter boxes)
TOOLS:
Drill / Driver or Combi Drill plus assorted bits
Circular saw or jigsaw and mitre saw
clamps
Sander plus assorted sanding pads
Caulking gun
Tape measure and pencil
Safety gear

HERE'S HOW:
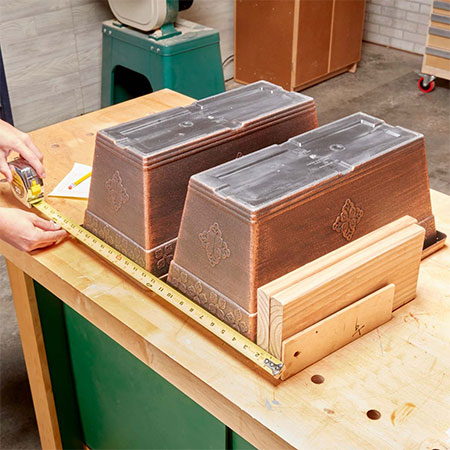
1. The first step in this project will be to purchase the plastic planter boxes that will contain your selected plants. Make allowance for the supports inside as well as allowing a 6mm gap. Use scrap pieces of the wood you are using to make the planter boxes plus a 6mm spacer block, as shown below. This measurement will give you the length for the Side Boards. Cut [8] pieces for the Side Boards
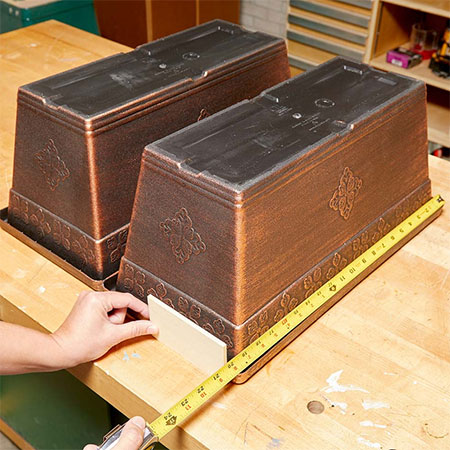
2. To determine the length for the end boards, measure the length of the plastic containers plus 6mm (spacer). Cut [8] pieces for the end boards.
GOOD TO KNOW: Before assembly, stain the side and ends boards in your choice of colour. Apply exterior sealer or oil to all sections.
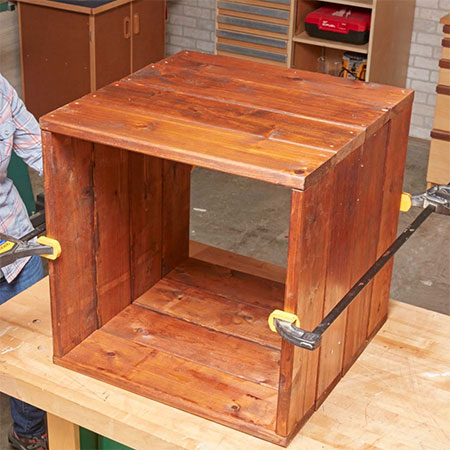
3. Clamp the sides between [2] end boards. Drill countersunk pilot holes and then join the pieces with 40mm screws.
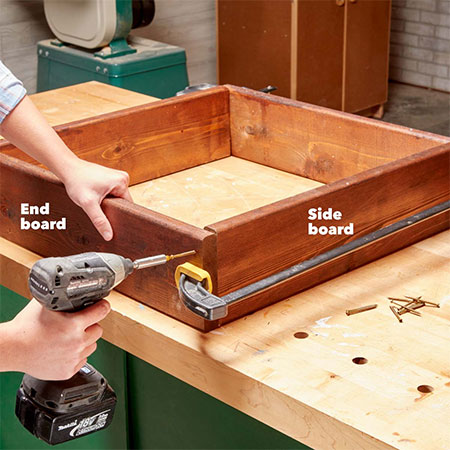
4. Repeat the process until all the sections are joined. Clamp all 4 sections firmly together.
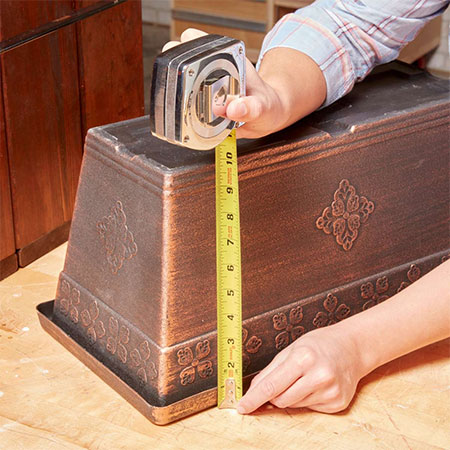
5. Measure the height of the lip around the planter box.
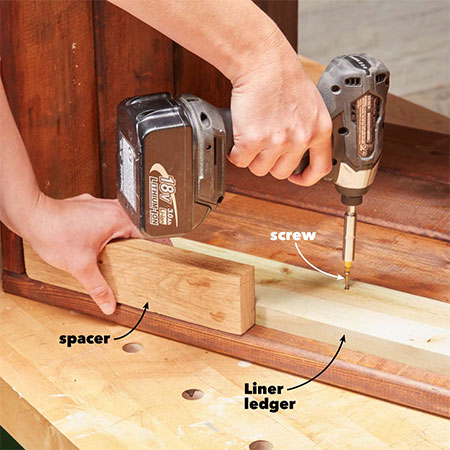
6. The plastic planter boxes fit snugly inside the box frame and sit on top of the Liner Ledger, so this is mounted inside to support the planter boxes, which is why it needs to be measure so that the ledge can be affixed at the right height. Cut ledger boards to size and secure these to the inside of the frame with 30mm screws.
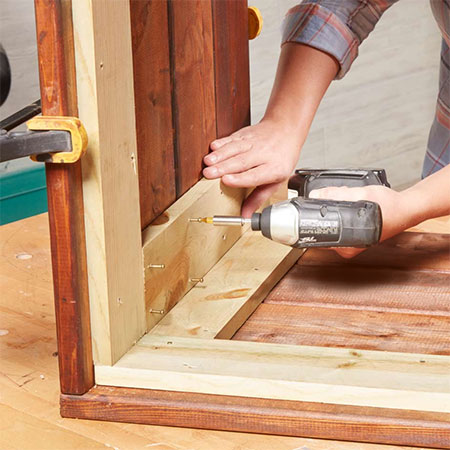
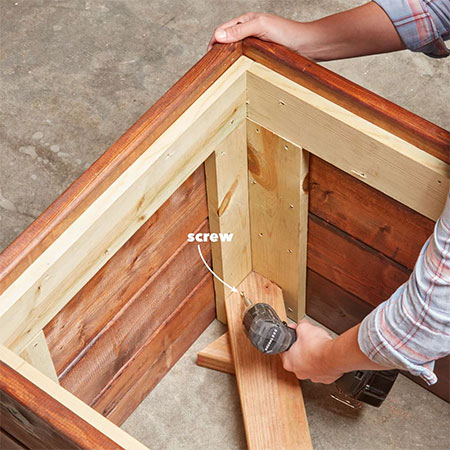
7. This step ties all the frame sections together. Measure to cut [2] Corner Blocks for each corner and secure to the frame, making sure to screw into each section, with 30mm screws.
8. Using the partially assembled box as a template, mark the Diagonal Brace that will ensure a sturdy box design.
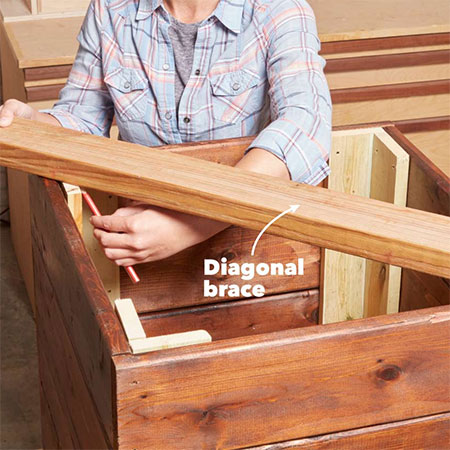
9. For this step, you need to angle the screws slightly to secure the Diagonal Brace to the Corner Blocks with 40mm screws. If you have a Kreg pocket-hole jig, you can use this to drill holes to secure the Diagonal Brace in position.
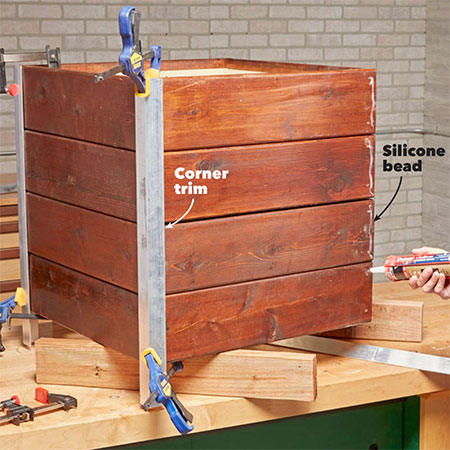
10. Now you are ready to add the aluminium corners. Cut these to length (height of the box frame plus 100mm legs). The corner frames are secured onto the box with silicone and then clamped in place and left overnight.
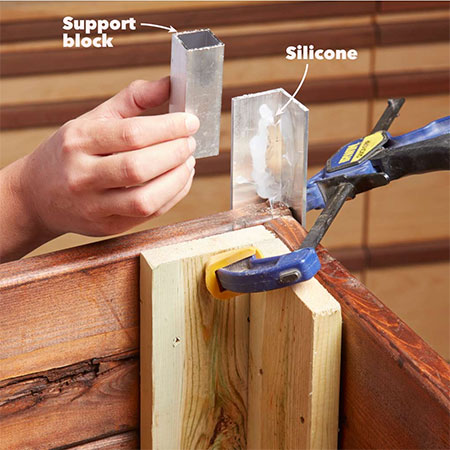
11. For additional support, cut [4] pieces of square aluminium and use silicone to secure these to the inside of the feet. Clamp overnight.
family handyman magazine