Dress Up your Outdoors with Paint and Stencils
We all want our outdoor spaces to look just as pretty as indoors, and paint and stencils is an easy and affordable way to add some style to your patio or porch.
05/04/2020
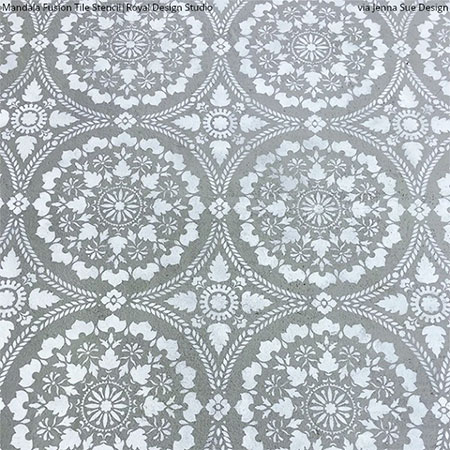
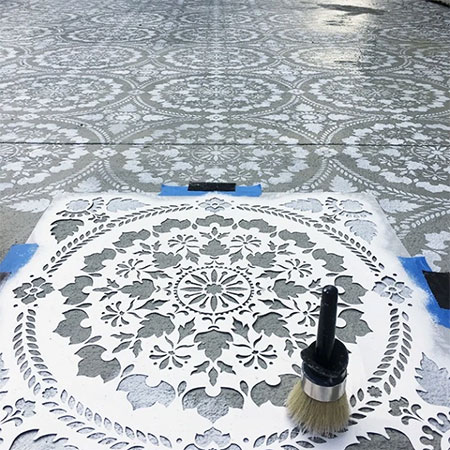
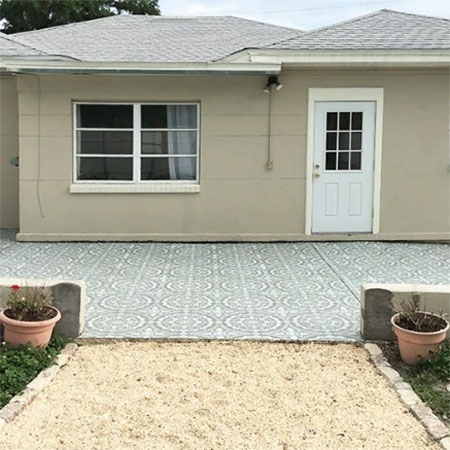
Your outdoor entertaining spaces should look as good as your indoor areas, and concrete or paving paint and a stencil is an affordable way to give concrete slabs or cement paving a new look that will add some style to outdoor areas. In this project from royal design studio and jenna due design, an outdoor concrete slab at the back of the house is given a makeover with concrete paint and Mandala Fusion tile stencil.
YOU WILL NEED:
Degreaser
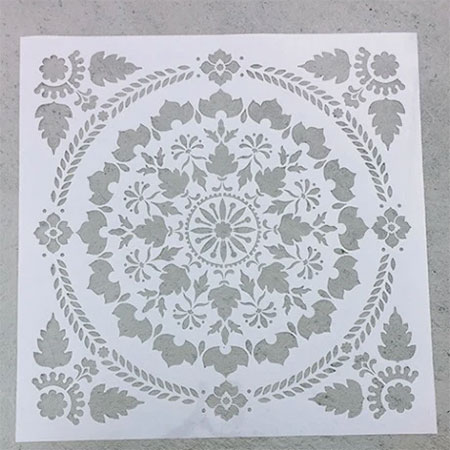
Stencil
Painter's tape
Concrete or Paver paint
Roll of kitchen paper towels or newspaper
TOOLS:
Hosepipe or high-pressure spray
Stiff sweeping brush or garden broom
Large stencil brush
HERE'S HOW:
Preparation
This project should be done when the weather is warm and there is no chance of rain.
Use a high-pressure spray or hosepipe and degreaser to scrub down the area to be painted using a stiff sweeping brush or garden broom. The surface must be absolutely clean and have no grease, mould or other debris that will spoil the finished effect.
If there are any areas where the surface is cracked or requires repair, do this well in advance so that the product has time to dry / cure before painting. Be sure to check the recommended time for proper curing before undertaking this project.
After cleaning or repairing, make sure the surface is completely dry before painting.
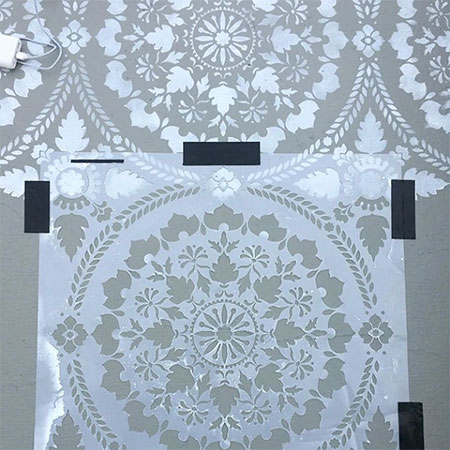
1. Set out what you need to start painting and decide where best to start. To begin, you will tape the stencil to the floor. Don't bother with masking tape as this will not stick properly - rather use painter's tape as this has much better tack to the surface.
2. Pour the paint into a small paint tray or plastic container and then dab the stencil brush into this. Have some paper kitchen roll or newspaper on hand to dab off any excess paint. It is always better to use less paint and repeat rather than run the risk of paint bleeding underneath the stencil.
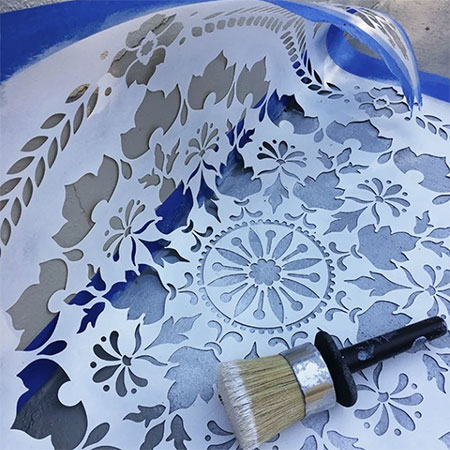
3. Move the stencil around as you complete the design across the entire floor area. Be sure to let the paint dry when moving around so as not to step where the paint is still wet.
4. Should you wish to continue the stencil design up any walls, make sure to tape the stencil firmly in position while you paint.
GOOD TO KNOW: If you tackle this project on a warm day, the paint should dry fairly quickly, so that you can move around and complete the task in a day.
If you use concrete or paver paint for this project, a coat of sealer over this should not be required. However, if you wish to extend the life of your finished project, you can apply 2 coats of exterior polyurethane for added protection.