DIY Garden Gate
Here's how to make a garden gate - or door - using half a sheet of pine plywood, for an inexpensive alternative to a hardwood door.
17/09/2017
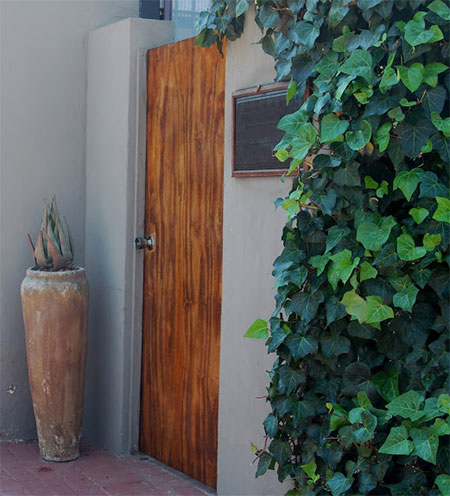
After pricing various solid wood doors for a garden gate/door for my outdoors, the idea came to make this out of 16 or 18mm plywood. Pine plywood costs around R600 for a large sheet, and you can easily make your own garden gate / door with only half a sheet - which works out at around 50% cheaper than buying a ready-made timber door.

You do have to check the quality of the pine plywood before you buy, as not all plywood is created equal and there are some really horrible sheets out there. Before you have the guys cut the sheet down to size, ask to see the stock that they have. If you're buying at Builders Warehouse, make sure they have pine plywood in stock, and not shutterply.
YOU WILL NEED:
Main section, measured to fit
2 of side panels, 100mm wide and height of main section
3 of centre panels, 100mm wide and width of gate less side panels
Alcolin waterproof glue and caulking gun
Eureka 5 x 30mm screws
Woodoc 30, 35, 50 or 55 exterior sealer
Woodoc steelwool
Door mechanism (for exterior door)
2 of large steel hinges and screws
TOOLS:
Drill / Driver plus assorted bits
Orbital Sander plus 180-grit sanding pads
Paintbrush
Tape measure and pencil
Buy everything you need for this project at Builders.
HERE'S HOW:
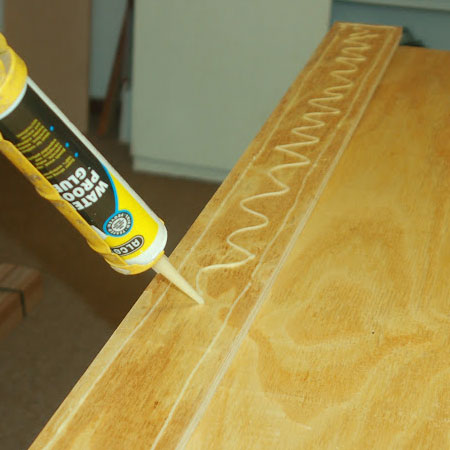
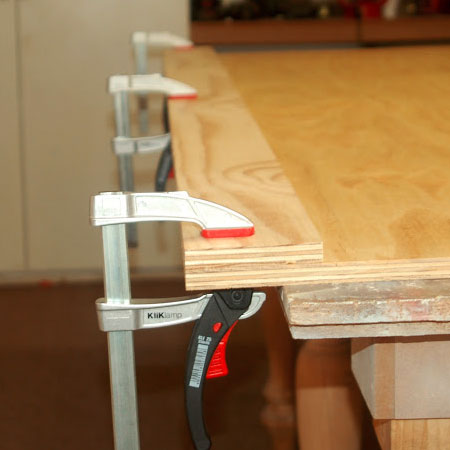
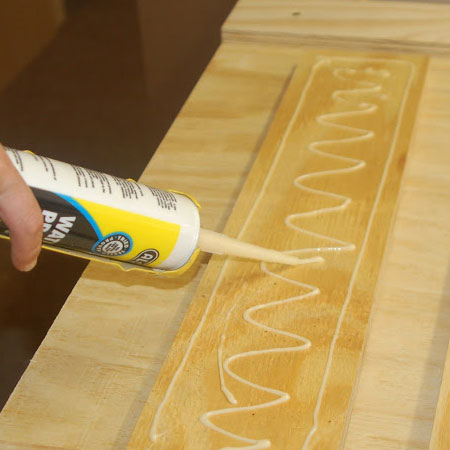
1. Choose the best side for facing out and then glue the side panels to the back of the door. Use waterproof glue to secure.
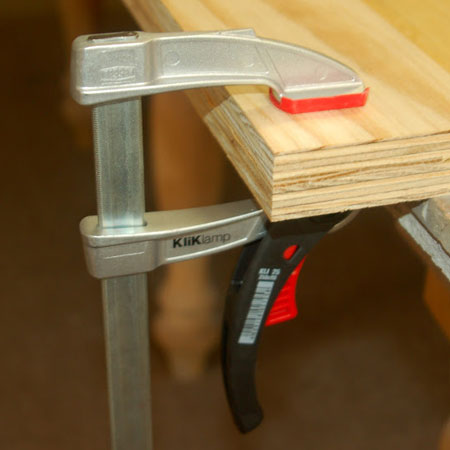
2. Clamp the glue panels.
GOOD TO KNOW
After featuring the new Bessey KliKlamp I got the opportunity to put these to use and found them easy to use - with excellent clamping power.
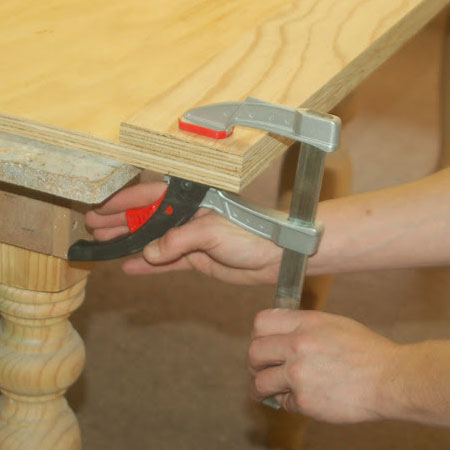
The ratchet method makes it easy to lock clamped items very tightly with ease.

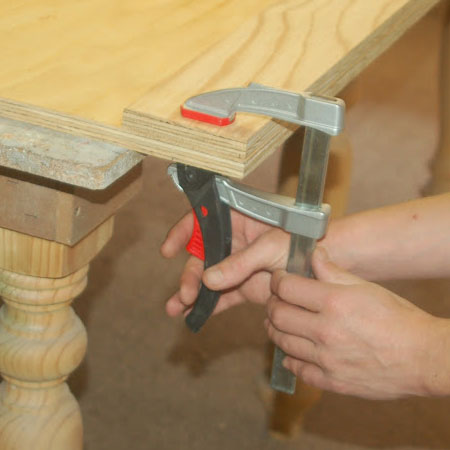
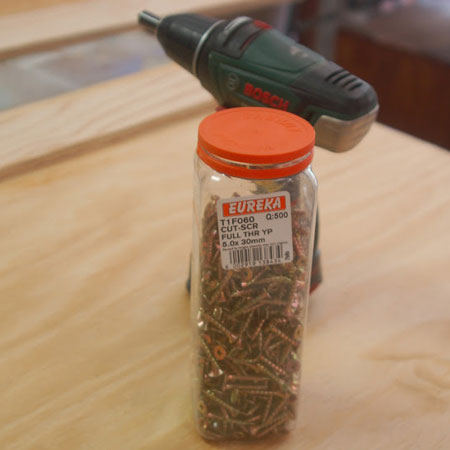
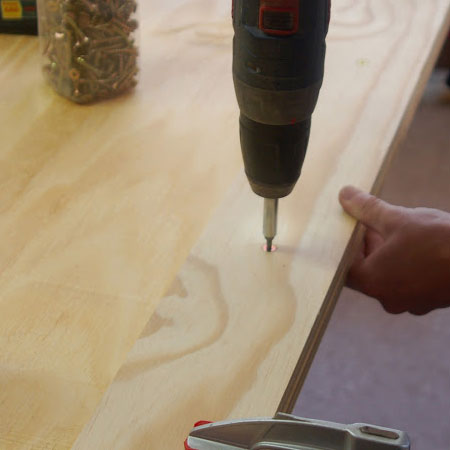
3. While the side panels are clamped, countersink holes along the length and secure with 5 x 30mm screws. Use a minimum of 6 screws per side panel.
4. Attach the centre panels in the same way at the top, bottom and middle of the back of the door.
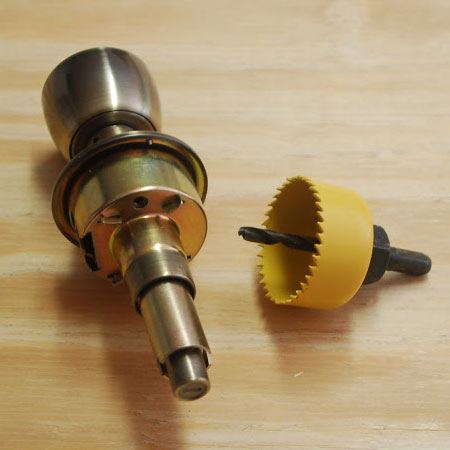
5. Buy a quality, lockable door knob/mechanism that is specified for entry or exterior doors. This should come with recommended installation instructions, but you will need a hole saw of a specific diameter, as well as a spade or MAD bit.
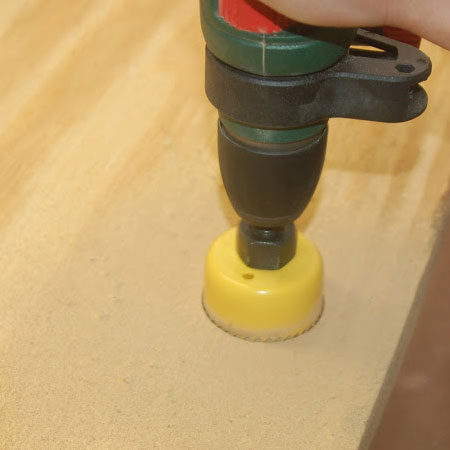
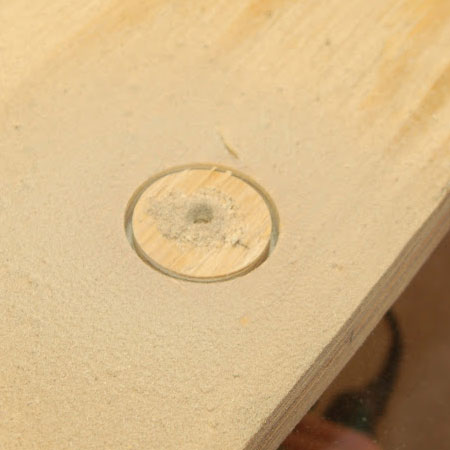
6. As per the instructions, drill a hole to the specified diameter using a suitable hole saw.
GOOD TO KNOW
When using a hole saw to drill a clean hole, only drill half way on one side - then flip over to continue drilling the hole. This will give you neat edges on both sides.

GOOD TO KNOW
.
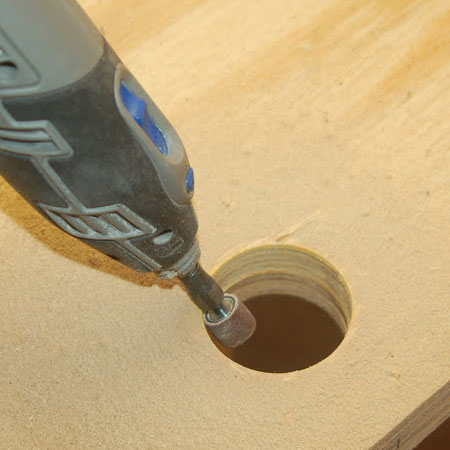
7. Use a spade or MAD bit to drill out for the locking barrel.
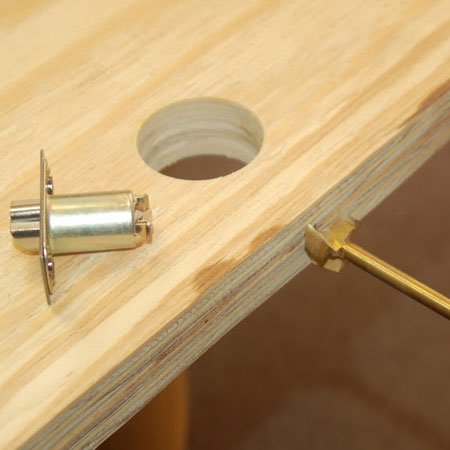
8. Fit the lock and door knob/mechanism to the door.
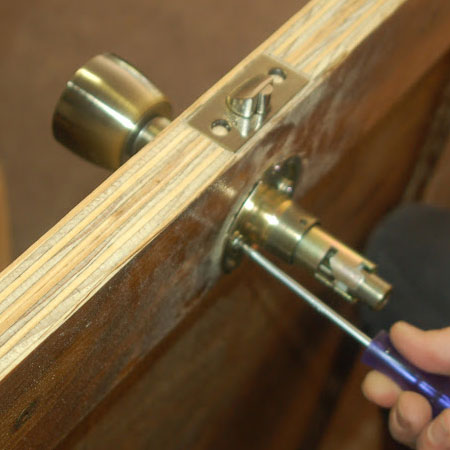
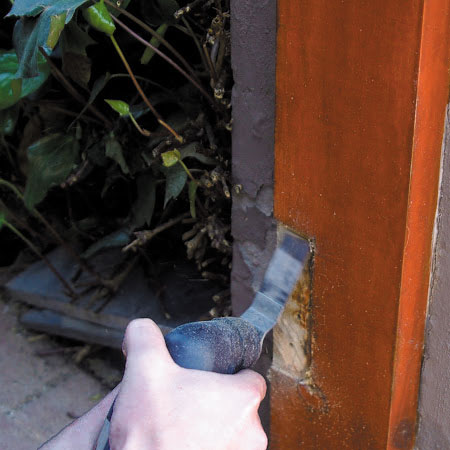
9. Make any adjustments to the frame for the hinges to sit flush with the surface. I find a Dremel MultiMax or Bosch MultiTool handy for cutting rebates for mounting hinges in wood.
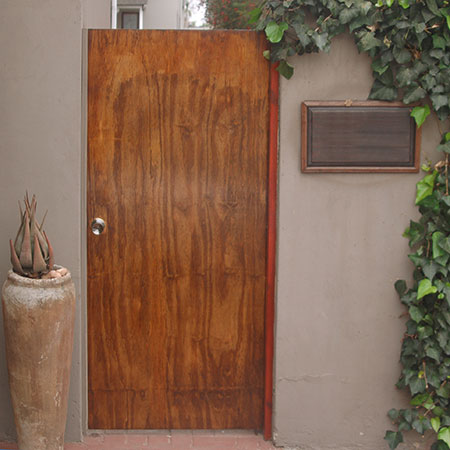
Finishing
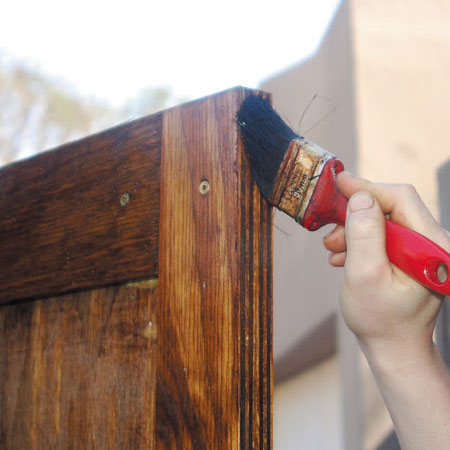
It's very important to properly seal the plywood to ensure it lasts. An exterior sealer needs to be applied over all the faces and edges, particularly at the top and bottom. These last two are the most important, as these edges are where moisture will gain access to the plywood, and could result in rot.
By ensuring all surfaces are completely covered, you will extend the life of the plywood gate/door.
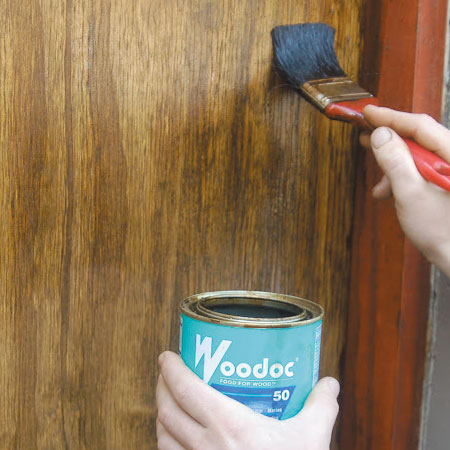
Woodoc have an excellent range of exterior sealers - in clear and tinted - that offer maximum protection for exterior timber. For this particular project I applied Woodoc 50 exterior sealer. The range of exterior sealers are available in clear or tinted, matt, low gloss or gloss finish.
And there you have it... an affordable way to add privacy and security to your garden.