How to Make a Curved Planter
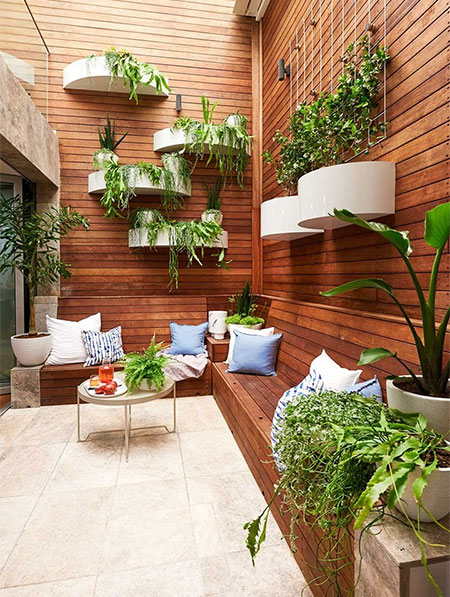
Add something interesting to an outdoor garden or courtyard with this curved planter finished with a plain white laminate.
08/05/2020
better homes and gardens magazine
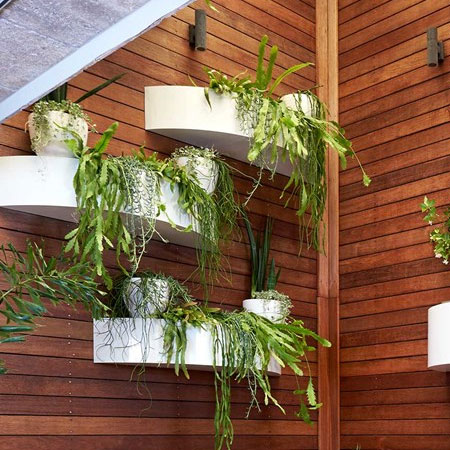
These curved planters add something different to a courtyard garden. They are finished with a 0.8mm thick laminate that is available in a variety of colours and patterns, or you can use a plain white like the one used here. Alternatively, you can clad the curved planters with a wood veneer or sheet metal such as aluminium.
The curved planters are designed to accommodate a standard plastic planter box that you can purchase at any garden centre or Builders.
YOU WILL NEED:
Sheet of 15 or 19mm x 120 x 2400mm shutterply or plywood
1 of 44 x 69 x 2400mm PAR pine
Scrap wood
0.8mm laminate sheet OR veneer OR sheet metal OR galvanised sheet
6mm heavy-duty steel brackets
Plastic planter box, approx. 800mm in length
5 x 50mm cut screws
Construction adhesive
10mm dia. nylon wall plugs and screws
TOOLS:
Drill / Driver plus assorted bits
Circular saw and jigsaw
Nail gun OR hammer and nails
Tin snips
Ratchet or strap clamps
Spirit level
Tape measure and pencil
HERE'S HOW:
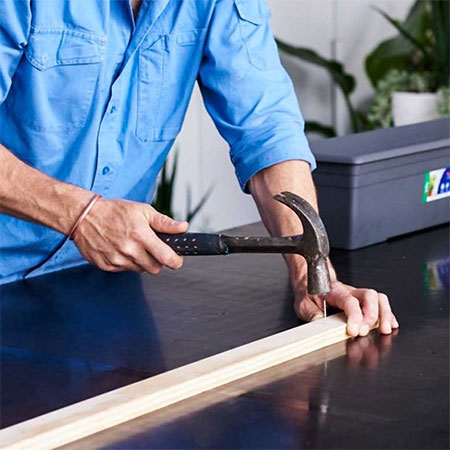
1. In order to make the curved shape for the planter, you need to hammer a nail through a piece of scrap timber to make a compass to scribe arc. Hammer the nail through timber 700mm from one end and nail on centreline of plywood sheet at a distance of 750mm from one end.
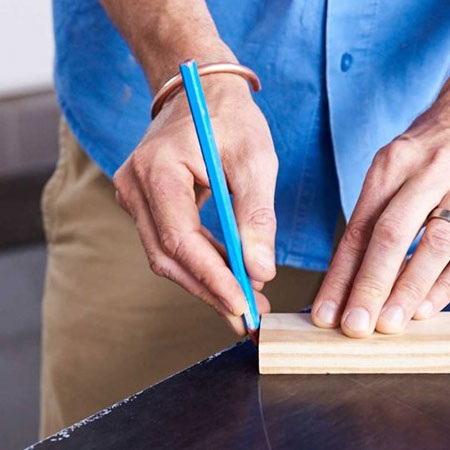
2. With your pencil at the end of the scrap piece of timber, swivel it from one end of the plywood to the other to draw an arc. Use your jigsaw to cut out the circular curved shape. Now use a jigsaw or circular saw to cut across plywood sheet where arc meets the sides. This will be the top section of the planter.
3. Take the plastic planter and place upside down in the centre of top piece. Use your pencil to mark around the rim and draw another line about 10mm in from the first line. Drill a couple of 10mm holes so that you can cut along inner lines to make an opening where the planter will sit. Take the cut top piece and use this as a template to mark and cut the bottom piece to shape.

4. Use 44 x 69mm PAR pine to nail the wood together to make a pair of cradles. The cradles will support the planter.
GOOD TO KNOW: Make sure that the distance between the cradle uprights matches the width of the opening cut on the in the top.

5. For this step, place the top over the cradle and use a nail gun or hammer and nails to secure.

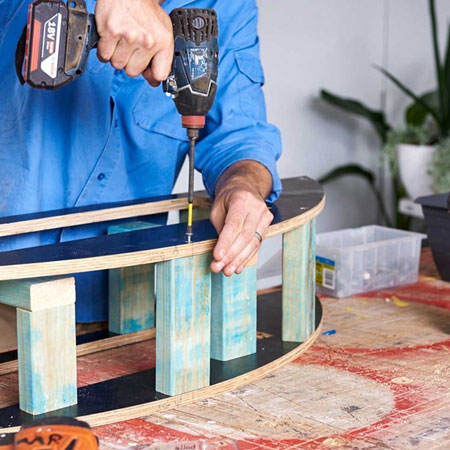
6. Using 44 x 69mm PAR pine - or substitute with scrap wood - cut uprights 10mm longer than the height of the cradle to join the top and bottom sections of planter together. Screw these in place through the top and then flip to screw through the bottom.
GOOD TO KNOW: Make sure the uprights are positioned so that they are flush with the edges (on the inside edge).
7. Place the laminate sheet, veneer or sheet metal face down on your work surface. Place the planter on this to trace the curved shape and cut out with jigsaw or tin snips. Cut a second piece but on one piece, mark and cut the opening for the plastic planter.
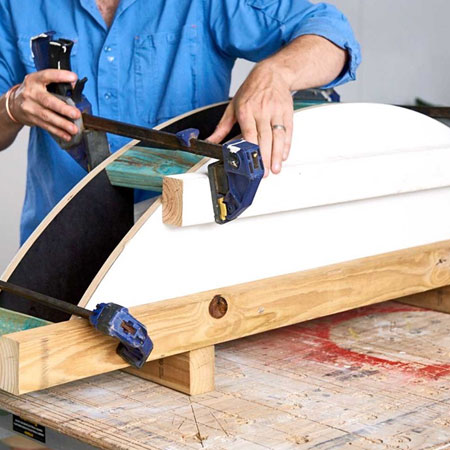
8. Place a liberal bead of construction adhesive along the top of the planter and press the laminate firmly in place. Use scrap timber to even out sheet and make it flat. Repeat for the bottom section.
GOOD TO KNOW: You need to drill drainage holes in the bottom piece of laminate or sheet to ensure the curved planter assembly does not become waterlogged.
9. Use a ratchet clamp or strap clamp to hold the laminate or sheet in place overnight. Have some scrap timber handy and place under the clamps so it remains perfectly flat.
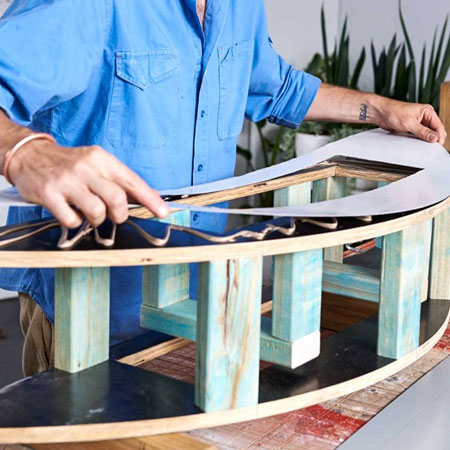
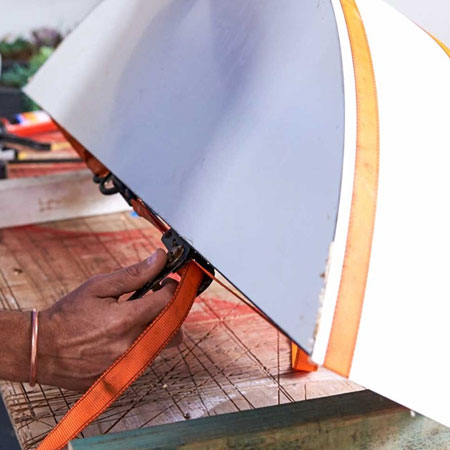
10. For the front curved section of the planter, apply construction adhesive along curved edges of the top and bottom sections and the uprights. Place the plywood or sheet on this edge and starting at one side, roll and flatten over the curve.
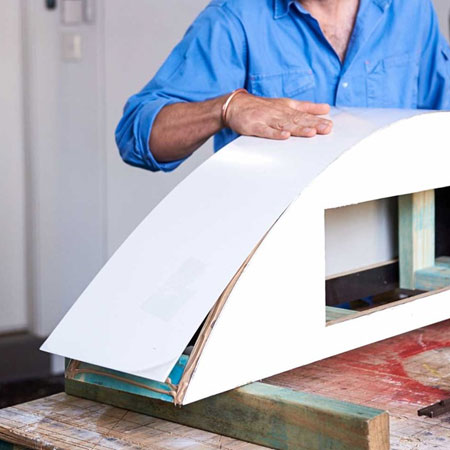
11. Once again, Use ratchet straps or a strap clamp and place this along the curved face to hold the laminate in place and leave overnight.
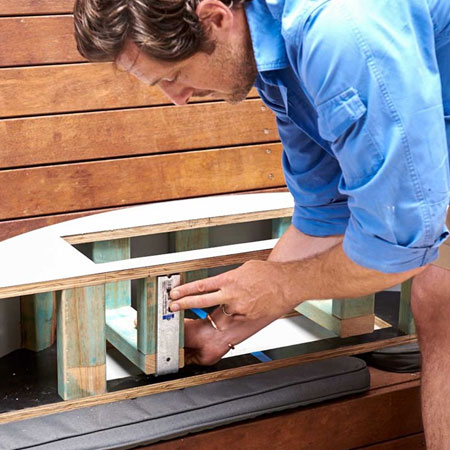
12. Check that the steel brackets fit against the uprights, or use and angle grinder with metal cutting blade to trim to the correct length. The brackets should sit flush against the uprights and be long enough to fit underneath the cradle to support the weight.
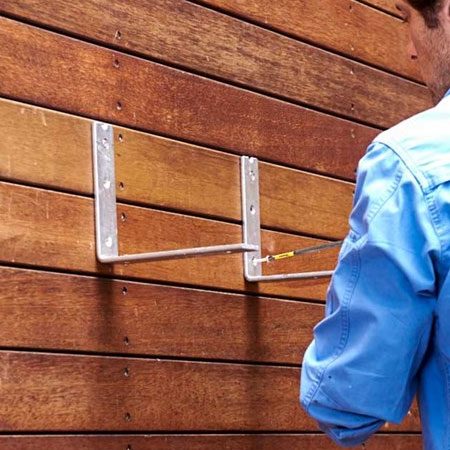
13. Screw the steel brackets onto the wall using wall plugs and screws. Make sure that the spacing of cradles in planter corresponds with the wall mounting holes.
FINISHING:
Slip the curved planter onto the steel brackets. Secure with screws through upright of support cradle into the wall to hold in place. Pop in the plastic planter insert, already potted up with plants.