
Make your own Concrete Planters
When shopping for concrete planters for my front entrance, I could not believe how expensive these are. Rather than spend a fortune, here's how to make your own concrete planters.
20/02/2022
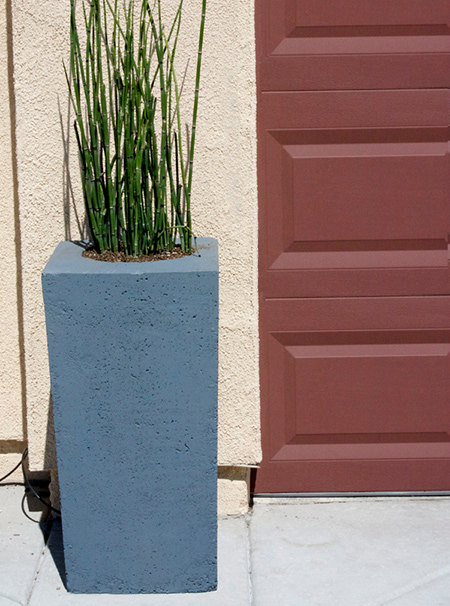
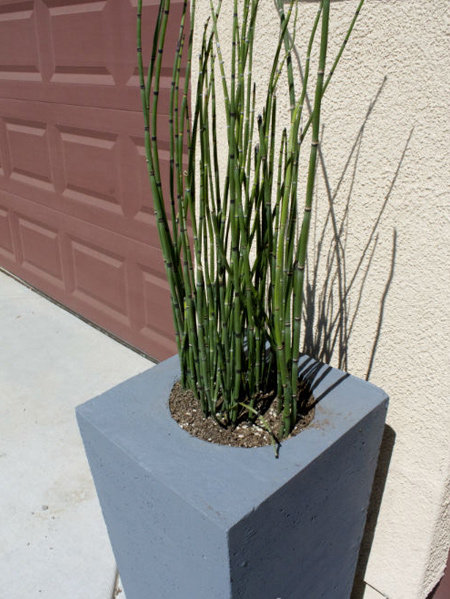
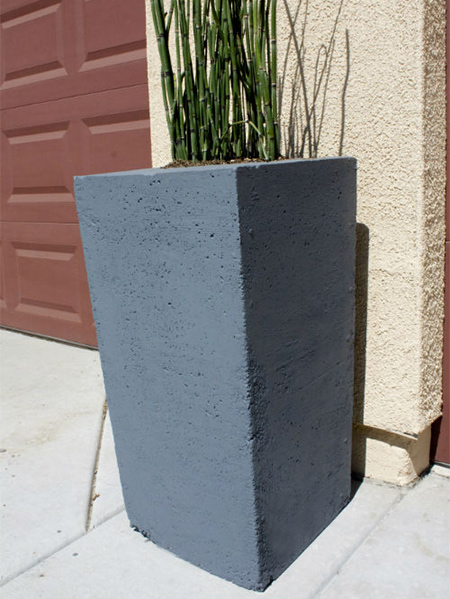
What's nice about making your own concrete planters is that you can make them any size you want. Since you are making your own forms for pouring concrete, you can make different shapes as well. You can also customize them by painting them or decorating them to look like Harry Potter planters or anything you want. These rectangular planter are perfect for adding interest to an entrance. deck or patio.
YOU WILL NEED:
Shutterply [12mm] and pine to make the frames
5 bags of cement
2 wheelbarrows of sharp sand
50mm PVC plumbing pipe or cardboard tube
Silicone sealer and caulking gun
Rubber mallet or sander
Drill / Driver and assorted bits
50mm screws
Spray 'n Cook
Tape measure and pencil
Buy all the supplies and materials for this project at your local Builders Warehouse.
HERE'S HOW:
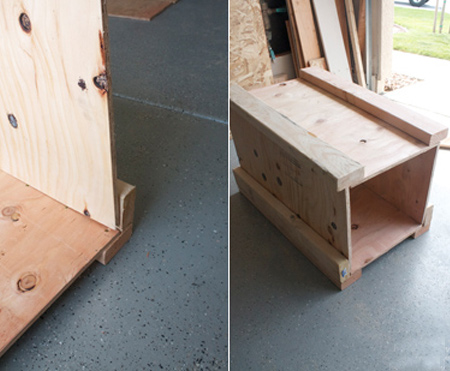
The forms for the planters are made using shutterply and pine. You can make these any shape or height that you want. The planters shown here have a very slight tapered edge down to the bottom.
Cut one piece of shutterply to shape and then use this as a template for the remaining three sides. You will also need a base for the bottom of the planter and this is fastened to the bottom of the sides, so measure the space and cut a piece of shutterply to fit. Assemble the forms by securing pine planks to the corners and then fill in any gaps with silicone sealer. Let this dry overnight.
GOOD TO KNOW: Spray the inside of the form liberally with Spray 'n Cook to provide a coating that makes it easier to remove the form once the concrete has cured.
The mixing proportions for the cement is 1 shovel of cement : 2 shovels of sand and enough water to make a mixture that is sluggishly pourable. Click here for more information on concrete mix and methods.
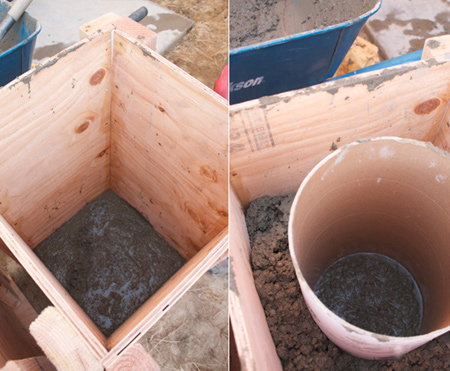
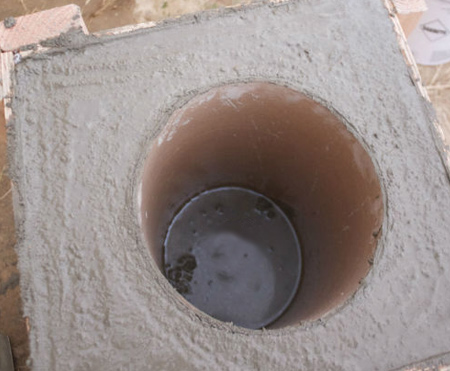
Pour the mix into the form to a thickness of about 10cm for the base and then insert the PVC pipe, which should be cut to the height of the form LESS the thickness of the base. It doesn't matter if this sticks out at the top of the frame as it can be trimmed later on if necessary. You will notice that the level rises inside the pipe, but that's not a problem.
GOOD TO KNOW: With the PVC pipe in the centre continue to add mix around the outside of the pipe, inside the frame until full. It helps to have someone on hand to hold the PVC pipe in the centre as you add mix to the frame.
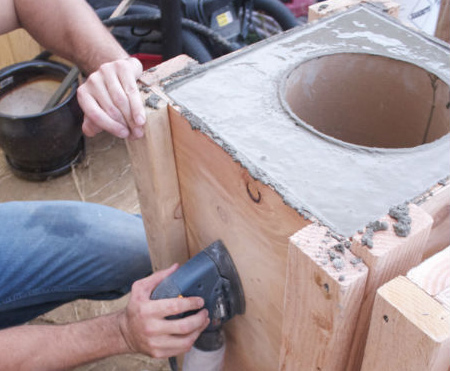
To remove air bubbles trapped in the mix you can gently tap the sides with a rubber mallet, or use a sander to vibrate the size. Do this as you add the mix layer by layer and then again once the form is filled.
Allow the cement to cure for 5 to 7 days before removing the frame (and centre cardboard form if you used one). Remove all the screws and gently pry the frame away from the concrete.
After removing the frame, leave in the sun for a couple more days to let the concrete dry out and then you can paint the pots using concrete or paving paint, or Rust-Oleum spray paint.
savvydesignwest.com