
Lay a Concrete Path
Is your existing paving cracked and unsightly? Or are you wearing a muddy path through the lawn? The easiest and most affordable solution is to lay a concrete path.
14/07/2021
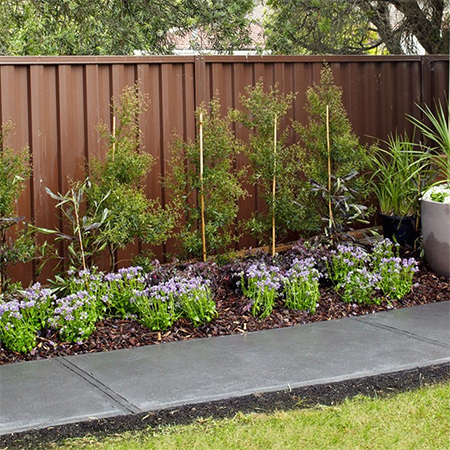
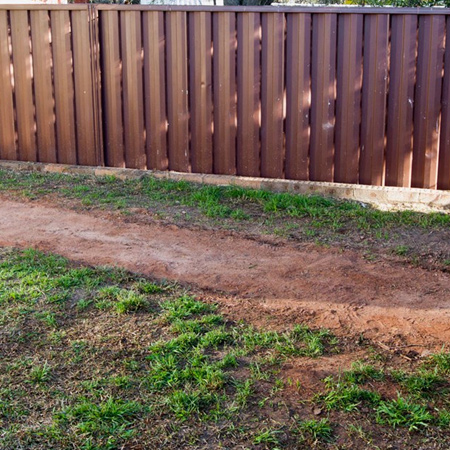
You may think that working with cement is tricky, but the truth is that it's not as difficult as it looks. Laying a concrete walkway or path is reasonably easy - dig out, mix and pour and then screed. In a few days you can transform a muddy track through the garden [below] into an interesting and very practical path. Any concrete jobs are best done during the cooler months of the year when the weather isn't too hot to affect the curing process of concrete.
YOU WILL NEED:
Bagged cement*
Pine lengths to create formwork, plus wooden peg
Builder's string line
Wooden pegs
Wood and steel float, bull-nose float, trowel and edging tool
Straightedge or wood float for screeding
Wheelbarrow and spade
Tape measure
TOOLS:
Drill/Driver and screws
circular saw
Rubber mallet or hammer
GOOD TO KNOW: *Calculate volume of area in metres (length x width x 0.1). If the volume is more than half a cubic metre, it’s worth ordering premixed concrete (if you have access for a truck).
Find all the tools and materials for this project at Builders Warehouse. If you prefer to have someone else do the job for you, look for concreting experts of all forms.
HERE'S HOW:
Step 1
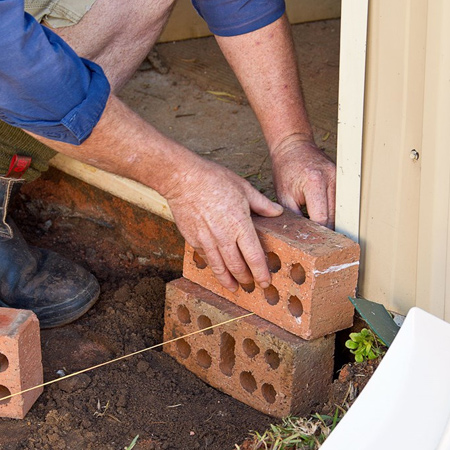
Decide where you want to place the path and run a string line from one end to the other. Set the height at around 5cm, you can increase this if you need to butt the path up to an existing structure.
Step 2
When excavating the area where the path will be installed, check that the ground is of consistent height along the length.
Step 3
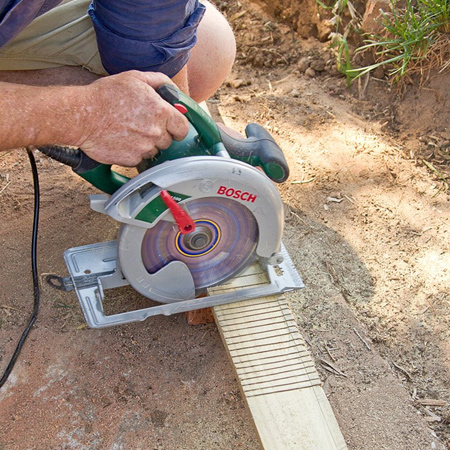
Adding curves to a path ups the interest and you can use a circular saw (or table saw) to cut evenly spaced grooves halfway through the pine forms. Known as kerfing, this allows the timber to bend without splitting.
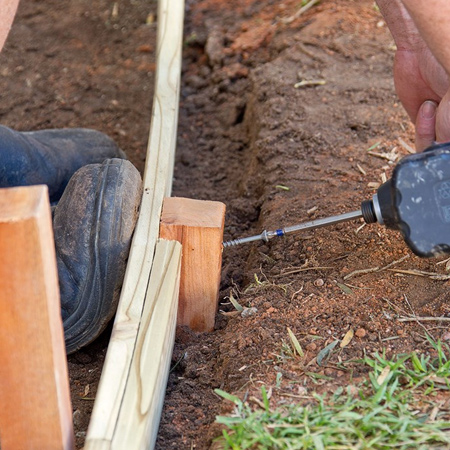
Step 4
Use the string line as a guide to laying the pine planks to create the form. The form holds the shape of the poured concrete until it has cured. Position the pine planks along the edges and hammer in wood pegs to hold firmly in place. Screw the pegs to the outside of the forms.
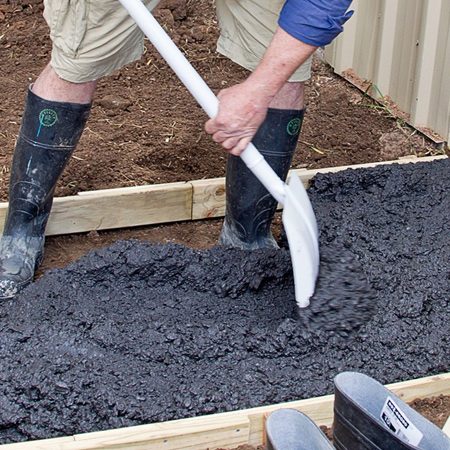
Step 5
Mix the concrete according to the pack instructions. Shovel this into the form work and spread evenly over ground, up against the sides and into any corners.
GOOD TO KNOW: Visit www.theconcreteinstitute.org.za for advice and tips on working with cement and concrete.
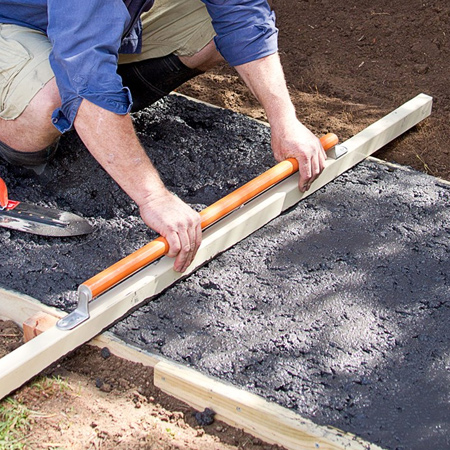
Step 6
Use straight edge or plank to move concrete back and forth to smooth it to correct level. If too much concrete builds up ahead of screed board, move it along with your shovel. .
Step 7
Use a steel float to gently remove any air pockets.
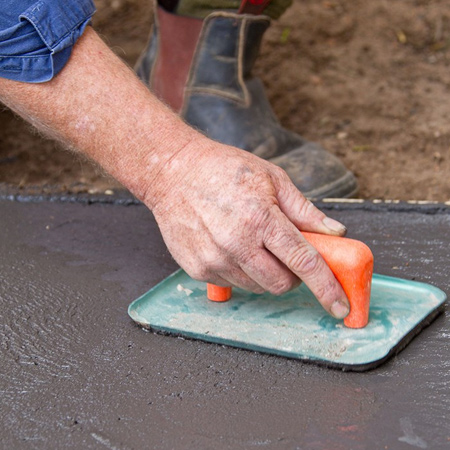
Step 8
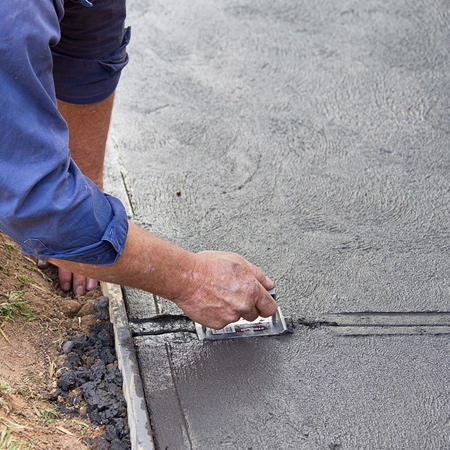
Leave for an hour or so until the concrete has started to dry but is wet enough to leave an imprint, then use a bull-nose float to smooth surface.
Step 9
Round off edges down the sides with an edging tool.
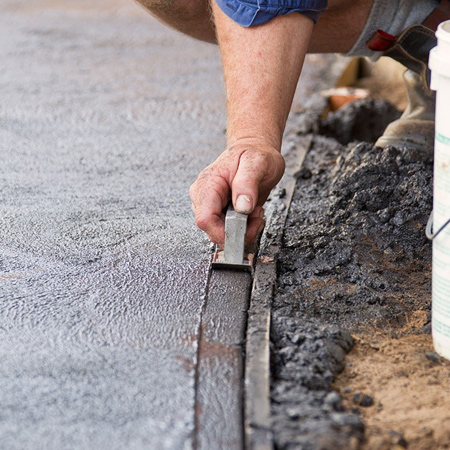
GOOD TO KNOW: If your path is longer than 3 metres in length, evenly divide it into sections and make grooves or dummy joints across path by using a concrete groover. This helps prevent cracking.
GOOD TO KNOW: Keep the surface of the concrete wet for a few days by misting with water or covering with plastic. After 7 to 10 days you can remove the formwork.
www.bhg.com.au