
Make a concrete cooler box
Make a rock solid cooler box to keep your refreshments cool during summer and that looks great on the patio.
01/07/2019
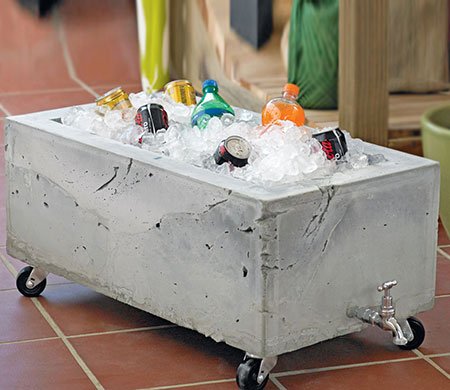
This concrete cooler box has castor wheels for mobility and is a great way to add durable, industrial design to a patio or outdoor entertainment area. It's also a unique way to keep your guests refreshed.
The cooler box is made by using 16mm plywood board to assemble the concrete form. The idea for making this cooler box is to build the form and then use a block of polystyrene insulation and pouring the concrete on top of this so that the sides and base have a thickness of around 50mm. Once cured, the polystyrene block is removed to create the inside space.
While this cooler box doesn't have a lid, you can quite easily add your own lid using shutterply or marine plywood.
YOU WILL NEED:
2 of 16 x 800 x 445mm shutterply or melamine board - sides
2 of 16 x 429 x 445mm shutterply or melamine board - ends
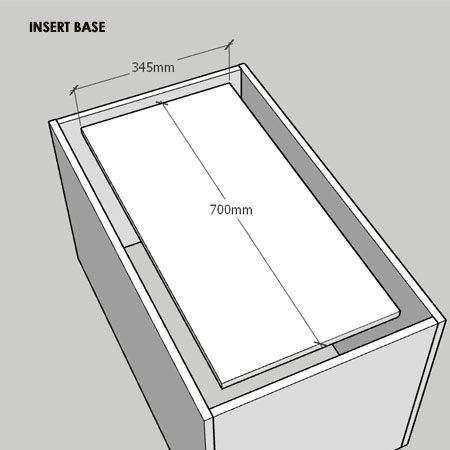
1 of 16 x 700 x 345mm shutterply - base
4 x 35mm screws
Silicone sealant
Garden tap and threaded pipe
Quick-dry cement
4 Castor wheels and 16mm screws
TOOLS:
Drill / Driver plus assorted bits
Holesaw, 20mm diameter
Craft or utility knife
Not responsible for errors or omissions
GOOD TO KNOW: You can purchase shutterply sheets and have them cut to size at Builders Warehouse.
HERE'S HOW:

1. Assemble the form as shown above using 35mm screws. To pour the concrete the form will be upside down.
GOOD TO KNOW: Apply a bead of silicone sealant around the seams.
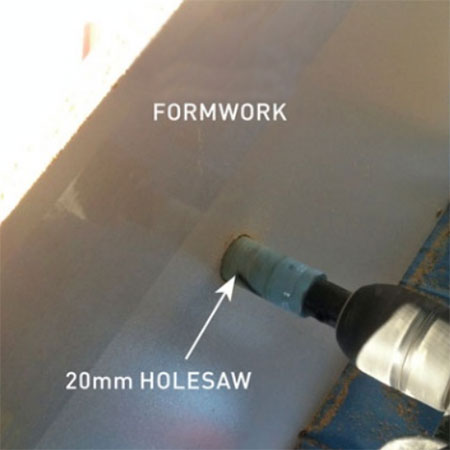
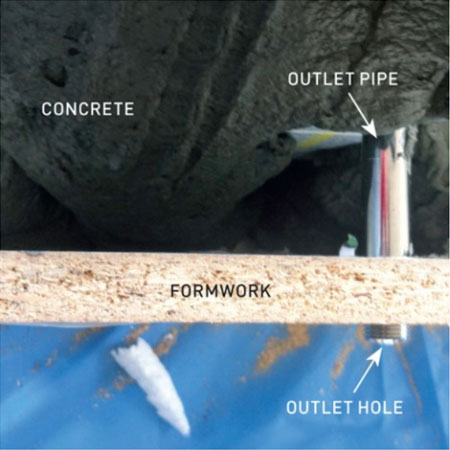
2. Use a 20mm holesaw to drill a hole that is centred and positioned where you would like to outlet tap to be placed. Keep in mind the placement of the base and the fact that the form is currently upside down..
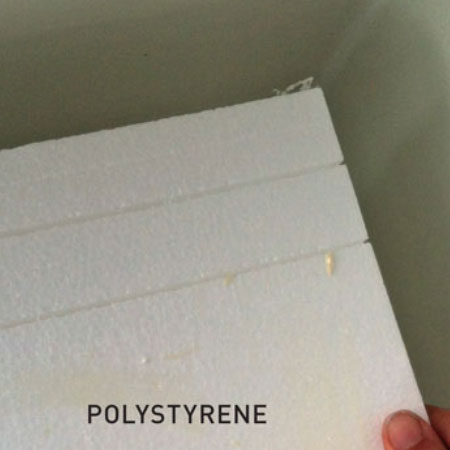
3. Cut the polystyrene to fit inside the box, allowing 50mm all around to create the sides of the cooler box. Use neutral-cure adhesive to glue the polystyrene layers together to create the void inside the cooler box.
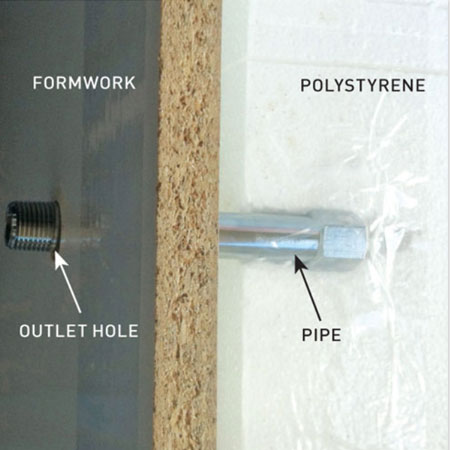
4. You need to use a craft or utility knife to cut away a small section of polystyrene that goes inside the box to allow for inserting the threaded rod for the outlet tap.
GOOD TO KNOW: Once you have positioned the threaded pipe, fill the pipe with padding to prevent the concrete from getting inside.
5. Mix and pour the cement around the polystyrene form. Tap with a rubber mallet as you work to release any air bubbles that might be trapped. Make sure that the outlet pipe is covered by at least 50mm cement mix.
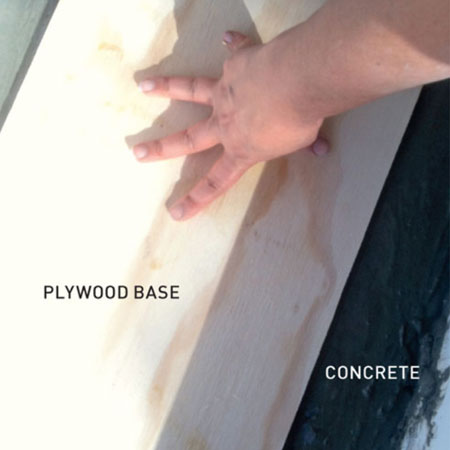
6. The final step in the concrete form is to add the base. This is placed on top of the cement mix and centred.
7. Use your hands to press the base down evenly until embedded in the concrete and flush with the surface.
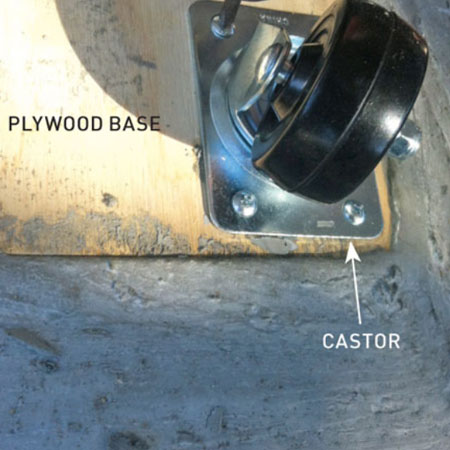
8. Now you can add your choice of castor wheels using 16mm screws and screw on the garden tap.
handyman magazine