
6 Steps to Caring for Hyacinth Until They Fully Bloom
Below are 6 are steps to caring for hyacinth until they fully bloom.
21/01/2020
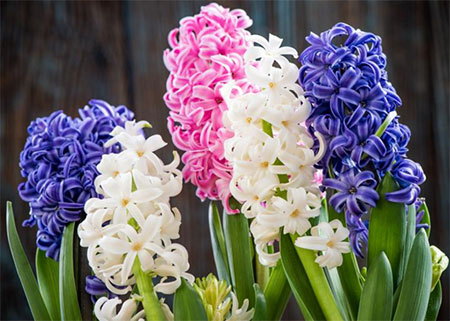
The beautiful hyacinth is one flower bulb that many people admire and gardeners have in their plot. However, you may have noticed several questions arise in gardening spaces regarding the success of this plant. For instance, why is the hyacinth losing leaves and not blooming once it is moved outside? How to care for the hyacinth? How to grow it from a bulb? Among other concerns regarding the hyacinth. Also, it is known to have caused some fatal incidents as all parts of it are toxic to both pets and humans. Hence, if this is your favorite flower bulb and you love how it blooms early and its intense fragrance, getting sound advice can help you figure out how to care for it and stay safe as well to enjoy its shades of pink, blue, red, white and yellow. Here are steps to caring for hyacinth until they fully bloom.
1. Planting the bulb
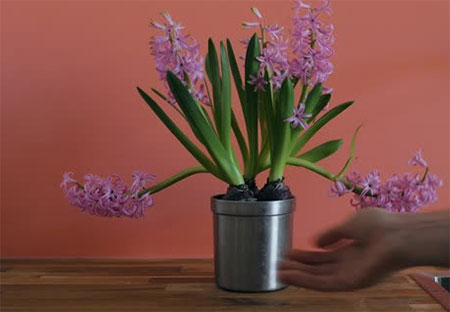
Although you can buy a potted hyacinth many people prefer growing the plant from the bulb. Since it is within your care you can boost the blooming period. This is by giving the temperature and light needs proper attention. Simply, all you have to do is plant one bulb and ensure that the tip is pointing up. This is in sterile soil, perlite and sphagnum peat all of which are in equal parts. The pot that you plant in should be between 4 to 8 inches and the tip should remain visible and not covered with the potting mix. Nonetheless, it is important before you force blooming in the hyacinth that you plant the bulbs 3 to 4 months before, for effective results.
2. Chill pot in cold temperature
The next step requires one to chill the pot for approximately 12 weeks at a temperature of 40 to 48 degrees Fahrenheit. If you live in an area that receives a cold period for the number of weeks needed, then you need not worry. However, if your area has fluctuating temperatures. Consider placing your pot in your refrigerator at the vegetable drawer. Then, ensure the temperature is adjusted accordingly to ensure your pot gets the right cold temperature. It is advised since the soil dries out fast while in the refrigerator. That watering it frequently to maintain the moisture is necessary. Also, cover the pot properly with a plastic wrap to maintain the moisture as well.
3. Change the temperature
After, the 12 weeks of chilling the pot in cold temperature remove them from the refrigerator and place them where they get direct sunlight. The temperature now should be around 50 degrees F. Leave the pot here for three weeks to force the bulbs to flower first. Plus, ensure you continue to water frequently to keep the soil moist. Afterward, once the bulb flowers you can change the location of the pot to an area with partial shade or partial sunlight as it is already flowering. Also, this helps to keep the flowers for longer if you planted the bulb yourself. However, if you had bought the hyacinth already potted this is the stage you start caring for the plant.
4. Water with no fertilization
During this stage as it continues flowering water the hyacinth as it is needed. As the soil should remain moist but not too moist as this will make the hyacinth bulb rot. Do not fertilize the hyacinth at all as the bulb has all the nutrients that are necessary for the plant to grow. After watering for some time the flowers will die and you can move on to the next step where you cut the flower stalk. Alternatively, depending with the variety of hyacinth that you are growing you may need to fertilize to keep off pests and diseases.
5. Cut the flower stalk and leaves
Eventually, when the flowers die it is time to cut off the stalk. However, it is not the right time to cut the leaves. The leaves should be allowed to stay on the plant until they die off or they turn brown as that shows they are ready to be cut off. When the foliage is brown and dead completely cut off the leaves and stalk and proceed to dig up the hyacinth bulbs. These bulbs have stored energy that they received through the direct sunlight by the photosynthesis of the leaves. Thus they are ready to be planted outdoors. Additionally, during this step it is vital to reduce watering as the leaves start turning brown.
6. Plant bulbs outdoors to bloom

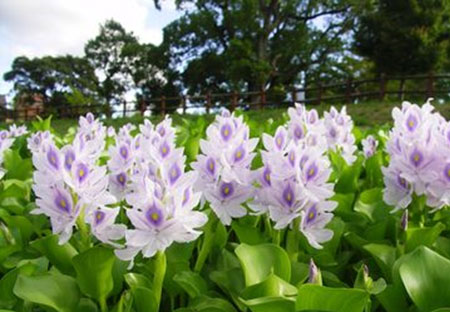
Since hyacinths are staple flowers during early spring. If your timing is right you will get to enjoy the color and fragrance during the early spring days. Therefore, plant the hyacinth bulb outdoors during fall at your home garden where there is partial to full sun. The reason they have to be planted in a garden spot is that the potted hyacinth does not bloom again if kept in the pot. Yet, when they are outdoors after one to two years they bloom with ease. On the other hand, to ensure the hyacinth grows tall, during the cold storage leave the bulbs in this temperature for longer. While for shorter hyacinth plants keep them for a shorter period.
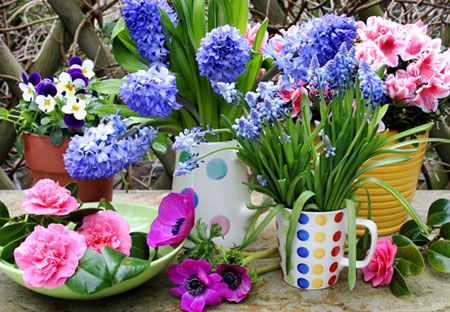
In conclusion, this trumpet-shaped flowers that grow on a single stalk over 50 in number in one cluster. They are beautiful, sweetly scented that every Gardner loves and hence they prepare theirs earlier to enjoy the blooms on time. It is important to note the steps carefully and have all the things that you will need at hand. Although the steps seem tasking the challenge is more on the timing and noting whether they are on the right temperatures. All in all, if you want the hyacinth to bloom in early February store bulbs in cold temperatures beginning of October. Optionally, you can force blooming in mid-April but you need to store in cold storage mid-December.