Recycled aluminiun can garden shower
Hot summer days, kids playing in the pool, fun outdoors... this recycled aluminium can outdoor garden shower is one way to rinse off after a day swimming in a chlorine or salt water pool.
instructables.com
If you don't want the kids traipsing in and out of the house all day, or you have a house close to the beach and need to keep the sand outdoors, an outdoor shower is just the thing. But this option makes use of items you probably already have plus a few bought accessories from your local Builders store. Plus, if you use a black hose or pipe and make a system to mount the pipe into a wall hook you also have water that's solar heated and nice and warm.
YOU WILL NEED:
Black garden hose or tubing - longest length you can afford
Large and small shelf bracket and screws (+ wall plugs if fastening to brick wall)
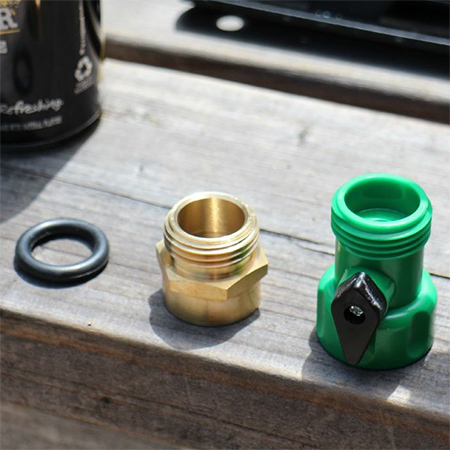
Male / female garden hose fitting and brass valve fitting with thread (see below)
O-ring hose washer
6 black cable ties
Recycled aluminium can
Large pebbles for base
TOOLS:
Drill / Driver plus assorted bits
Stanley knife
Wooden spoon or broom handle
HERE'S HOW:
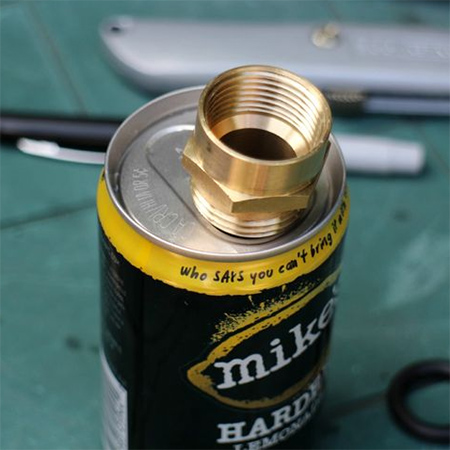
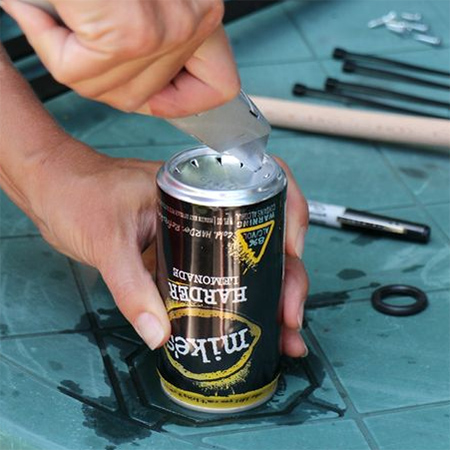
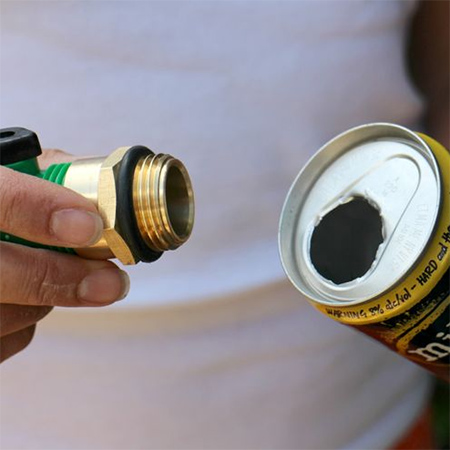
1. Remove the tab from the can. Cut a hole in the top of the can that is only wide enough for fitting the thread of the male fitting on top of the can. You can use the existing hole to make it easier to cut away.
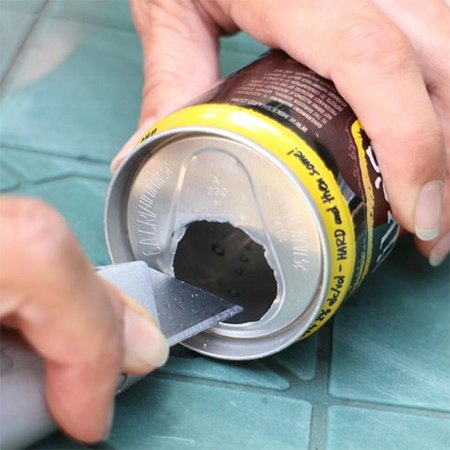
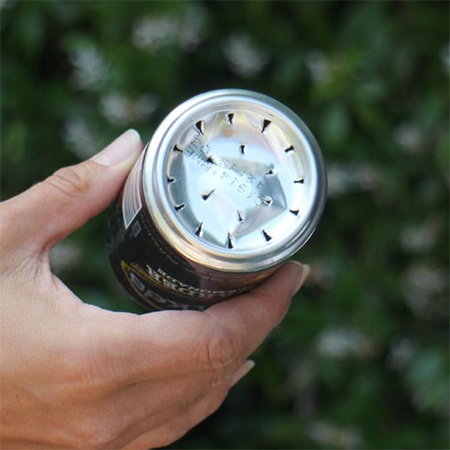
2. Using the stanley knife carefully puncture holes into the base of the can. Press the tip of the blade into the soft aluminum and twist back and forth a little bit. Make two rings in the base as shown.
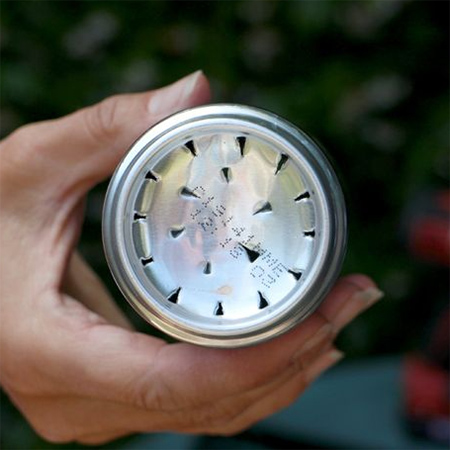
3. If you leave base as is the water will spray inwards instead of outwards. To fix this, use a wooden spoon or a broom handle to push the base of the can outwards so that you have a little mound in the centre of the base.
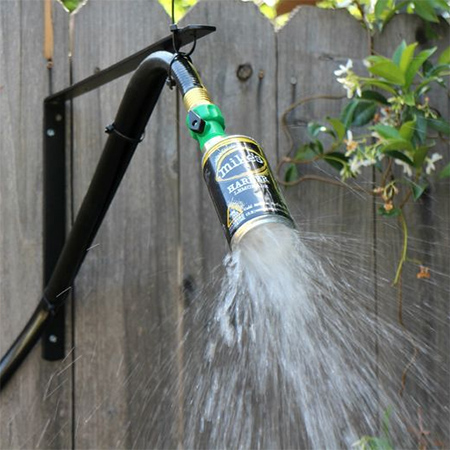
4. Screw the hose fitting and O-ring together. The O-ring goes on the male threaded end of the brass valve. Carefully screw the thread of the valve into the hole in the can. Screw it in until you see the rubber O-ring flatten so that you know it is a tight fit. Now your new shower head is ready to be attached.
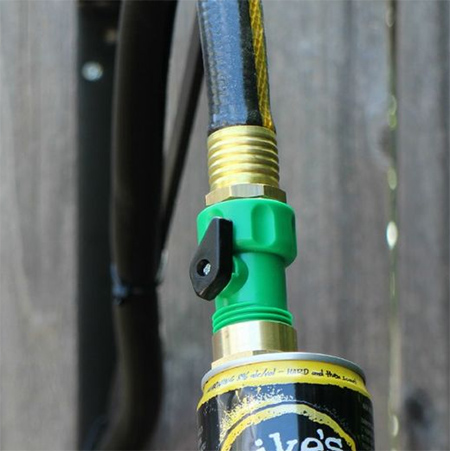
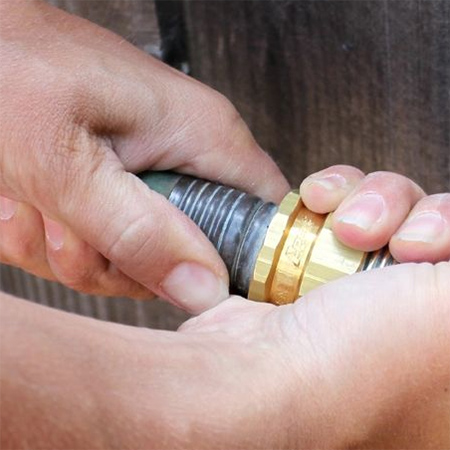
5. Attach the hose pipe to the can fittings to test that everything works OK, or make any necessary adjustments to tighten the fittings.
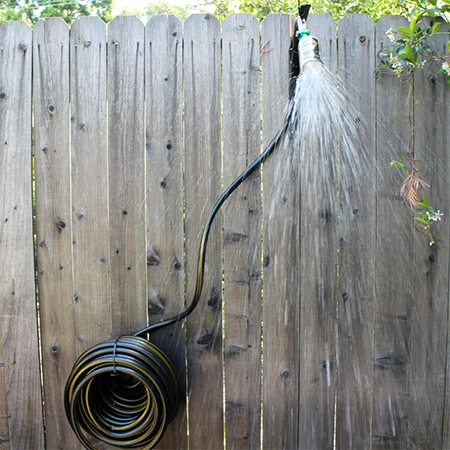
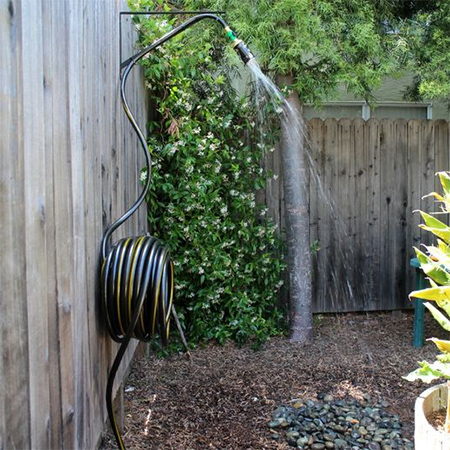
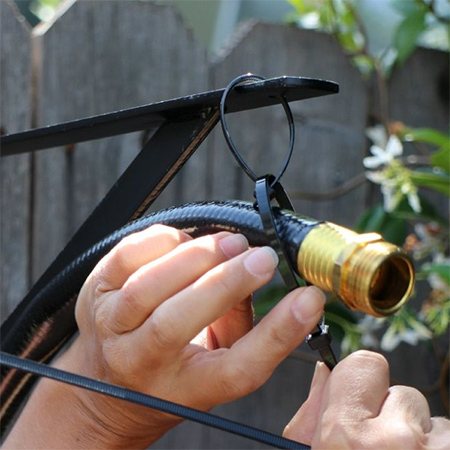
6. If you want a warm water shower install the brackets on a fence or wall that gets plenty of sunlight throughout the day. Mount the larger shelf bracket at the height you want for the shower and the lower bracket about 1 metre off the ground to hold the hose pipe.
7. Leave the hose pipe coiled up and hang on the lower bracket. During the day the black pipe will absorb heat and warm up the water within the pipe. Uncoil enough pipe to hang this from the top bracket using cable ties.
Finish off your outdoor shower by laying a pebble base that allows water to drain freely into the ground when the shower is in use.