
How to build a brick firepit
With climate changing affecting our weather, and the spring evenings being very chilly, now is the perfect time to consider adding a brick firepit to your outdoor area.
08/11/2018

Climate change has brought about a very real change in our local weather, and this spring is not the usual weather we are accustomed to. In the mornings and evenings the air can be very chilly, and this is the perfect opportunity to install a firepit to keep you warm outdoors. A firepit is also a great way to bring the bush to your outdoor area.
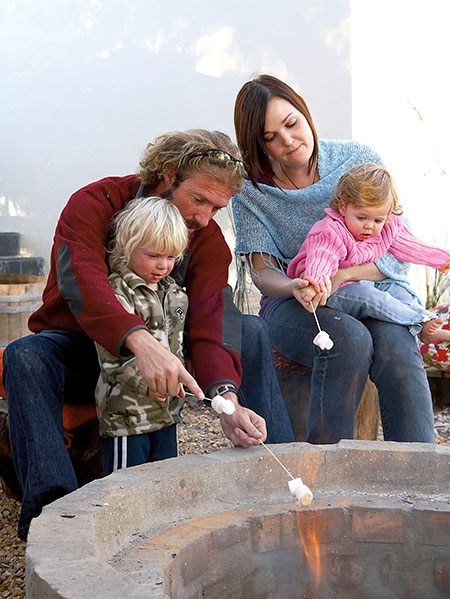
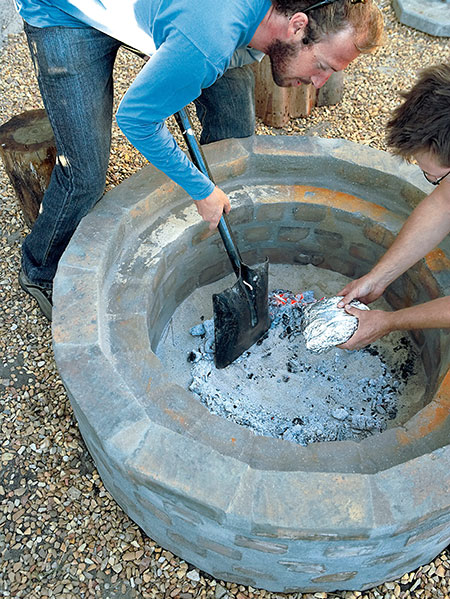
This brick and concrete firepit is easy to construct and versatile enough to use as an open campfire, a fireplace to cook food, an oven, or simply a source of heat when the temperature is on the chilly side.
YOU WILL NEED:
Approximately 120 fire-hardened bricks
Cement, building sand and gravel
Wooden stakes
String
Bonding liquid
TOOLS:
Spade
Trowel
Tape measure
Wheelbarrow
Buy all your tools and supplies for this project online at Builders Warehouse.
HERE'S HOW:
GOOD TO KNOW: Select the perfect place to install your firepit. The firepit should not be located too close to buildings or trees with overhanging branches.
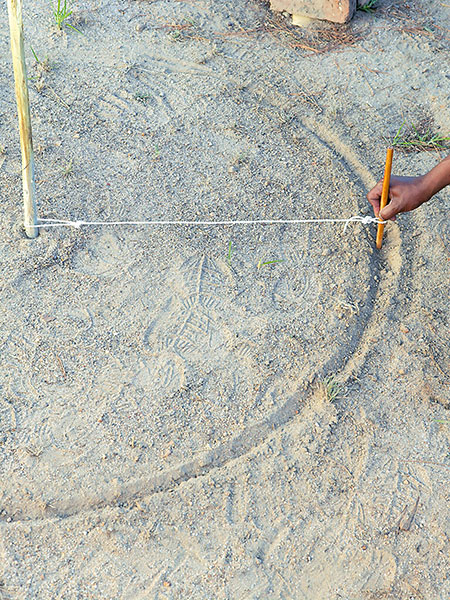
1. Hammer a wooden stake into the ground to mark the centre of the firepit and then use a tape measure and piece of string roughly a meter in length to make the location. Tie a loop at each end of the string to give a final length of about 800mm. Fit one loop over the stake and place a stake into the loop at the other end. Scribe a circle roughly 1600mm diameter.
2. Dig out soil from the area to a depth of at least 150mm.
3. Mix the sand, gravel and cement together to form the mortar for the foundation. The consistency should be wet and thick. Fill the dug out hole until you have a foundation approximately 100mm in thickness.
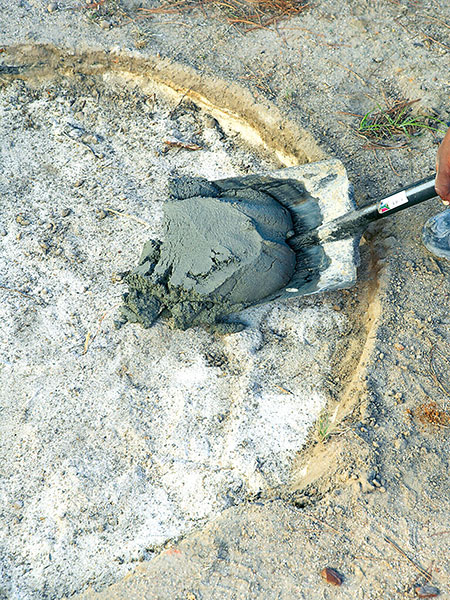
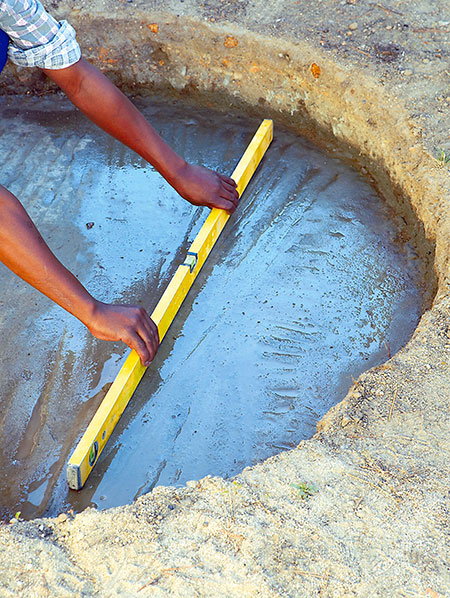
4. Use a spirit level to ‘chop’ the surface of the cement while still wet - work from one side to the other. While doing this you can also ensure that the foundation is level. Leave to set overnight.
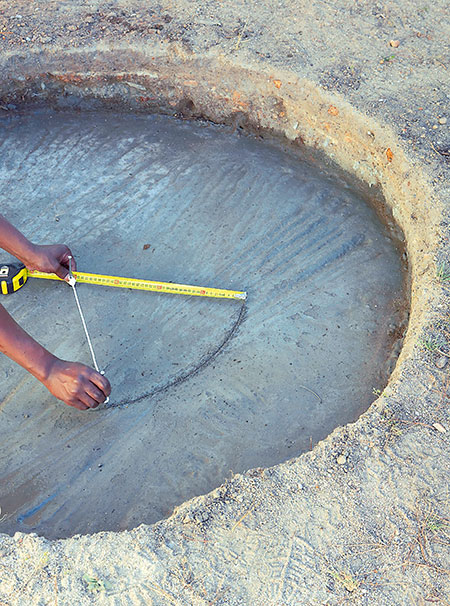
5. Repeating the method as in step one, create another length of string and two loops about 450mm in length. While the cement is still slightly wet, hammer a nail into the centre and scribe a circle about 900mm diameter.
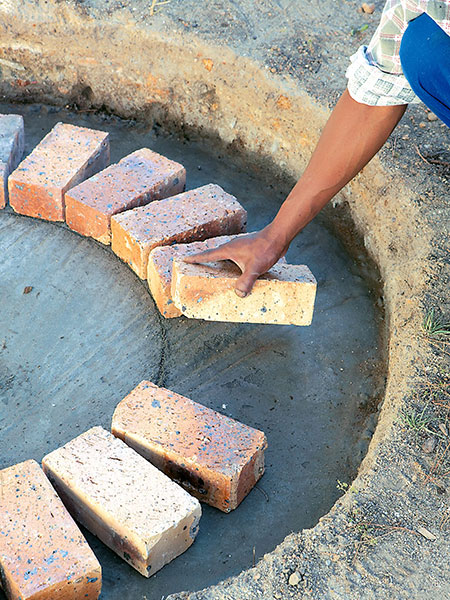
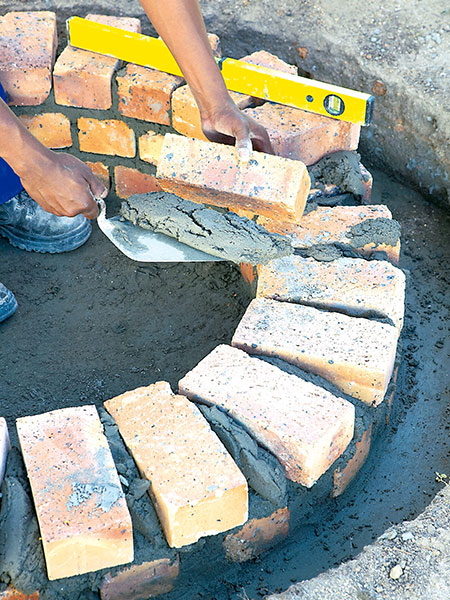
6. Arrange the fire-hardened bricks into the shape of a circle. Space the bricks evenly around the circle, so that the spaces around the outside are even.
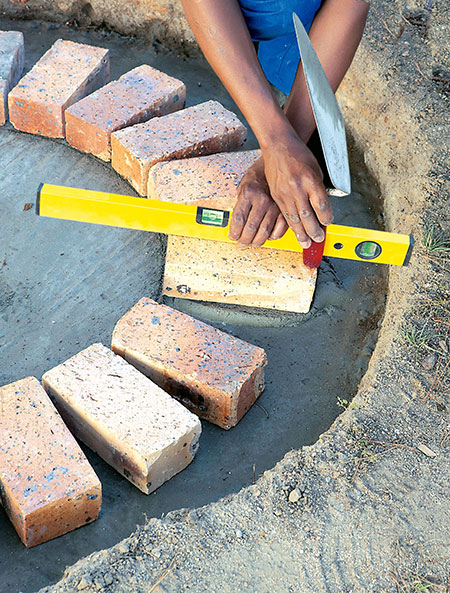
7. Mix your mortar, but this time adding bonding liquid to make it stronger. Begin by laying the first brick.
GOOD TO KNOW: Use the spirit level to ensure that the bricks are level. Use the handle or edge of the trowel to tap the brick down into the mortar until you are happy that it is sitting firmly (and level) in the mortar.
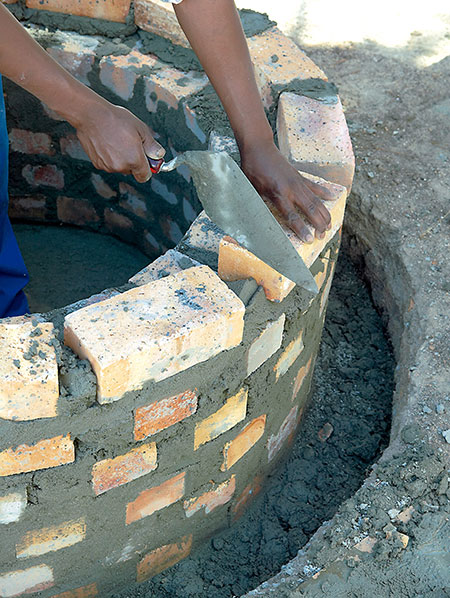
8. Continue to add the subsequent rows in the same way, alternating the positions of the bricks so that they overlap the bricks in the rows below. Fill the wider gaps along the outside as you work.
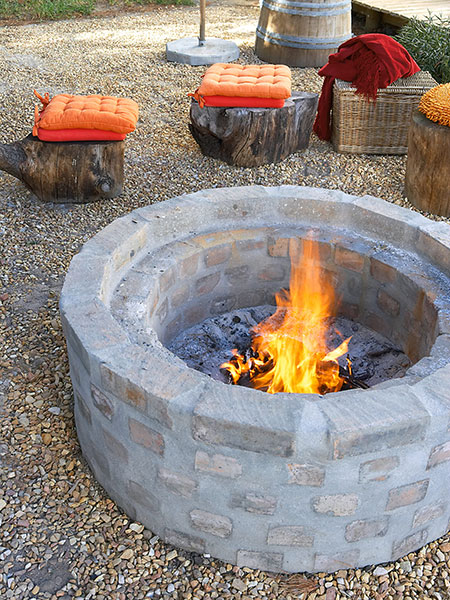
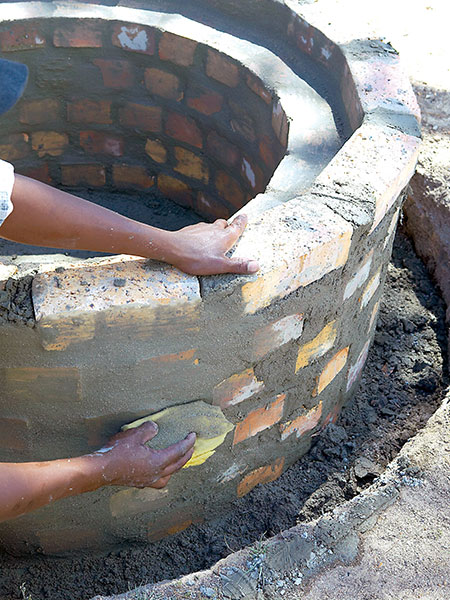
9. The final row of bricks should be placed end to end around the outside, as shown below.
10. Make sure to fill all the gaps between the bricks and allow this to set slightly before using a wet sponge and the remaining mortar to ‘bag’ the structure. This entails painting the diluted mortar onto the brickwork in a rubbing motion.
11. Leave the structure to dry for a few days, wetting it morning and evening over the next couple of days, as this will help the cement to cure. The longer you leave the structure to cure, the more durable it will be – two weeks or more would be best.
Now you can experience the freedom of the bushveld in your own garden.
gallo images