
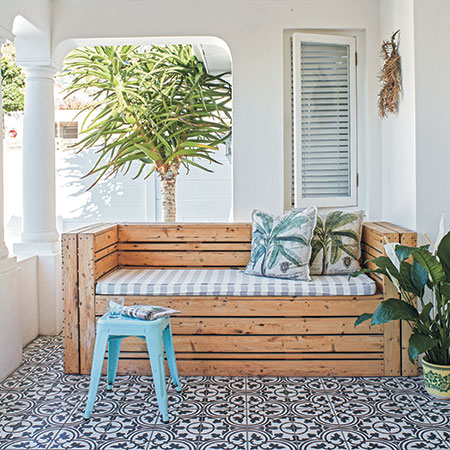
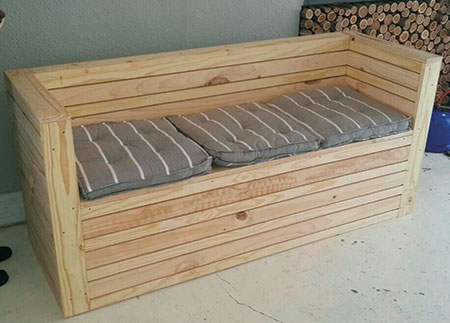
DIY Garden Bench for patio or entertainment area
Make this rustic 3-seater bench for seating on a patio or entertainment area.
17/11/2018
gallo images
YOU WILL NEED:
22 x 69mm PAR pine, cut to:
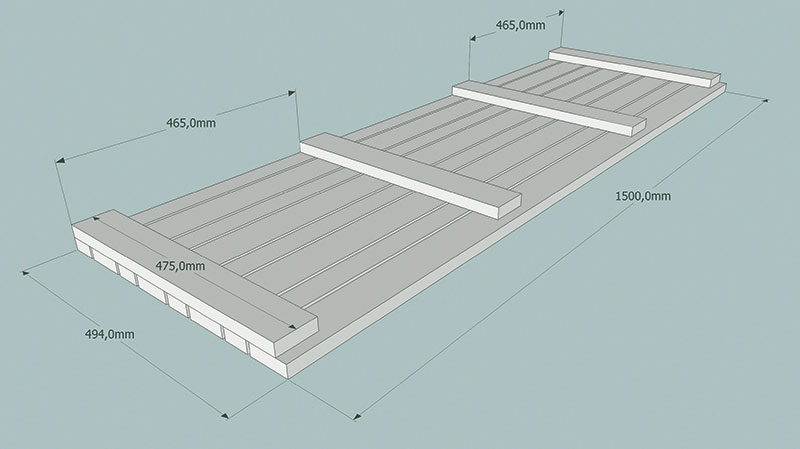
- [4] 1500mm lengths (seat)
- [4] 475mm
lengths (seat supports)
- [3] 1500mm
lengths (front)
- [4] 400mm lengths (front
supports)
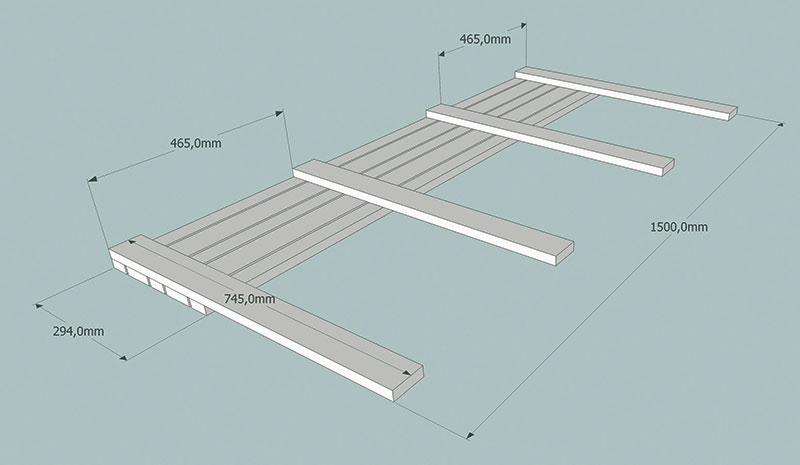
- [2] 1500mm lengths (backrest)
- [4] 745mm lengths (backrest supports/feet)
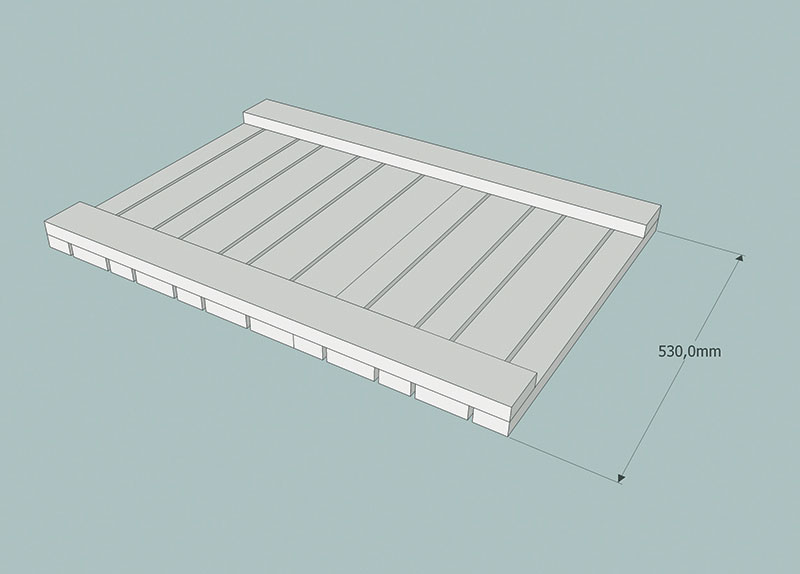
- [6] 500mm lengths (sides, inside)
- [4]
320mm lengths (side supports, inside)
- [12]
530mm lengths (sides, outside)
- [4] 745mm
lengths(side supports, outside)
- [1] 1500mm
length (support for seat/backrest)
22 x 44mm PAR pine, cut to:
- [4] 1500mm lengths (seat)
- [4] 1500mm
lengths (front)
- [3] 1500mm lengths
(backrest)
- [12] 530mm lengths (sides,
outside)
- [4] 500mm lengths (sides, inside)
22 x 94mm planed pine, cut to:
- [4] 745mm lengths (armrest, front and back)
- [1] 1500mm length (backrest, top)
- [2]
570mm lengths (armrest, top)
- [1]1600mm
length (back, bottom)
6mm spacers
3 packs of 8mm x 30mm chipboard screws
1 pack 6mm x 40mm chipboard screws
Wood glue
Wood filler
120-grit sandpaper
Paint or varnish to finish
TOOLS:
Drill /Driver plus assorted bits
Clamps
Corner square
Tape measure and pencil

HERE'S HOW:

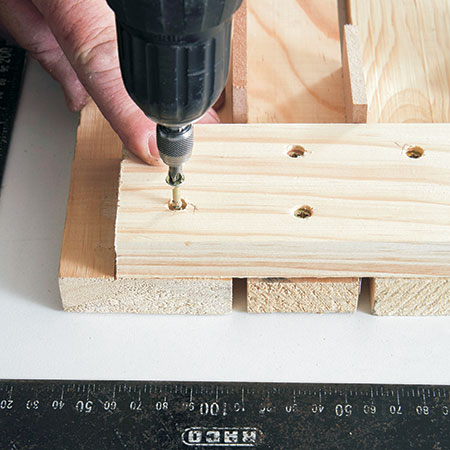
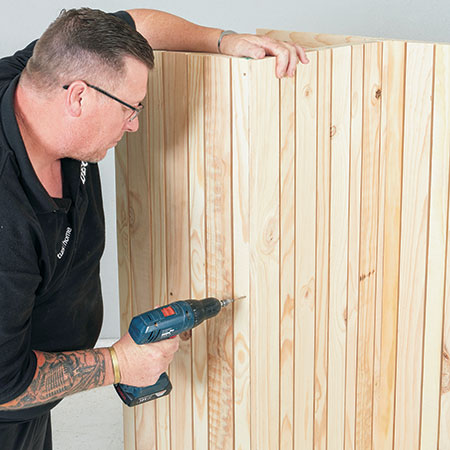
1. Make the seat by placing the [4] 22 x 69 x 1500mm and the [4] 22 x 44 x 1500mm planks next to each other, alternately.
GOOD TO KNOW: Use a wood clamp to hold the planks in place and the 6mm spacers to make sure the gaps are even.
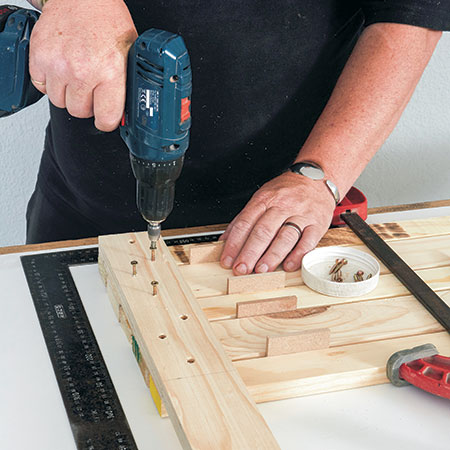
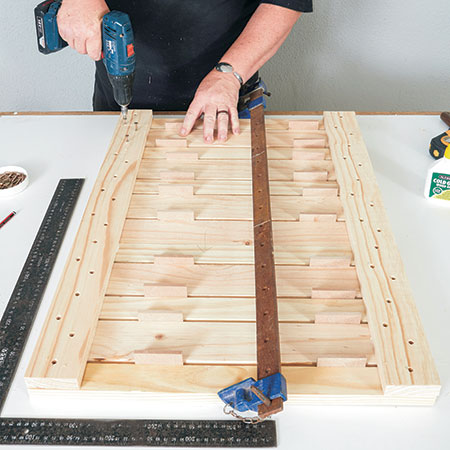
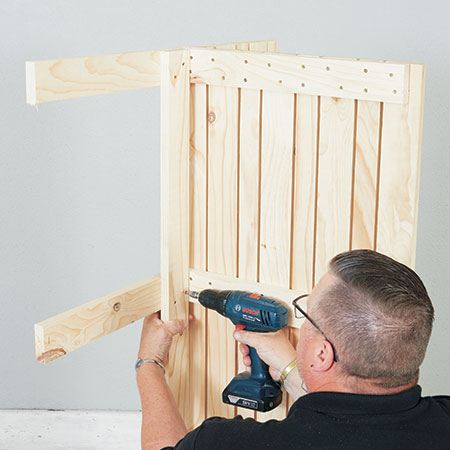
2. Place the [4] 22 x 69 x 475mm supports at right angles across the seat planks and space them as indicated on the sketch (opposite). Using 8mm x 30mm screws, glue and screw the supports in place in a zigzag pattern.
Make the backrest, sides and front by repeating the above process (see sketches).

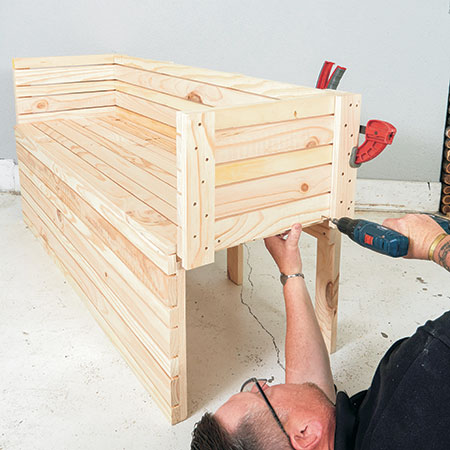
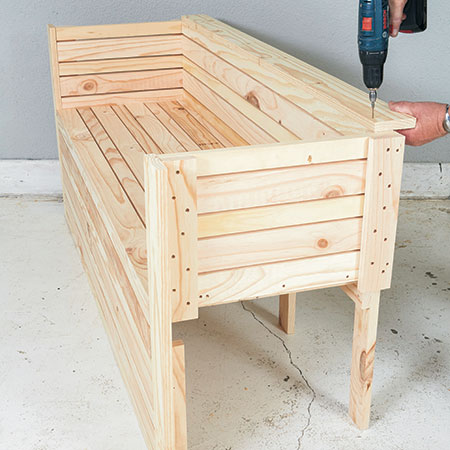
3. Join the seat to the backrest with the 6mm x 40mm screws. Attach the 1500mm support for the seat and backrest to the backrest supports/legs to reinforce the seat. Screw the front panel beneath the seat.
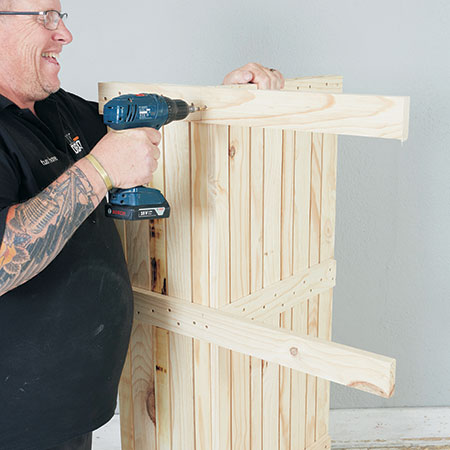
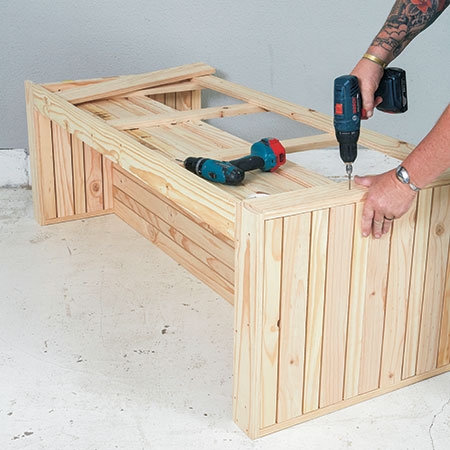
4. Attach the inner panel for the sides to the backrest and seat. Attach two of the 22 x 94 x 745mm planks to the front of each side to finish off the front of the armrest. Screw two pieces of offcut wood to the bottom of the front supports to reinforce the front of the armrest with the front panel. Glue and screw the 22 x 94 x 1500mm plank to the top of the backrest.
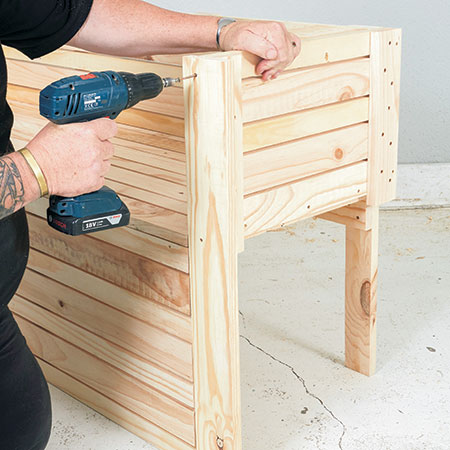
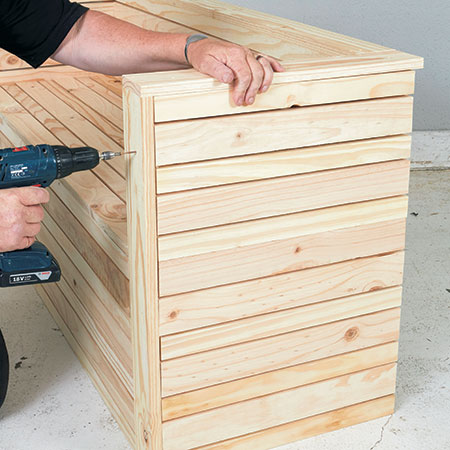
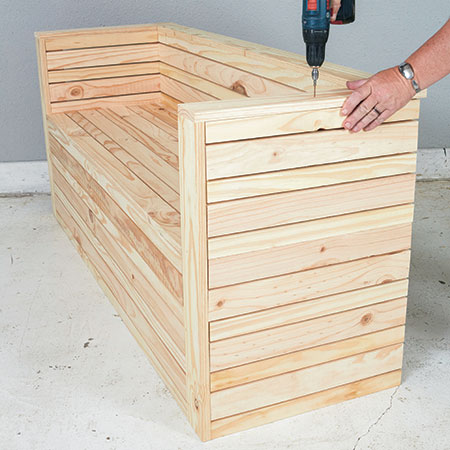
5. Place the outer panel of each side in position and attach with the 6mm x 40mm screws. Complete the armrests by screwing the 22 x 94 x 570mm planks on top.
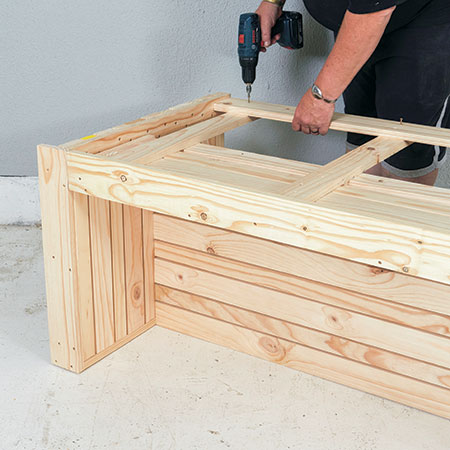
6. Turn the bench over with the backrest facing upwards and screw the 22 x 94 x 1600mm plank to the bottom of the legs to reinforce the sides. Screw the remaining 22 x 94 x 745mm planks to the back of the armrests to complete the bench.
Finishing
Fill all visible screw holes with wood filler and allow to dry completely. Sand the bench thoroughly and paint or varnish in the colour of your choice; we left the wood untreated.
Watch the video below to see how the rustic garden bench is assembled: