DIY trouser hanging rack
I have recently been featuring projects for updating my built-in closet and the most recent was converting shelves to drawers. In this feature I'm going to show you how easy it is to make a trouser rack that you can pull out to make hanging and storing your trousers, pants and jeans so much easier, and they will take up far less space in a closet.
By converting some shelves to drawers I now have an extra cupboard that I am converting to hanging space for pants, trousers and jeans which were originally piled on the shelves. On one side will be the hanging racks and on the other. well... I'm still thinking about that. I will possibly add small hooks and rails for ties and belts, etc.
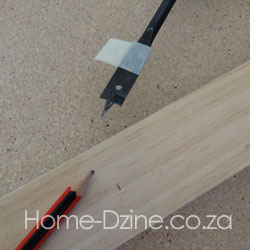
To make the hanging section I am using a piece of 44 x 44mm PAR pine. You need a thick piece of wood so that you can ensure the dowels you use for the rack will be firmly mounted in the wood block. Use a tape measure and pencil to mark equally spaced points for the dowels.
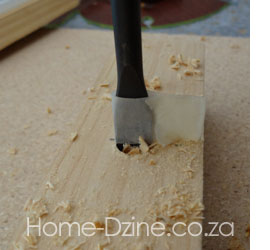
I bought 12mm dowels at Builders Warehouse, so I'm using a 12mm spade bit to drill the holes. A piece of masking tape wrapped around the spade bit tells me when to stop drilling - I don't want to go right through the block !
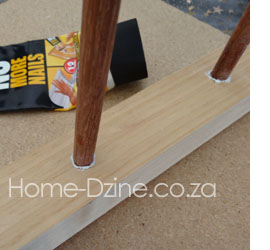
The dowels are glued in place with No More Nails adhesive. I'm using No More Nails because it dries much faster than wood glue and I can't be bothered to wait all day.
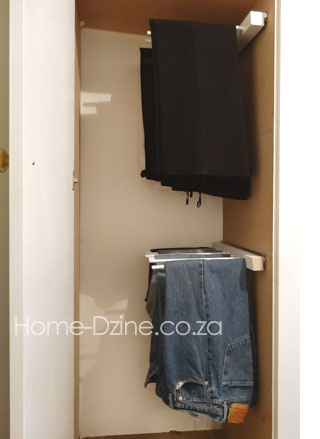
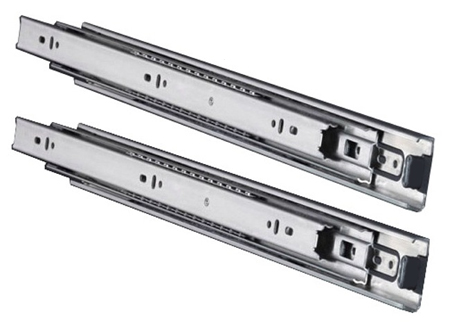
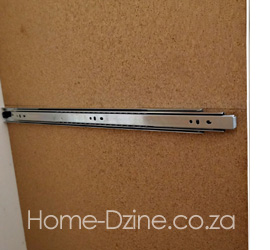
The most important component for this project are the drawer slides. These are not the cheapie ones that you use for standard drawers. These drawer slides have bearings and are solid enough to be able to support the weight. I bought my drawer slides at Builders Warehouse and they cost around R90 per set of two. Not cheap, but with a pair you can install a double level of trousers, pants or jeans and save a lot of space.
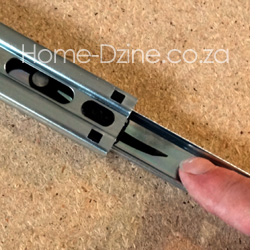
Before you mount the drawer slides you need to separate them, so that one part can be mounted on your piece of wood that becomes the hanger, and the other part can be mounted onto the wall of the closet. For those of you who know me... I am blonde, but not normally like those in the jokes !. However, I uuhmed and aahed trying to figure out how to separate these buggers before I noticed this little plastic clip.
Simply by bending the clip to one side you release the top slider section - the side that gets mounted to our trouser rack piece.
Now all you ladies can go home and try this out on your husbands. It will take them a while to figure it out - if at all !
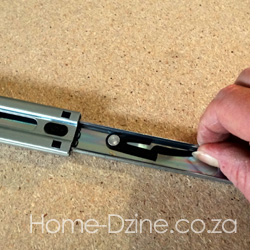
Now you can mount the removed part onto a block of wood. Use small screws so that the head of the screw won't protrude too high, or your mechanism will jam when you fit it all back together.
Note: Place the slider as close to the top of the block as you can to prevent it tipping when you add clothes.
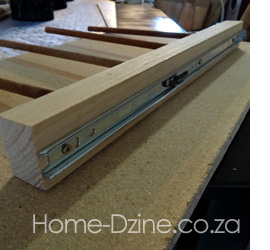
The other part of the drawer slide gets mounted onto the wall or frame of your closet. Again use screws that won't protrude. You will have to move the top track out of the way to gain access to the mounting screws.

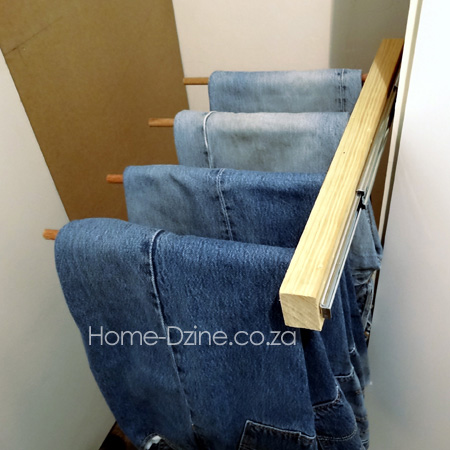
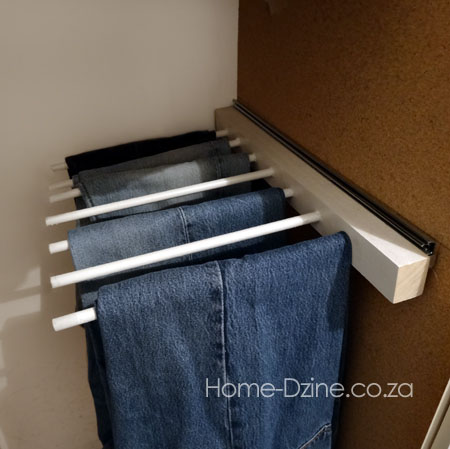
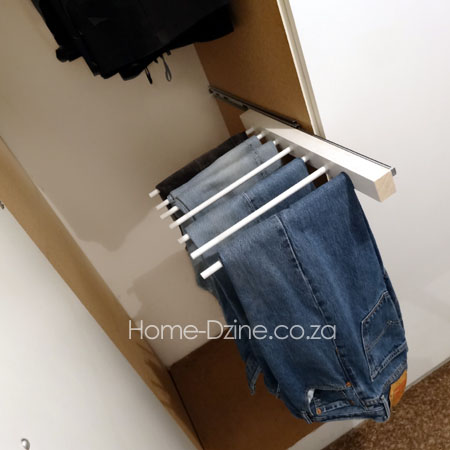
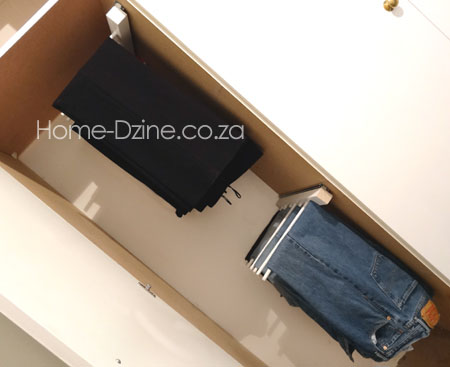
Now you simply slip the block back onto the main part of the slider that you mounted on the side of your closet and click in place. This is how the original design for the trouser rack came out and you will notice that there are additional holes. I wasn't sure how many trousers the rack would hold, especially if hanging heavy jeans, so I tried it out first. Call this my prototype design if you will.
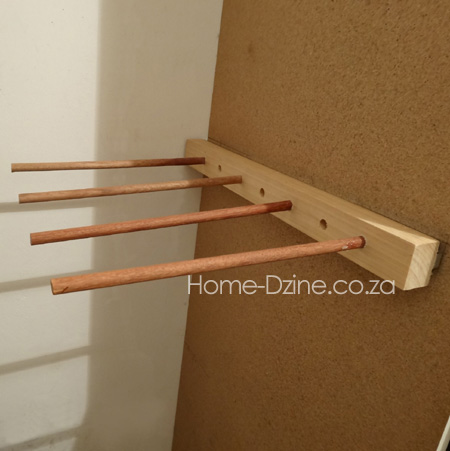
Four pairs of jeans fit nicely onto the trouser rack and there's still plenty of space. If you are making this rack for pants or lightweight trousers you could easily add another 3 dowels.