
Lay a slate tile floor or wall
Whilst tiling a floor with slate tiles follows the basic tiling procedure, due to their characteristics there are a few 'should know' techniques.

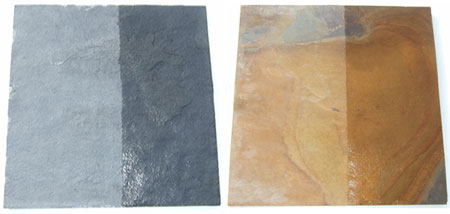
Slate tiles work well in any style of home - it all depends on the colour, shape and size of tile that you select. A combination of autumn colours add a cosy feel to a cottage kitchen or country style home, while large, black slate tiles add impact to a modern home.
Important installation tips when installing slate tiles:
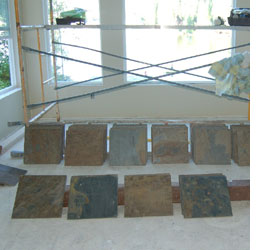
It's a good idea to lay out tiles before setting, so that a good colour mix throughout the floor is obtained. Distribute colours in a random fashion for a more natural looking floor. You will also need to organise the tiles according to thickness, as no two slate tiles are the same size. Although a natural slate floor is never perfectly level, try to aim for tiles that are evenly laid across the floor and avoid ones that stick up here and there.
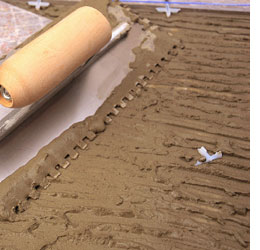
Wipe the dust off the backs of the tiles before installing. This gets rid of the slate dust which affects proper adhesion. Don't use standard tile adhesive, slate tiles require a much strong adhesive and you can purchase this when buying the tiles. Slate tiles are not perfectly square, so grout joints should be a minimum of 0.5 cm wide. This will compensate not only for a slightly different sizing but also help in obtaining a smooth floor.
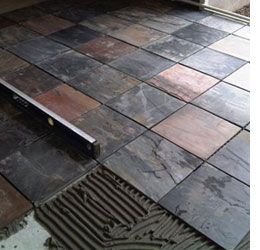
Before laying the tiles it's a good idea to check that all the walls in the room are square, or as close to square as possible. Measure from one side of the room to the other at various points along the wall to check for differences. If the walls are not square you will end up with tiled rows that are uneven across the floor.
Any adjustments for uneven walls are best made at the outside edge, so that the main floor looks good. Start by laying the slate in a far corner of the room to be tiled and work your way out into the room from this point. Only lay enough adhesive as can be laid within 10 minutes; any longer than this and the adhesive will start to dry out.
After all slate is set in place – allow at least 24 hours for drying before grouting joints. For the grouting you will not be using the standard tile grouting mix, but a coarse, stronger mix. Buy this product when you purchase your tiles. To ensure a uniform appearance throughout the tiled area, the grouting process is important.
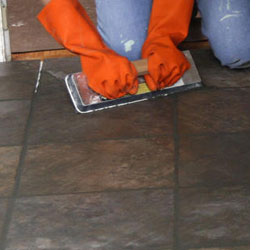
The grout must be the consistency of cake batter. Immediately wipe off all excess grout from the slate to make final cleaning much easier. Squeeze as much water from the sponges as possible when you use them to remove excess grout from the slate.
Excess water that seeps into the damp grout will severely weaken it causing it to crack, powder and disintegrate over time. You must get all traces of grout from the slate before the grout dries. There will be a slight haze of grout powder on the slate, but that will come off the slate with a dry towel after the grout has completely dried.
Sealing slate tile is a matter of personal choice. Unsealed slate retains a natural beauty, while sealing tends to highlight the colours contained within the tile. Whatever your choice, don't apply sealer too soon - you don't want to seal in moisture. Allow the slate floor to cure for 30 days before sealing. Only use a quality sealer - this will give you long life, non-yellowing and will not produce a slippery surface.