
How to make a sawhorse
A sawhorse is not only useful in the DIY workshop, they also come in very handy for tables and desks. You can use a sawhorse to assemble an instant garden table if you have an old door, or even a temporary place to set up your home office. Here's how to make a simple sawhorse.
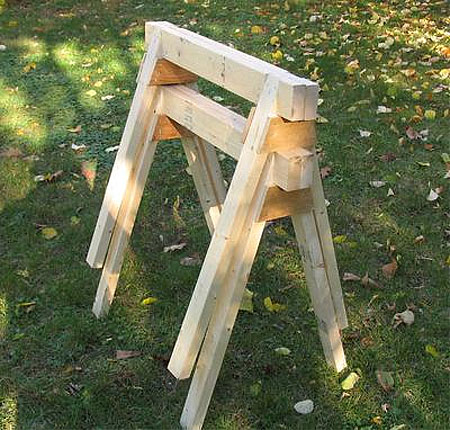
These sawhorses are light, sturdy, and stackable, which means they can easily be stored away when not in use.
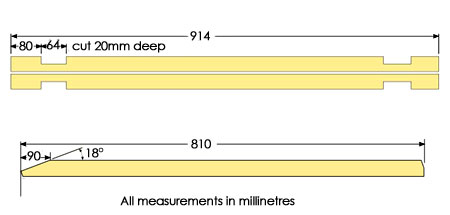
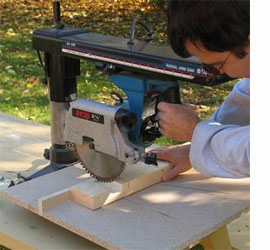
Use a mitre saw or handsaw to cut to 20mm deep on the sides and through the section to be removed, to make it easier to take out with a wood chisel. If you have a new Dremel DSM20, you can use this as well.
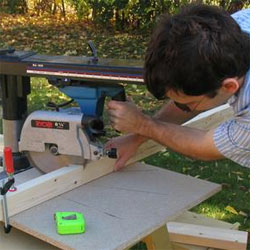
The angle on each leg is 18 degrees and you can set your mitre saw or table saw to cut this, or you can mark and then use a jigsaw to cut. Cut the mitre on the bottom end of the legs only half way across. This prevents it from chipping out when the sawhorse is used - see diagram above.
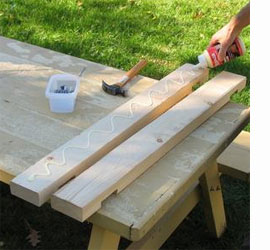
Glue the two pieces of 50 x 100mm pieces that form the beam together. No need to put a lot of glue in between, as this joint won't really get stressed.
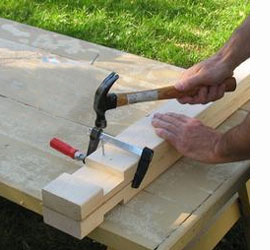
It's best to put a small clamp on the two pieces as shown before nailing them. With the glue between the pieces, it acts as a surprisingly good lubricant, and the pieces tend to slide out of place while you are nailing them.

Glue and nail the legs to the beam.

Rather than measure how big the leg plates need to be, I just marked them off the sawhorse and cut them to size. Nail the leg plates onto the legs. The leg plate should be slid right up against the cross beam, so as to provide extra support. Nail these to both sides of the legs.