Create a safe space for DIY
Crafting and DIY projects can be really satisfying if you don't hurt yourself or anyone else while getting the job done. One of the best ways to protect yourself from injuries is to reduce the unexpected element in your projects. One simple solution: Have a dedicated workspace and maintain it well.
rich files
Creating a workspace
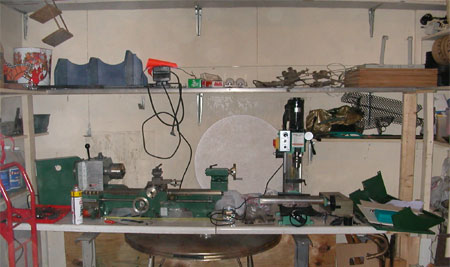
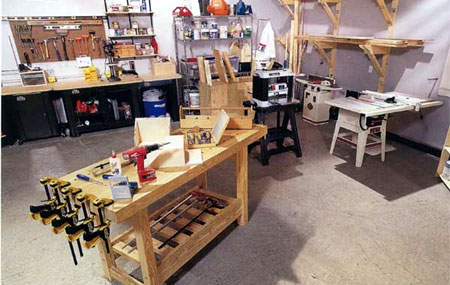
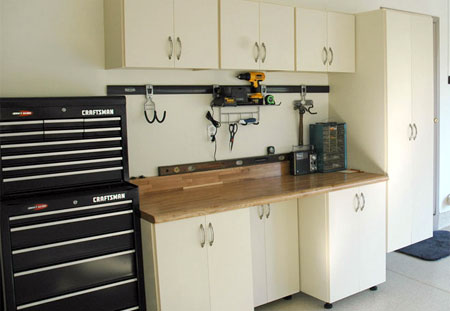
Space is usually a precious commodity in a home, so you may be used to working at a kitchen counter or worse, in your driveway. Do everyone in your home a favour, and carve out a niche for yourself in a garage, or other utility area. Equipment can get heavy or be hard to handle, so load a sturdy work surface in your designated spot.
Ideally, you want a worktable or surface that can support some weight and be solidly affixed to its base. A piece of plywood on a couple of sawhorses isn't a safe workspace. You'll also want an area that's close to electrical points. Potentially dangerous tools have short cords with disconnects to protect you, and plugging them into long extension cords is missing the point.
These tips will help you craft a safe and handy DIY space:
- Give yourself some elbow room - Have enough room around your worktable (or workbench) to maneuver easily. You should also make sure that your space is free of obstacles, like cracks, depressions and bumps that could trip you.
- Light up your work surface - Adding some wall- or ceiling-mounted task lighting will help ensure good visibility for close work. Getting your light source out of the immediate vicinity but still close enough to provide illumination is a safe, space-saving solution.
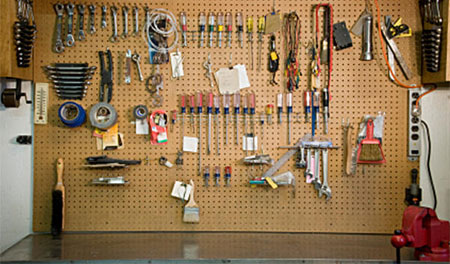
- Create storage - You're more likely to use those protective goggles if they're easy to find. When you have plenty of nearby storage, you'll be able to keep the important stuff within easy reach. A work table with onboard drawers is a great option.
- Invest in safety - Buy gear that will help you maintain a safe working environment. Tight-fitting safety glasses, work gloves, a good respirator, a first-aid kit and a fire extinguisher are all important items to keep on hand.
Using your work area safely
Creating the right space in which to work isn't enough. You also need to use it correctly. Your good judgment is the first line of defense against accidents. Now that you have a convenient space, develop safe practices to go along with it. Have a designated storage spot for all of your gear and keep it where it belongs.
You'll be a lot more likely to use the right and safest tool for the job if you know where it is. Read the operating manuals for your tools every time you use them. Don't cut corners because you're tired, frustrated or in a hurry. That's how accidents happen. Inspect tools periodically for damage, like frayed cords. Replace old or damaged tools. Newer tools often have enhanced safety features, so consider upgrading.
Non-portable projects
Whenever you can, transfer projects to your worktable for completion. When you move away from your worktable, make a quick assessment of the tools and safety gear you'll need and take them with you. A trusty toolbox is an invaluable asset for setting up an efficient, portable workspace.
Whether you're changing a washer or tearing out a wall, safety should always be your top priority.
- Respect the destructive potential of electricity and flammable substances.
- Wear rubber, gripping footwear in slippery conditions, and remember that water and electricity don't mix.
- Don't skimp on safety preparations, like making sure your ladder is on a stable, level surface.
- If you discover that you've taken on more than you can comfortably complete at your current skill level, call in a pro.
When you're developing your do-it-yourself skills, take the extra time to establish a reliable base of operations and develop safe work practices. Your projects will go more smoothly, and you'll have fewer cuts and bruises along the way.
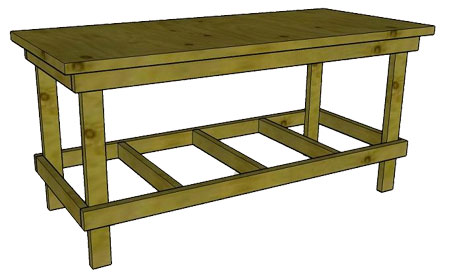
Build a workbench
A simple, sturdy workbench is easy to make and you can design it to fit into the amount of space available. Use this diagram for the workbench frame and top off with