
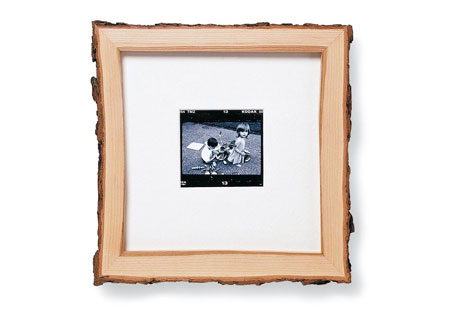
Make a rustic picture frame
Believe it or not, there are some real diamonds in the rough to be found in firewood or even fallen limbs, and the best part of all—it’s free! Turning logs into something practical is a lot of fun. Pieces don't have to be perfect - it adds to the effect!
americanwoodworker.com
Chances are the wood will need to dry out before you use it, so stick the best pieces indoors and let them dry. Use a moisture meter to test for a moisture content of around 8% before using your wood.
YOU WILL NEED:
Table or band saw
Router or Dremel Trio
Joiners Mate - 2-part wood glue
Sander plus 120- and 220-grit sandpaper
HERE'S HOW:
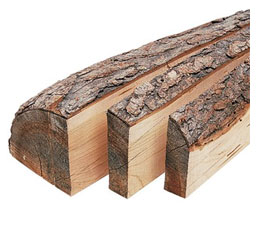
For this project you're going to need a table saw or band saw to cut the wood into manageable sections or strips. Cut mitres on all the ends. With a bark edge it’s hard to take precise measurements, so a little bit of trial and error is required to get good mitres on all four corners. Dry fit the frame to even up the inside edges.
You need to cut a recess or rabbet on the back of the frame to hold your glass and you can do this with a router or Dremel Trio. Set the depth to accommodate your glass, matting, picture and backing. Glue one joint at a time using a quick-setting glue, such as Joiner's Mate. To avoid damaging the bark edge, use your hands to clamp the joint. Sand and finish the frame. Attach screw eyes and picture wire. Mount the picture and hang it on a wall near your fireplace for all to enjoy..