Repair and restore wood furniture
Being able to repair and restore wood furniture means that you can not only extend the life of the beautiful pieces you already own, but you can also look at the option of buying piece of wood furniture that needs TLC. Solid wood furniture has become extremely expensive and being able to pick up a bargain is the only way some of us can own furniture that is built to last a lifetime or two.
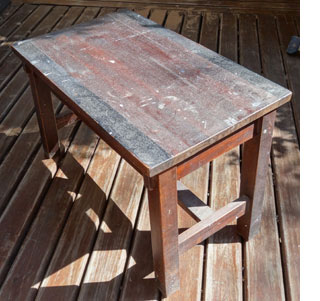
Way back I made this Arts & Crafts style bench and since then it has been relegated for seating in the workshop. Now it's full of paint and chips, scratches and cracks, so I decided that this would be the perfect project to repair and restore to show you how to...
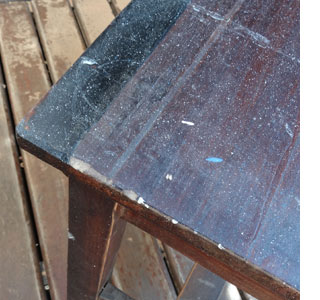
The bench is still in good shape, but it will need sanding to remove all the paint splotches and spatters. There is also a large chip missing at the edge of the table, and this is a nice opportunity to show you how you can fix up dents and dings - as well as chewed-off corners.
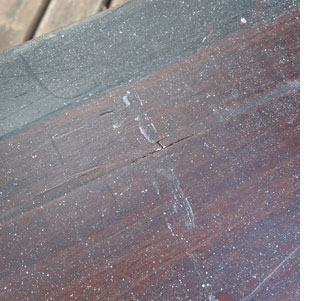
Additionally, because I haven't been giving the bench any TLC, the surface of the wood has cracked in places where it has dried out. It's important to remember that wood requires constant nourishment to keep it looking beautiful. Regular application of a protective oil or seal penetrates deep into the wood to protect and if not applied the wood starts to shrink as it dries out.
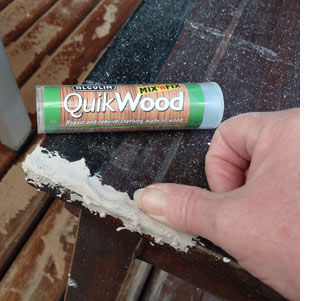
The easiest way to fix dents and dings, or repair missing chunks, is to use Alcolin QuikWood. This 2-part epoxy resin is kneaded together and then applied to the lightly sanded surface to be repaired. There is, however, a trick to using this product properly.
Once kneaded you need to apply the resin forcefully onto the surface and push down and out with your thumb over the surface to ensure a good bond with the wood. If you don't do this, there is a chance that the product will simply fall off when you start sanding.
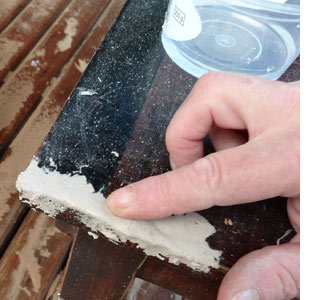
You also need to smooth the resin before it dries, as the product becomes rock hard once cured and difficult to sand. I normally have a small bowl of water handy, so that I can wet a finger to smooth down the resin. Use the tip of a finger to press down and smooth so that the resin fits and matches the surrounding levels of wood as much as possible.
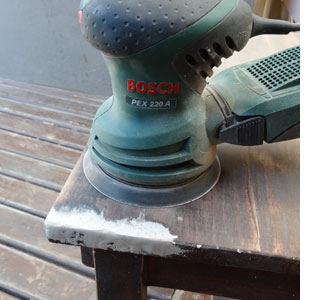
Let the resin cure for about an hour - or until it is hard to the touch, but no more than 2 hours. This is the best time to sand smooth, before it has the chance to cure completely and becomes extremely hard. Start off by sanding with 120-grit sandpaper and finish with 240-grit to smooth.
Sand away as much of the resin as possible, leaving only that needed to fill the gap or dent. The reason for this is that the resin does not accept a stain and will be very obvious - so the idea is to make it as conspicuous as possible. If you do need to stain to a dark colour, apply the smallest amount possible of artist's oil paint and when kneading.
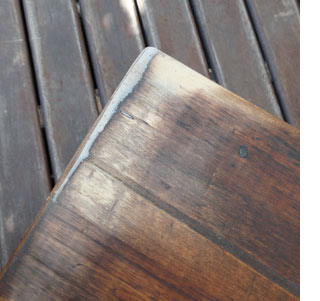
ABOVE: You can see how little quikwood remains after sanding, and once stained this will hardly show at all.
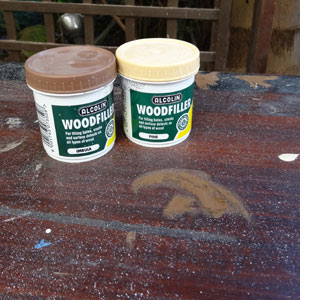
Smaller cracks and dents can be filled with wood filler. Here, it's important to choose the colour of wood filler that closest matches that of what the finished colour will be. Wood filler comes in a variety of wood tints and you should choose a pine if you are not staining, or a darker colour for wood to be stained. Only apply enough wood filler to cover the damaged area - too much and you will waste time sanding it off.
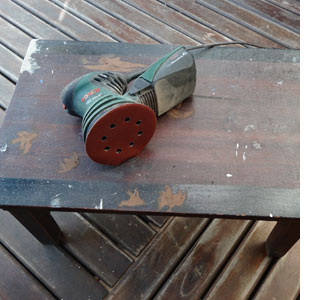
Now that I have repaired and filled all the dings, dents and scratches, it's time to sand. Always start with a lower grit sanding pad. Use 60/80-grit for removing varnish or paint and 120-grit for all other surfaces. I am using 120-grit to start sanding, as there are only paint splotches and the sanding will soon take care of that.
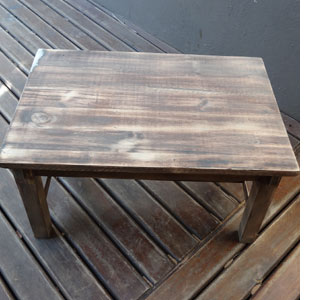
Here is the bench after sanding. You will notice that there are still some dark and medium patches here and there. I don't want to sand down to raw wood, as this would spoil the aged effect that the table has acquired. Rather than start from scratch I am leaving these patches to add to the look.

Because some of the old stain has been sanded away I am now going to use gel stain to put back some colour. The original stain colour that I used was Imbuia, but now I am putting on Traditional Teak. This will stain the wood a lighter shade and still allow the aged effect to show through. Pop on some disposable gloves and apply the gel stain with a soft cloth. Work on a small area at a time, as the gel stain dries quickly. If you find that there are streaks, apply a dab of gel stain to the area to rub out.
Apply gel stain over the entire project, so that you don't have any areas that are lighter or darker than the rest. Now you can see how the dark stain left behind shows through and give the finish an aged or vintage look.
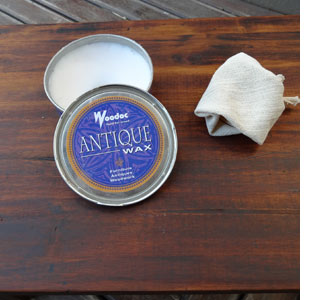
To finish off I like to use antique wax, but you can substitute this with sealer or varnish. Sealer and varnish would be best if you plan to repair or restore a coffee or side table, or any furniture that could be damaged by water marks.
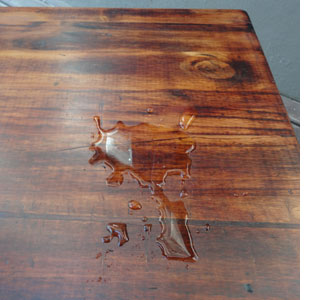
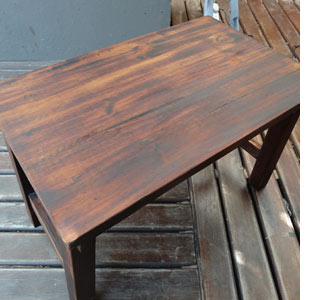
Having said that, the antique wax also protects from spills. After applying the antique wax I poured water on the surface to show you that it isn't absorbed, but simply sits on top of the wood. I like the satiny-smooth finish that antique wax imparts and also that the natural wood can be seen and touched.
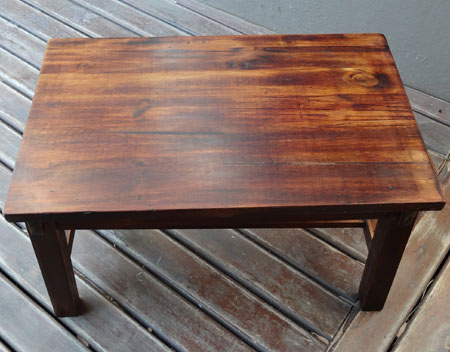
Below is the finished table once buffed to a satin shine and ready to be seen again! If you are looking for more furniture renovation tips, click here to view advice from various expert sources.