
Beginner DIY project
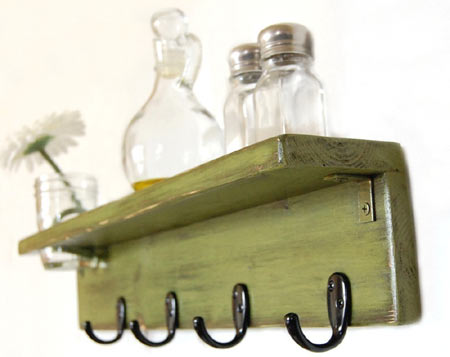
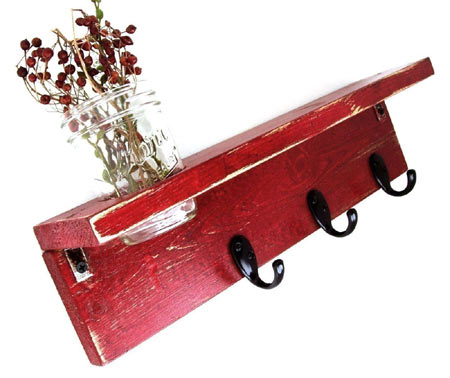
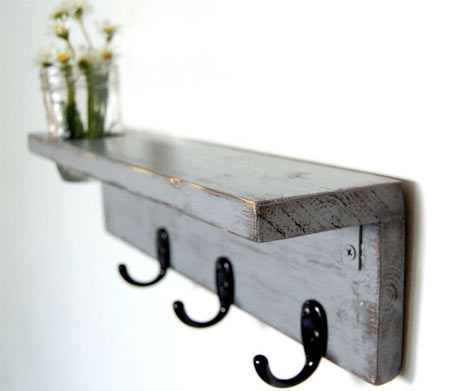
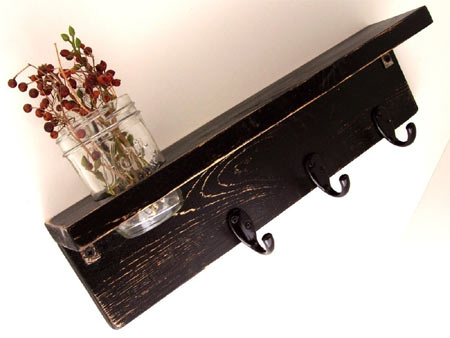
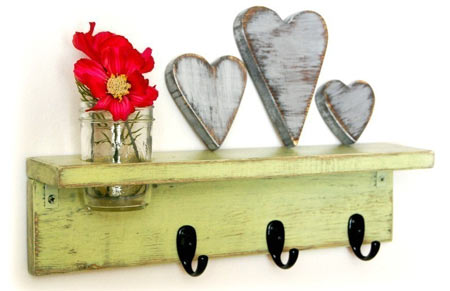
If you're looking for a project to practice your DIY skills, this pretty shelf is the perfect place to start. This simple yet decorative wall shelf is easy to make and will provide adequate storage for small items.
YOU WILL NEED:
[2] 200 x 600 x 22mm pine
[2] angle brackets
[3] or [4] hooks or hangers
Wood glue
4 x 35mm cut screws
Drill/Driver and assorted drill and screw bits
Multi sander and 80-, 120- and 240-grit sanding pads
Jigsaw and clean cut blade
Clamps and corner clamp
Workbench
Acrylic craft paint
Rust-Oleum spray polyurethane
HERE'S HOW:
1. Use the multi sander and 120-grit sanding pads to sand the wood and round off the edges.
Optional: If you want a hole to fit a glass vase into the shelf, use an 8mm drill bit to create a hole to insert the jigsaw blade so that you can cut out a circular shape.
2. Place the shelf and support in a corner clamp. This acts as an extra pair of hands, but you could also ask someone to help.
3. Apply a bead of wood glue along the top of the support
4. Hold the screw along the back edge of the shelf and screw into the support. You don't need to drill pilot holes when using cut screws.
4. Turn the shelf over and attach the angle brackets to the underside.
In most cases the brackets are supplied with small screws and it is better to replace these with slightly wider but shorter screws.
Finishing
To create an aged effect, water down the paint slightly before applying to the shelf with a paintbrush. Rub the edges with 80-grit sandpaper for a more worn look. Screw on the hangers. Add two picture hangers to the back of the shelf to mount onto the wall.
images via etsy