
Make a pine shelf
Take just a few hours on the weekend or in the evening to put together this multi-purpose shelf that will help organise your hallway, bath or bedroom.
YOU WILL NEED:
[2] Cut boards 200 x 800mm of 22mm pine
[2] Pine brackets
[2] Keyhole brackets
Wood glue
Wood filler
180-grit sandpaper
Drill/driver, screw and drill bits
4 x 40mm cut screws
Prominent Paint satin paint
Prominent Paint universal primer
Paintbrush
HERE'S HOW:
Note: If the brackets do not already come with keyhole brackets, drill out and attach these to the back of the brackets.
1. Measure and mark 10cm in from each end on both boards. Apply wood glue to the edge, position the brackets on the inside of this mark and screw from the top into the brackets. Sink the screw heads slightly below the surface of the wood.
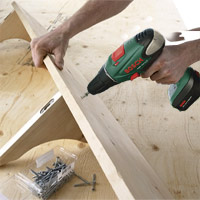
2. Place the top of the back board level with the top board. Attach the back board in the same way, screwing through the back of the board into the brackets. Add additional screws along the top edge and into the top board.
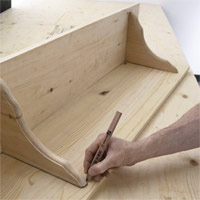
3. Fill all holes with wood filler. Let dry. Sand smooth with 180-grit sandpaper.
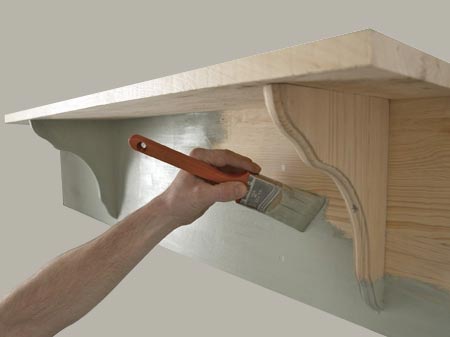
4. Give the shelf a coat of universal primer and let dry. Paint all surfaces of shelf and loose trim. Apply two coats of satin in your choice of colour, allowing drying time between coats.

5. Using a Bosch PDO Detector, ensure that there are no electrical cables or pipes in the wall. Dry fit the shelf to the wall and draw a pencil mark around the shape of the brackets. Use this mark to drill holes with a masonry bit, insert wall plugs and screws.
Leave approximately 5mm screw head in order to slot the keyhole brackets onto this for a snug fit.