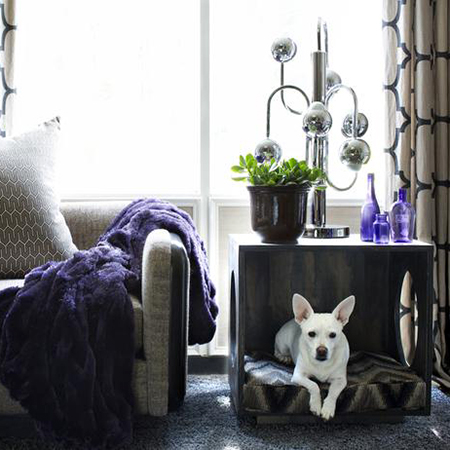
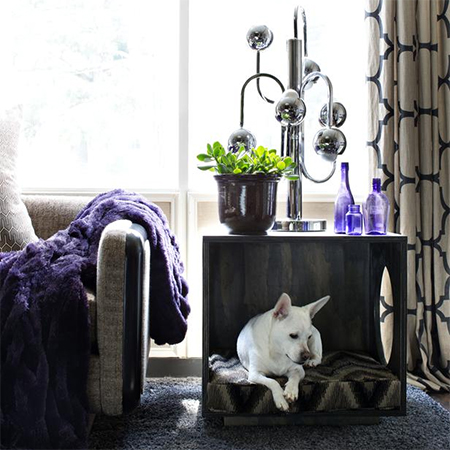
Make a pet bed that's also a side table or coffee table
A space saving solution that is not only a coffee or side table, it also doubles as a pet bed. Ideal for a small home with pampered cats or dogs,
diynetwork.com
Here's a space saving solution that is not only a coffee or side table, it also doubles as a pet bed. Ideal for a small home with pampered cats or dogs, you won't need to make space for an additional pet bed and can modify the size to make a coffee table or side table using 16mm marine plywood.
YOU WILL NEED:
2 of 500 x 460mm 16mm marine plywood - sides
2 of 500 x 560mm 16mm marine plywood - top /
bottom
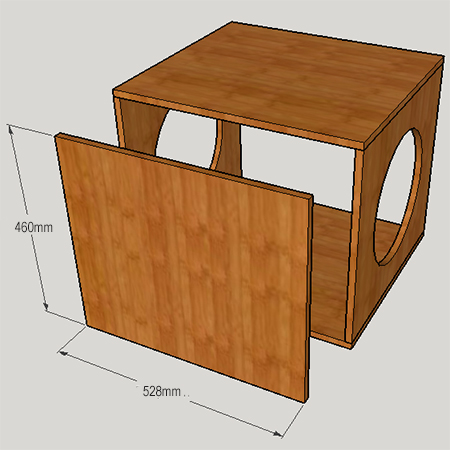
1 of 528 x 460mm 16mm marine plywood - back
2 of 50 x 460mm 16mm marine plywood - base
front / back
2 of 50 x 368mm 16mm marine plywood - base
sides
8 steel angle brackets and 16mm screws
4 x 40mm cut screws
Wood filler (to match stain finish)
120-grit sandpaper
Pattex No More Nails adhesive
30mm panel pins
TOOLS:
Drill / Driver plus assorted bits
Countersink bit
Jigsaw and clean-cut blade
Hammer
Tape measure and pencil
GOOD TO KNOW
Most timber and board
suppliers will cut your pieces to size for easy
assembly. All other supplies can be found at
your local
Builders store.
HERE'S HOW:
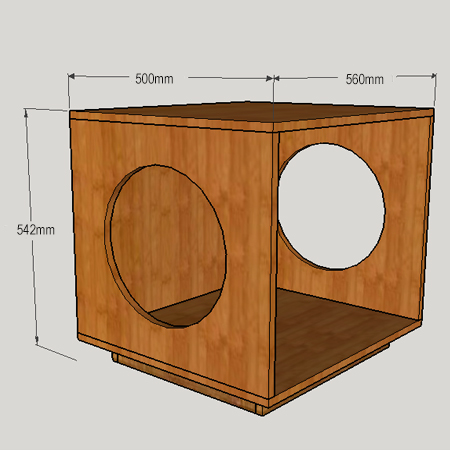
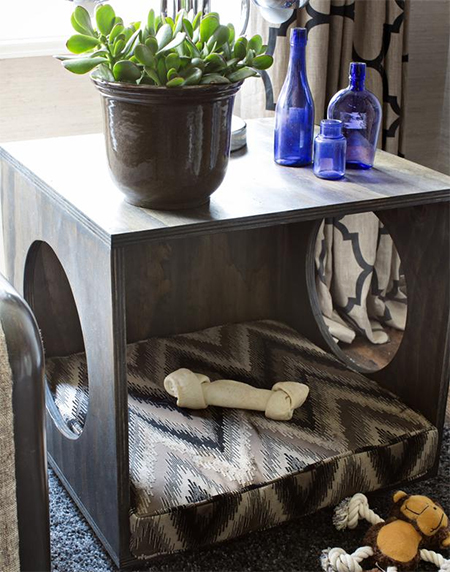
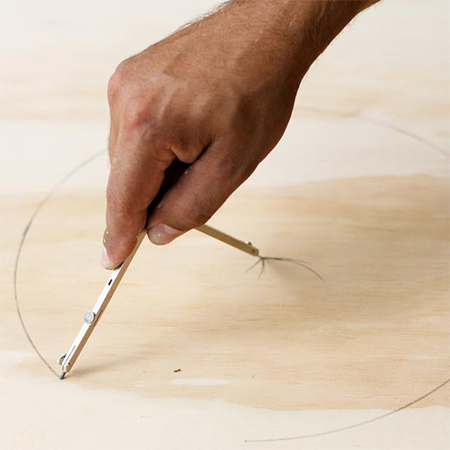
1. At the centre of the two side panels use a compass or template to draw out a large circle.
2. Use a 10mm wood bit and drill / driver to drill a hole in the centre of the circle. Place each side section on two workbenches or sawhorses - with space underneath - and insert the jigsaw blade to cut out the circles in both sides.
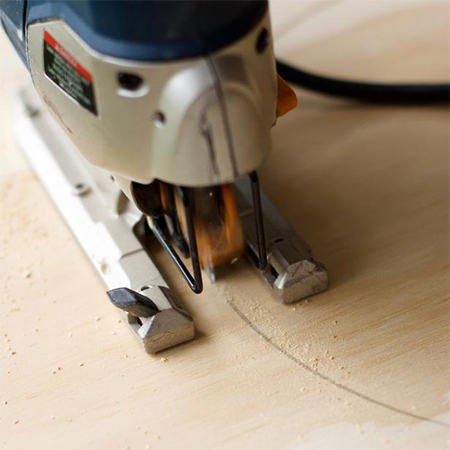
3. Use 120-grit sandpaper to smooth the rough edges of the circles.
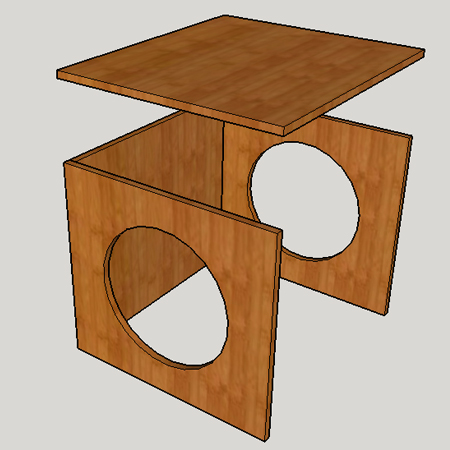
4. Drill 3mm countersunk pilot holes through the sides and into the back and secure with 4mm screws.
5. Place a bead of Pattex No More Nails adhesive along the top of the sides and back and place the top in position. Leave for one hour and then hammer in a couple of panel pins at the corners.

6. To attach the base to the frame drill 3mm countersunk pilot holes through the bottom and into the sides and back. Secure with 4mm screws.
7. Screw together the base and use angle braces and 16mm screws to secure to the underside of the bottom section.
GOOD TO KNOW
Using adhesive and
panels pins means that there are no visible
screws in the top of the table.
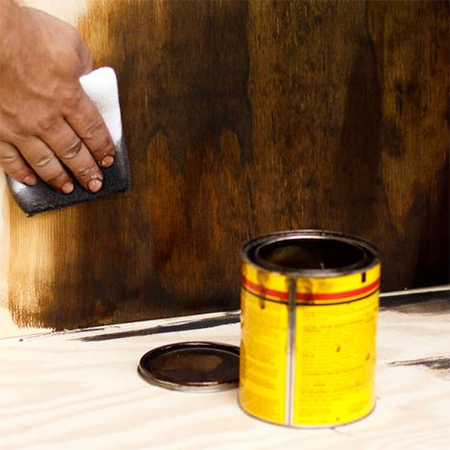
8. Fill all holes with wood filler. If you plan of staining a different colour use a tinted wood filler that matches the finished stain colour. Apply clear or tinted varnish, or stain in your choice of colour and apply a clear polyurethane varnish or wax finish.