
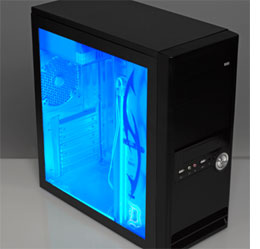
Make your very own Cool Blue Computer Case
Here’s how to cut an acrylic window into the side of your computer case so that you can see all of its inner workings.
18/05/2020

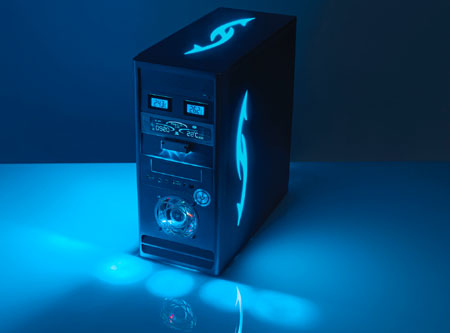
If you create some cool metal cut out shapes, you can stick them over the window, add the engraved initial letter of your name or gaming handle - or a simple design that you’ve found online - and backlight them with cold cathode lighting rods for a real display!
YOU WILL NEED:
Dremel® 4000 with Flexshaft
Dremel® SpeedClic™ Metal Cutting Wheel SC456 with Mandrel
Dremel® Aluminium Oxide Grinding Stone 952
Dremel® Plunge Router attachment 335
Dremel® Glue Gun 930
Dremel® Engraving Cutter 107 and 9910
Black marker pen
Screwdriver
Clear frosted acrylic/acrylic sheet cut to size
Masking tape
HERE'S HOW:
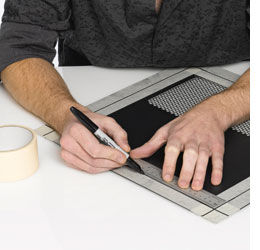
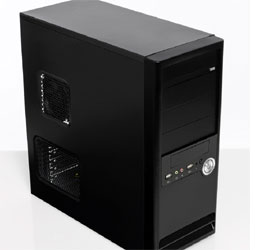
1. Un-screw the side panel. Lay the side panel flat and mask up the area for your acrylic window onto it with masking tape and mark out the area that you wish to remove using a black marker pen.
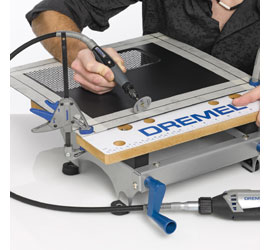
2. Using the Dremel 4000 with Flexshaft and SpeedClic metal cutting wheel SC456, trace/etch the outline around the edge of your design. Once you have a groove that you can work with, cut all the way through the metal to create the frame for your window.
TIP : It is very important to use safety goggles to protect your eyes from metal dust.
3. Use the Dremel Aluminium Oxide Grinding Stone 952 to smooth and get rid of any sharp edges.
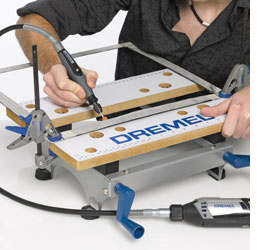
4. Attach the Dremel Plunge Router attachment 335 to your 4000 Series and cut out a panel of acrylic for the window itself. This should be at least 1cm bigger than the area that you are cutting out to allow you to affix it to the rear of the panel by gluing around the circumference using the Dremel Glue Gun 930.
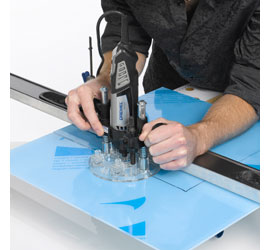
5. Before you stick your acrylic panel into your case - personalise your window. Draw the initial letter of your name or gaming handle - or a simple design that you’ve found online - on a piece of paper and stick onto the back of the acrylic window. Outline your design onto the front of the acrylic panel using the Dremel 4000 with the engraving cutter 107 and infill using the 9910.
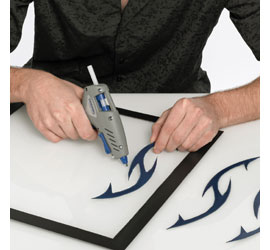
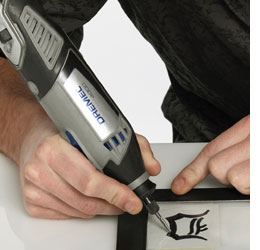
6. Cut out some metal shapes from the discarded panel you have removed, take off any rough edges from the metal using the Dremel 4000 and the Aluminium Oxide Grinding Stone 932, as before (hold the piece of metal with a heat resistant glove/metal pliers before you do this to hold it steady) and stick the cut-out shapes onto the surface of the acrylic using the Dremel Glue Gun 930.
TIP: To add further decorative detailing to the external edge of the metal panel surrounding the acrylic window, add some metal coloured bolts. Either drill a hole using your Dremel 4000 and the Dremel precision drill bit set 628 and fit them through if there is room on the underside of the casing you are working with – or, cut off the heads of the bolts using the SpeedClic metal cutting wheel SC456 and glue in place using the Dremel Glue Gun.
7. Glue a couple of cold cathode rods or LED light strips into your case to illuminate your window, connect up and then affix the acrylic panel into your case sticking it into place using the Dremel Glue Gun 930 and hot fix glue. Congratulations your window is complete!