
Make a custom house number plaque
With all the DIY mini-renovations going on and one involves moving the front gate, I was left with a blank wall close to the back gate and thought it might be the perfect place to mount a custom house number plaque.

With all the do-it-myself mini-renovations going on at the moment, one involves moving the front gate. I was left with a blank wall close to the back gate and thought it might be the perfect place to mount a custom house number plaque. If you fancy making your own house number plaque it's very simple...
I made the custom house number plaque using a piece of laminated pine left over from a previous project. If you don't have any scraps you can buy a length at your local Builders Warehouse, plus you will have some scraps leftover for a couple of other small projects.

YOU WILL NEED:
Scrap piece of laminated pine - any size
Template for cutting shape
120-grit sandpaper
Woodoc gel stain and artists paintbrushes
2 keyhold brackets and screws
Rust-Oleum Polyurethane spray varnish
TOOLS:
Jigsaw and clean-cut blade
Optional: Dremel Trio and decorative bit
Dremel VersaTip
Tape measure and pencil
HERE'S HOW:
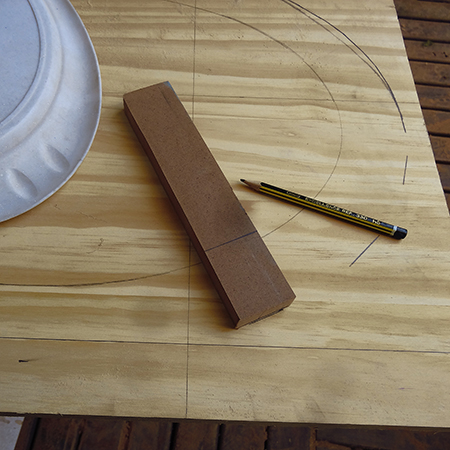
1. I used an oval tray for the shape of the house number plaque, but it wasn't quite large enough. To draw a larger oval I used a piece of scrap board, measured a line a 50mm and then used this to enlarge the shape.
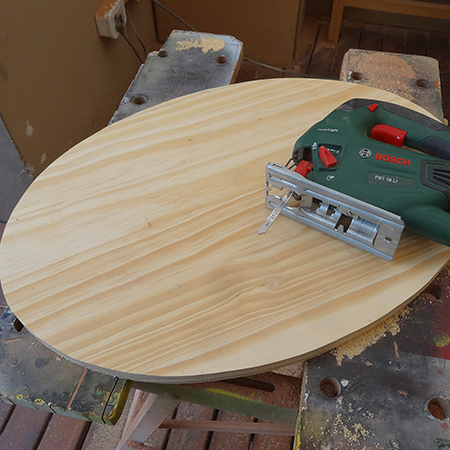
2. Once you have drawn the shape for the plaque you an cut this out with a jigsaw. Sand the cut edge with 120-grit sandpaper.
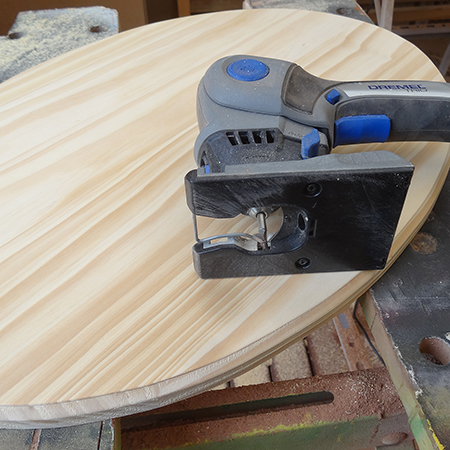
OPTIONAL: I used my Dremel Trio and routing bit to add a decorative edge, but you can leave this out or just use a sander to round off the edge.
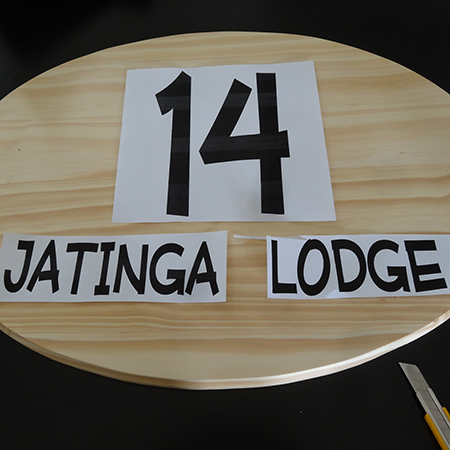
3. Select nice letters and numerals for your house number plaque and print this out using a PC printer. Or use a stencil.
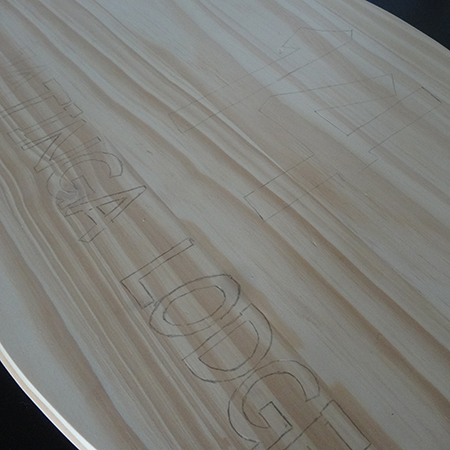
4. Rub pencil over the back of the printed letters and numbers and then place these onto the board and transfer using a pencil to write over the top.
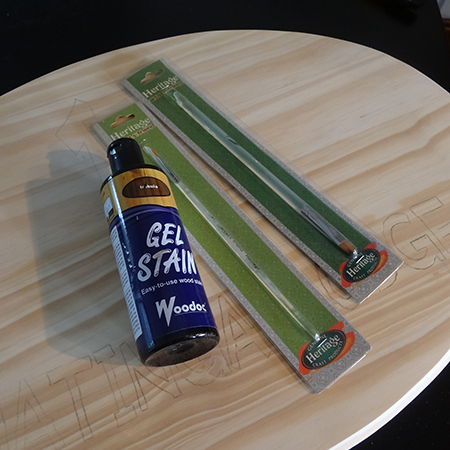
5. Use Woodoc gel stain and assorted paintbrushes to fill in the letters and numbers.

GOOD TO KNOW
Woodoc gel stain doesn't bleed into the surrounding wood and
allows you to draw precise letters and numbers.
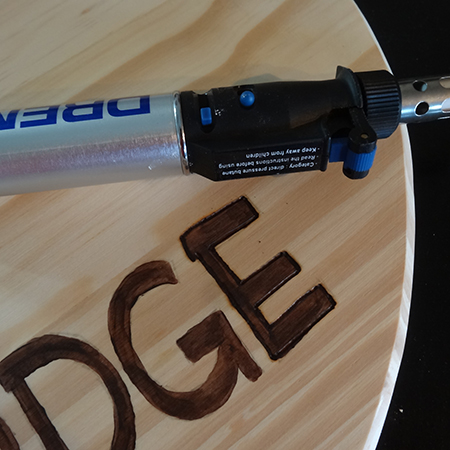
6. After applying the gel stain I decided it needed a little more definitely, so I used my Dremel VersaFlame to apply woodburning around the edges.
GOOD TO KNOW
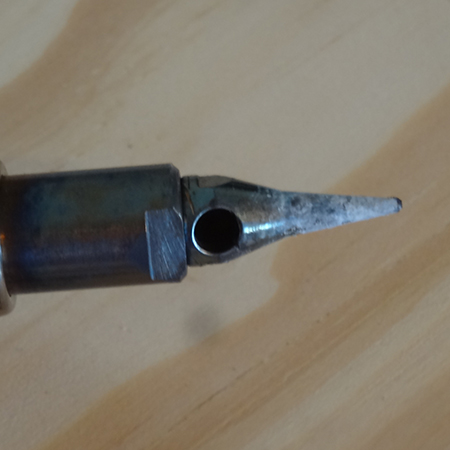
When using a Dremel VersaFlame for woodburning, make sure the
air hole in the tip face up - or away from the surface - to prevent
scorching the wood.
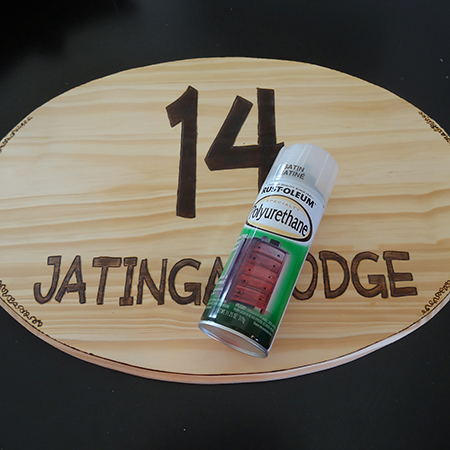
7. To seal and protect the pine for outdoor use I applied 4 coats of Rust-Oleum polyurethane satin spray varnish. This varnish soaks into the wood and provides far more protection than varnish brushed on. If you want your sign to last, you need to repeatedly spray or varnish as soon as you can see it needs it.
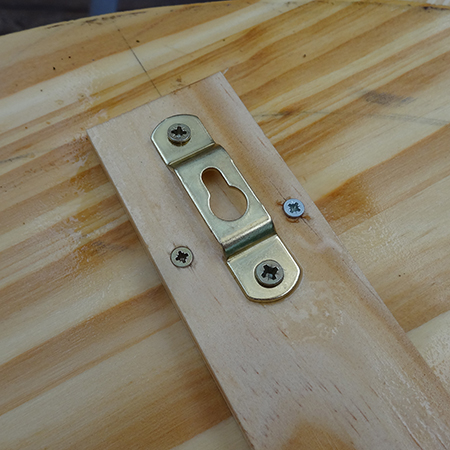
8. At the back of the board I added a couple of battens for added strength. Because I'm using laminated pine there's always a chance that the seams pop open, so the battens will hold everything together just in case. On top of the batten I added keyhole brackets for mounting the plaque on the wall.
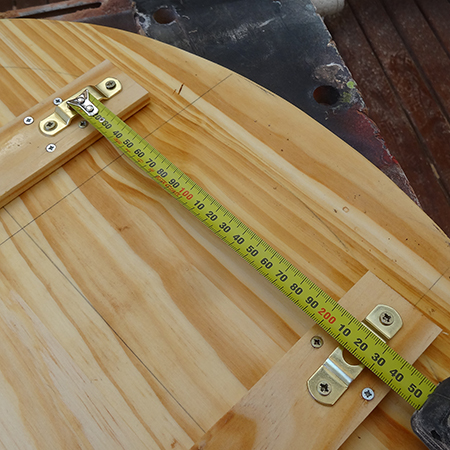
9. Measure the distance from centre to centre of the battens, mine are 220mm apart.
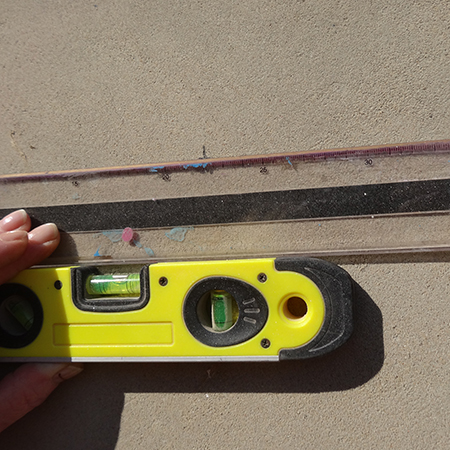
10. Transfer the measurement onto the wall using a spirit level and straight edge.

11. Using my new Bosch PSB combi drill I drill holes on the marks. This cordless drill is also a hammer drill, and using an Alpen multi-purpose bit was like drilling into butter... so easy!
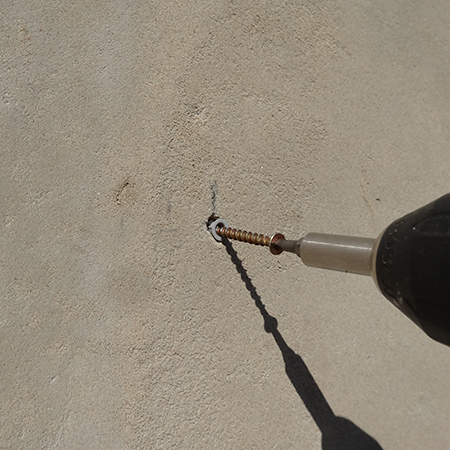
12. Use nylon (fischer) wall plugs, bearing in mind that the screws should be 10mm longer than the plug, plus and additional 0.5mm for hanging the board. Now all that you need to do is line up the brackets on the back with the screw heads, slip on and push down.