
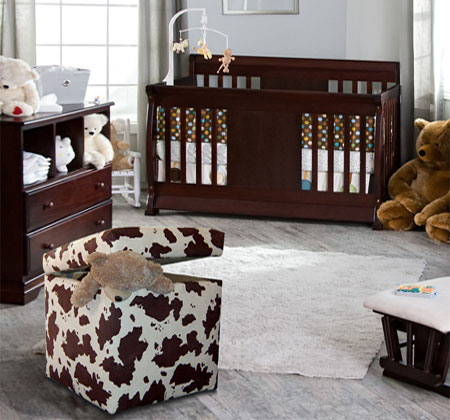
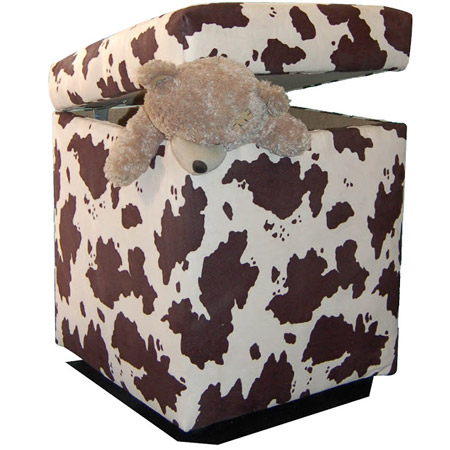
Cuddly ottoman for a nursery
We wrapped our storage ottoman in faux cowhide suede and added extra padding and a thick foam top to make it extra cuddly and perfect for a nursery or children's bedroom.
YOU WILL NEED:
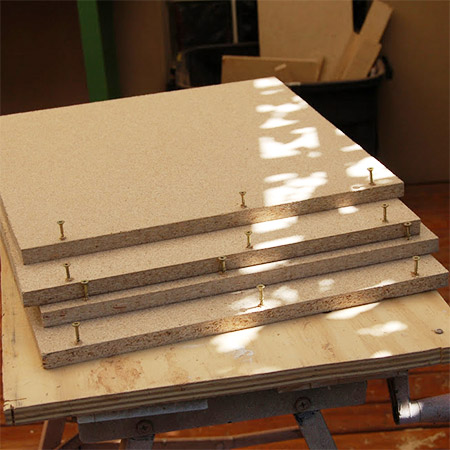
4 of 400 x 400mm 16mm BisonBord
2 of 416 x 416mm 16mm BisonBord
30 x 30mm wood screws
High density foam 416 x 416mm x 50mm thick
2 metres of fairly thick batting
2 metres of fabric
400mm long piano hinge and small screws
TOOLS:
Drill/Driver and asstd drill and screw bits
Countersink bit
Staple gun and staples
Scissors
HERE'S HOW:
1. Prepare the sides
Have four pieces of BisonBord cut to 400 x 400mm. Down one side of each board drill 3 pilot holes and countersink the holes. Partially insert the screws to make it easier for joining the sections together.
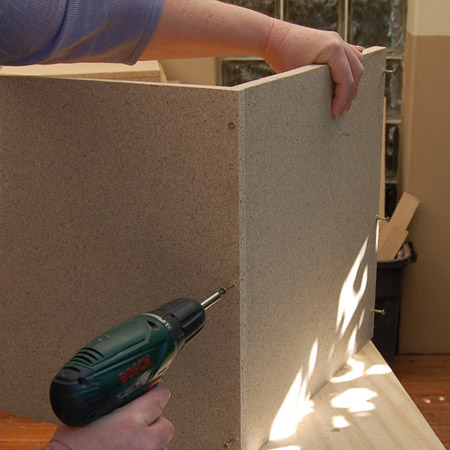
2. Join the sides
See the diagram below for joining the sides to create a perfect square shape. Drive in three wood screws on each side, and ensure that the screw heads do not protrude above the surface of the board.

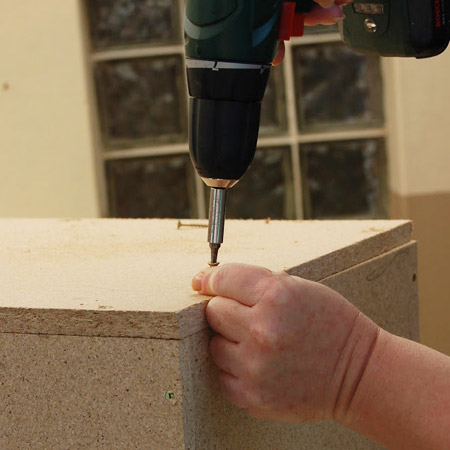
3. Add the base
The base is simple screwed onto the bottom of the frame. Once again, drill pilot holes and countersink before driving screws through the base into the bottom of the frame.
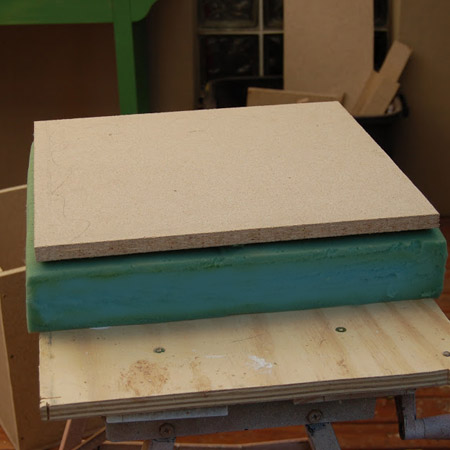
4. Attach the foam
Use spray adhesive to attach the foam to one side of the lid. This is optional and prevents the foam from sliding around.
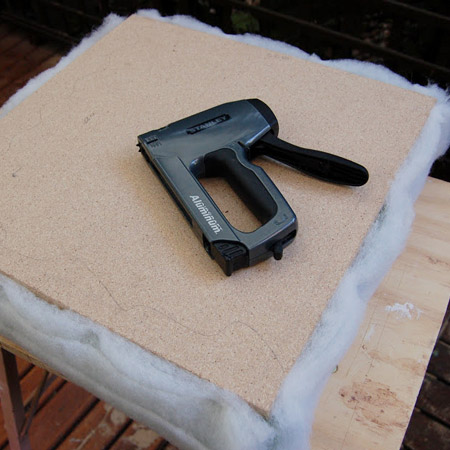
5. Wrap the top
Place the top - foam side down - onto a piece of batting and begin to wrap the batting over the sides. Use a staple gun to staple the edge of the batting to the edges of the lid. Use scissors to cut away any excess batting.
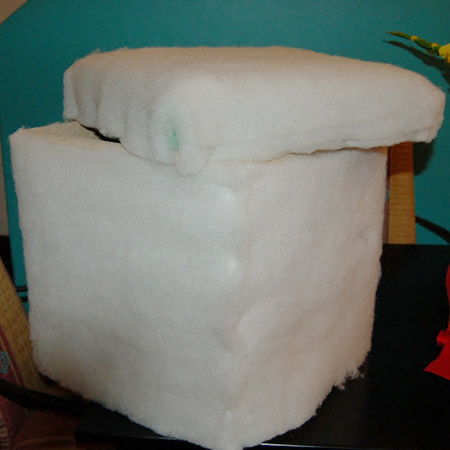
5. Wrap the box
Wrap the sides of the box with batting, starting and finishing in exactly the same spot. Use the staple gun to staple the start and end edges to the box.
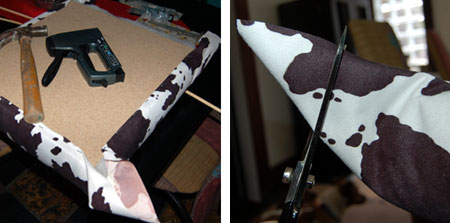
9. Wrap top with fabric
Place the top - foam side down - onto your fabric. Starting at one side, pull the fabric up and over the back, tucking under a small hem and then stapling to the top. Leave a 10cm gap at both corners. Move to the opposite side and repeat the process, but pulling the fabric gently before stapling to the top. Finishing off in the same way for the remaining two sides.
10. Cut off bunny ears
At the corners you will have what I like to call "Bunny Ears" because that's what they look like! Cut off the tips of the bunny ears, so that they is less fabric to work with as you tuck and arrange the corners before stapling to the top.
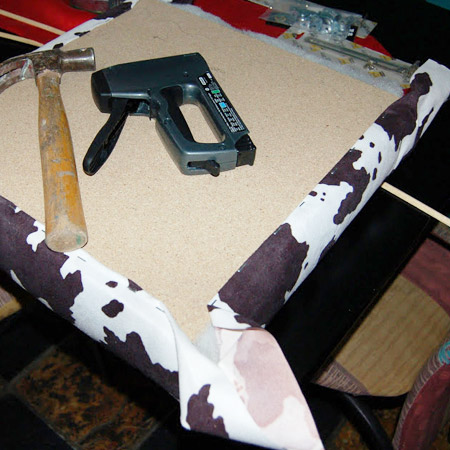
11. Wrap box with fabric
When cutting the fabric, allow a 4cm allowance at the top and bottom for tucking under and folding over. As you did with the batting, start and finish at the same point. Tuck a hem under the starting and finishing sections and staple to the side of the box.
12. Finish the edges
At the top and bottom edges, fold under a hem and fold onto the top edge and bottom of the box, leaving the corners until last. Create the corners by arranging neatly - this may take a bit of tucking and folding until you get is right - and then staple down.
13. Attach the hinge.
Attach the piano hinge to one side of the top and then have someone hold the top while you position and attach the other side of the piano hinge to one side of the box.