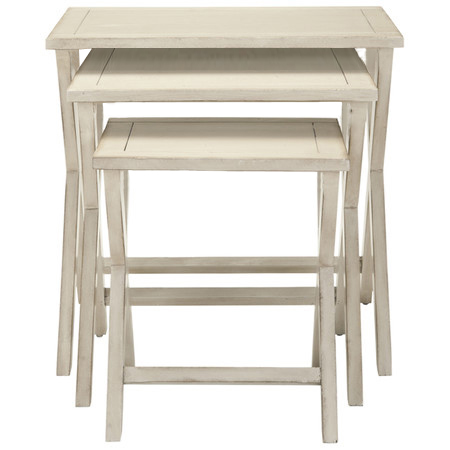
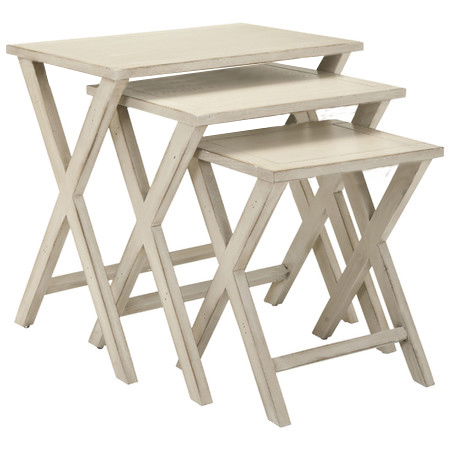
Make a set of nesting tables
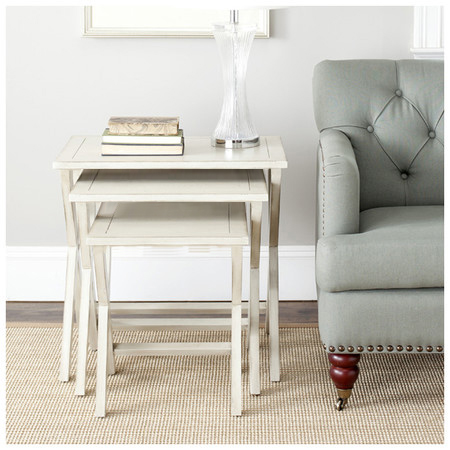
Nesting tables are practical for small spaces. You can pull them out when entertaining or push them away when not needed. These nesting tables are painted in an off-white colour and lightly distressed, but you can paint them in any colour you like.
I originally saw these nesting tables for sale on Joss and Main. No longer available, they were priced at around $150 or R1500. If you make them yourself a sheet of 16mm PG Bison SupaWood costs R600 - and you can make more than three tables out of a single sheet.
YOU WILL NEED:
TOOLS:
Jigsaw and clean-cut blade
Paint brush and foam roller
Small flat-head screwdriver
Foam roller and paint brush
Clean, lint-free cloths
HERE'S HOW:
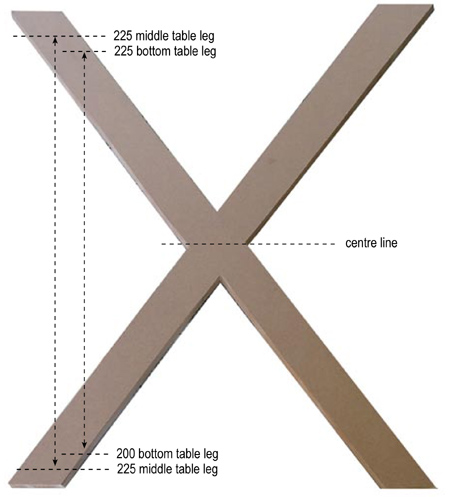
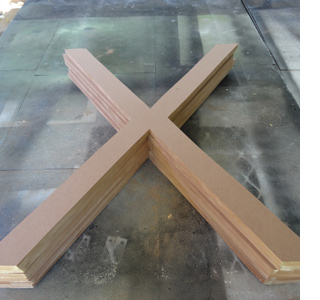
1. On the leg sections you need to draw out a perfect X-shape. Use a jigsaw to cut out 6 shapes and sand smooth any even sections. Although the 6 legs initially start off at the same size, there are 2 legs for each table, and each table differs in height. The legs for the top table are 500mm high, the legs for the middle table are 450mm high, and the legs for the bottom table are 400mm high.
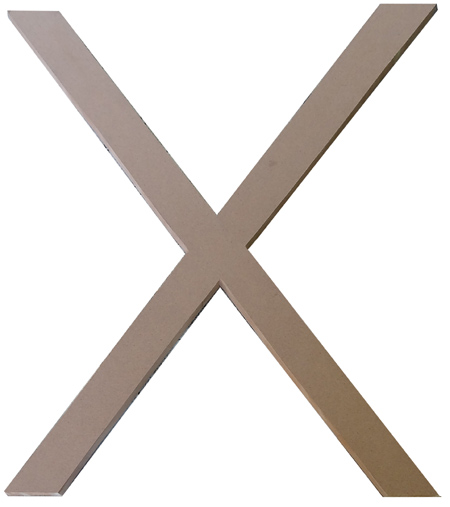
2. The difference between each set of legs is 50mm. To cut down the middle and bottom table legs, draw a line across the centre of each leg and then measure an equal distance to the top and bottom.
GOOD TO KNOW
Take your time and make sure that the legs are cut perfectly. Because you are cutting out the shape with a jigsaw, there are bound to be a few dips and bumps here and there, but these can be easily sorted with a sander and 120-grit sanding pads. Do a final sanding of the legs, top and centre section using 180- or 240-grit sanding pads.
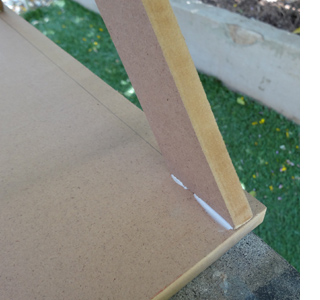
3. Now you are ready to glue the legs to the tops. I used No More Nails adhesive because it is thicker than normal wood glue and it dries faster. Apply a small bead of adhesive to the top of each leg. Place and press this down onto the top, making sure it is equally spaced all the way around.
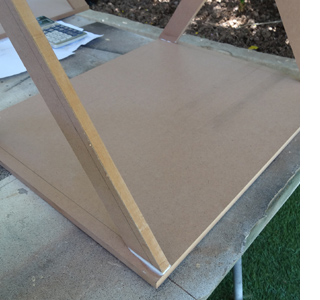
4. Wipe away any excess adhesive that oozes out with a lightly damp cloth. You don't want any messy glue showing once you have painted the tables. Lastly, glue the cross piece in place.
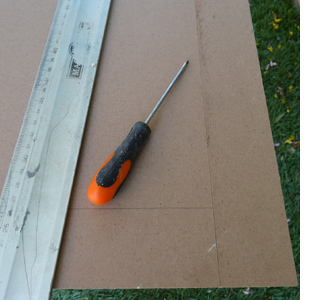
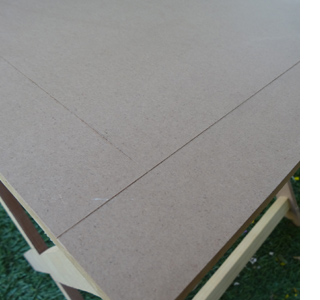
5. To create the grooves around the top of each table, use a steel ruler to draw a line and then score along this line with a flat-head screwdriver. If you have a Dremel Trio - even better. You can use the groove-cutting bit to create the grooves.
The complete tables were painted with Plascon Polvin - white using a foam roller and paint brush. Be sure to let each coat dry before applying the next coat. Distress the edges with 80-grit sandpaper. You may also need to use a screwdriver to distress the cut grooves on the top. Finally, apply a coat of Woodoc antique wax.