
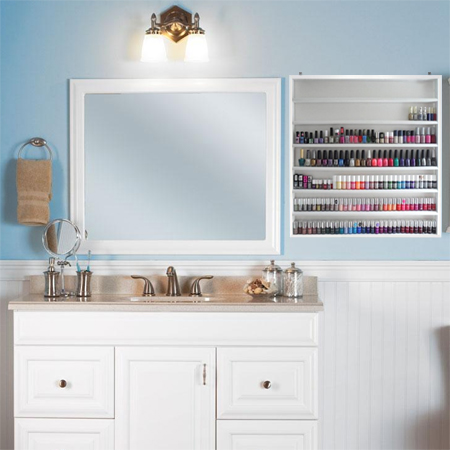
Make a nail polish organizer
If you have a collection of nail polishes, keeping them organized is easy if you make this nail polish organizer from a few scraps of PAR pine.
YOU WILL NEED:
8 of 20 x 44mm PAR pine cut to 400mm length - top/bottom and shelves
2 of 20 x 44mm PAR pine cut to 560mm length - sides
1 of 3mm white masonite backing board cut to 400 x 600mm
3 x 30mm wood screws
Wood glue
Wood filler
240-grit sandpaper
Panels pins or staples
Tape measure and pencil
Carpenter's square
Drill/Driver and assorted bits
Countersink bit
Hammer or staple gun
HERE'S HOW:
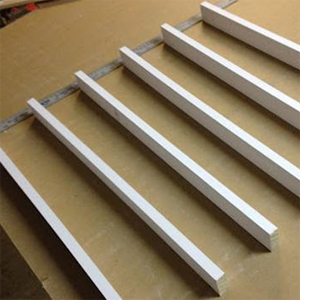
This is a basic design that uses 20 x 44mm PAR pine cut to sections for the frame and shelves. The width is more than enough for nail polish bottles, but you can use a wider PAR pine if you wish. It's easier to sand and paint all the sections before assembly. You can fill holes with wood filler and touch up once finished.
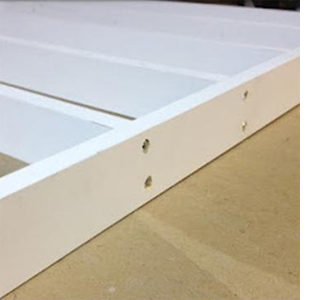
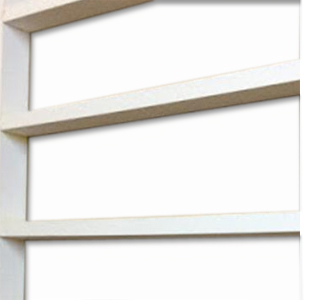
To make the nail polish organizer, arrange the top, bottom and shelf sections so that they are equally spaced. You can use the backing board as a guide for placement. Drill 2mm pilot holes through the top and bottom and into the sides and screw together to create the frame. Insert the shelves and attach as shown left.
stepbystep.com
Use a hammer and panel pins to attach the backing board - or a staple gun and staples. The backing board also helps to stabilize the frame. Mount two steel angle brackets on top of the cabinet for hanging onto the wall.