
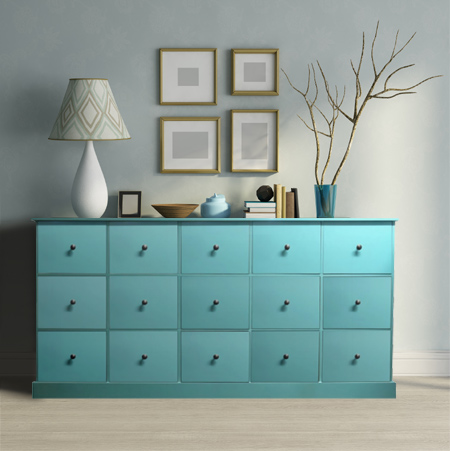
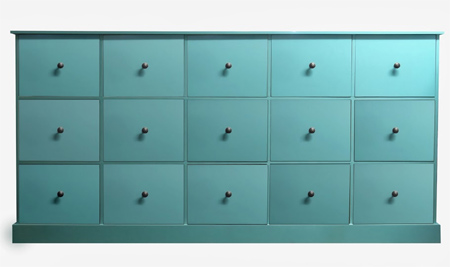
Pigeon hole dresser - multi-drawer unit
Having made the pigeon hole dresser or multi-drawer unit, here are the instructions for making the drawers for this unit.
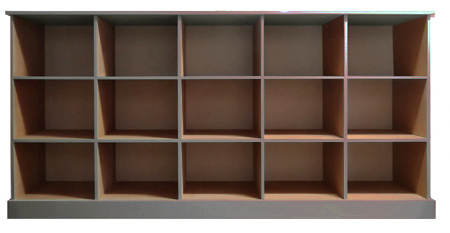
ABOVE: Here's were we left off at the previous steps. The pigeon hole dresser or cabinet is complete. Now all that's left to do is make up the drawers and paint the unit.
YOU WILL NEED:
30 |
315 |
417 |
12mm SupaWood * | drawer front/back | ||
30 |
315 |
360 |
12mm SupaWood * | drawer sides | ||
15 |
360 |
393 |
12mm SupaWood * | drawer base |
15 knobs or handles with screws
180- and 240-grit sanding pads
Wood filler
Wood primer
2 foam rollers
Your choice of acrylic paint
Small paintbrush
1000-grit wet/dry sandpaper
TOOLS:
Drill / Driver + assorted bits
Countersink bit
Orbital sander
Tape measure and pencil
*We specify SupaWood as it has a super smooth surface that is perfect for painting.
HERE'S HOW:
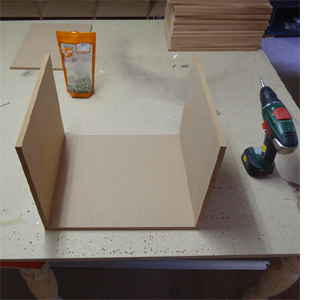
1. Place the drawer base on a flat, level surface. Align the sides and drill 3mm pilot holes; countersink and use two 3.5 x 30mm screws to attach the sides to the base.
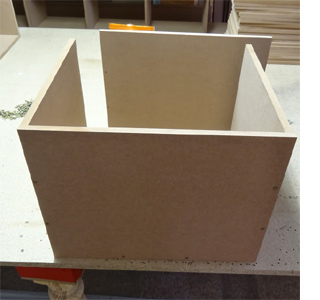
2. Align the front and back. Drill 3mm pilot holes; countersink and use two 3.5 x 30mm screws to attach to the base and sides as shown left.
3. Fill the holes at the front with wood filler; allow to dry before sanding smooth.

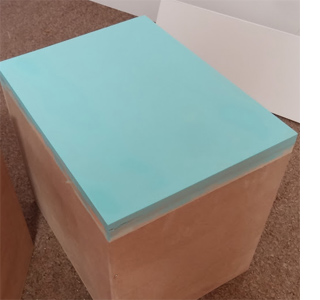
4. Wrap masking tape around the edges of the drawer front and apply Plascon wood primer with a foam roller.
GOOD TO KNOW
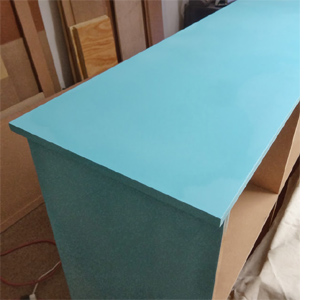
Prime and paint the cabinet and drawers
You also need to apply wood primer to the frame on your drawer cabinet. It only needs one coat of primer applied to the framework and not to the inside drawer compartments.
GOOD TO KNOW
For a professional finish, once dry, sand the primer and first coat with 1000-grit sandpaper before applying the next coat.
Apply two to three coats of your choice of paint colour. You can use any acrylic paint for this project. A satin or sheen paint is best, as this allows for easy cleaning.
Remember to allow sufficient drying time between each coat.

5. Work diagonally from corner to corner to mark the centre point and drill a hole for mounting the knob. And there you have it... a completed pigeon hole cabinet or multi-drawer unit.
Note: Home-Dzine or Janice Anderssen does not accept any liability of responsibility for errors or omissions.