How to make a Lazy Susan
I have made plenty of Lazy Susans over the years, for myself and for family and friends, but this has to be the easiest one by far.

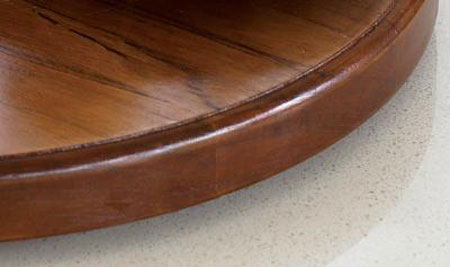
A lazy Susan takes the hard work out of reaching across the table. Often used in restaurants, it can be useful at home for meals with lots of dishes such as tapas, or for passing condiments around.
YOU WILL NEED:
6 of 20 x 100 x 600mm pine
Wood glue
Compass and pencil
Steel ruler or tape measure
16mm wood screws
Swivel or lazy susan bearing (swivel)
(@ www.cabinetfittings.co.za)
Belt sander + 120-grit sanding belts
Orbital sander + 120- and 180- grit sanding pads
Jigsaw, mitre saw or handsaw
Clamps
Woodoc 30 exterior sealer or
Woodoc 5 or 10 interior sealer
Woodoc steel wool
Paintbrush
HERE'S HOW:
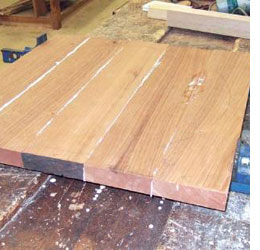
1. Use a handsaw, jigsaw or mitre saw to cut five 600mm lengths of pine or meranti. Lay boards side by side, with the ends flush and glue the boards together. There should be enough glue so, when the boards are fitted, just a little oozes out.
Align the ends by tapping with a hammer. Use a damp rag to remove excess glue. Clamp the boards until the glue has set, preferably overnight.
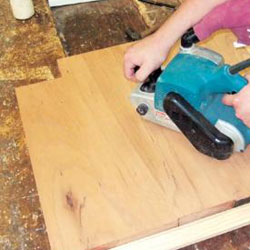
2. Use a Belt Sander and 120-grit sanding belts to level the surface and then go over the front and back using an Orbital Sander and 120- and then 220-grit sanding pads. Don't worry about the edges at this stage, as these still need to be cut.
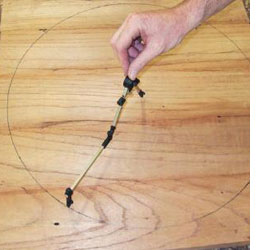
3. Mark the diagonals on the underside of the boards to find the centre. Scribe the circle with a compass set at the desired radius. We used a radius of 300mm.
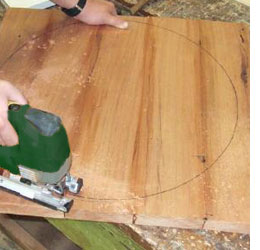
4. Cut the circle with a jigsaw. Clamp the boards on the bench so they slightly overhang. Keep turning the boards while cutting for a smooth curve.

5. Place the turntable face down. Mark two diagonals at 90° through the centre. Position the swivel base and rotate to locate each fixing hole. Align with the diagonals on the turntable and fix in place. Attach bump stops to the base of the turntable.
Finishing
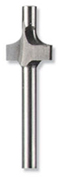
Round over the top edge with the curved routing bit in your Dremel Trio, or simply sand smooth with 120- and then 220-grit sandpaper. If you are using the turntable outdoors, apply three coats of Woodoc 30 as recommended, or for indoors, apply Woodoc 5 or 10 interior sealer as recommended. For both sealers it is necessary to let the first coat dry before lightly rubbing with Woodoc steel wool to remove excess sealer on the surface before applying the second and final coat .