
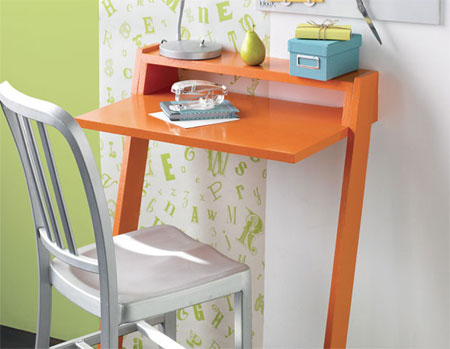
How to make a laptop desk
It's nice to have a small desk where you can sit down with your laptop and this small leaning desk uses gravity and friction for stability against a wall. Make it with laminated pine and spray it with Rust-Oleum 2X in your choice of colour, or use Woodoc interior sealer for a natural finish.

Use laminated pine for the top, and pine for the risers and legs. Have all the wood cut to size at your local Builders Warehouse. The edges of the shelf, desktop and legs are cut at 15°. A home laptop desk should ideally be between 660mm and 67mm high.
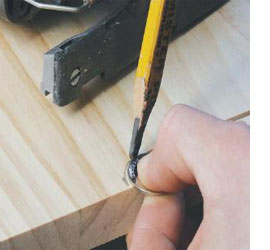
Along the back edge of the desktop, 100mm from the sides, mark a line 15mm from the back edge, using a coin as a template to mark the curved ends, cutting using a jigsaw fitted with a scroll (thin) blade. Set up a compound mitre saw, circular saw or jigsaw to make 15° cuts, using an offcut to test the cutting angles. Cut the top and base of the legs and the front of the risers, and the front edge of the shelf.
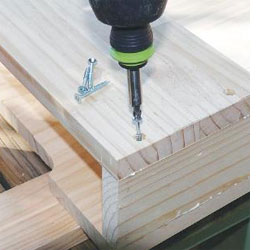
Position and clamp the risers to the desktop and shelf, aligning the angled cuts. Drill pilot holes and dry-assemble using 4 x 35mm wood screws, check the desktop is square then disassemble, apply adhesive and secure with screws.
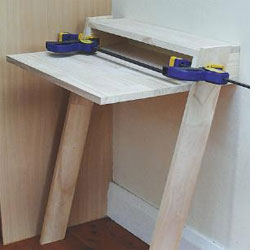
Clamp the legs onto the desktop and rest the desk against a wall to test that the feet are flush to the floor. Drill pilot holes to attach the legs at the top with four 4 x 35mm wood screws each side.
Finishing
Remove any uneven or rough edges with 120-grit sandpaper and then sand smooth with 240-grit sandpaper. To add bold, bright colour use
Rust-Oleum 2X spray paint. Shake the can well and apply 2 light, even coats, allowing sufficient drying time between coats. If you prefer a more natural finish, use
Woodoc 5 or Woodoc 10 in clear or tinted and apply according to the manufacturer's recommended guidelines.
Woodoc 5 is a matt finish while Woodoc 10
is satin or gloss.