
DIY storage unit for children's bedroom
Storage is essential for a childs bedroom and this do-it-yourself storage unit provides plenty of storage.
05/02/2020
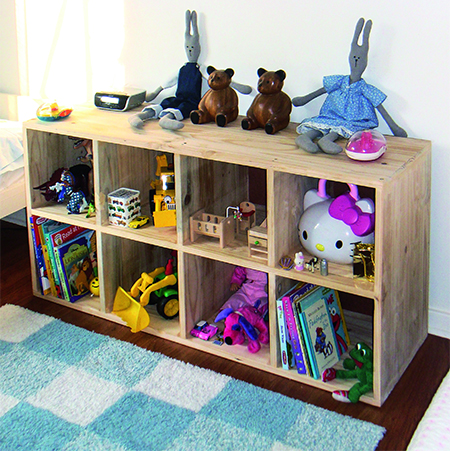
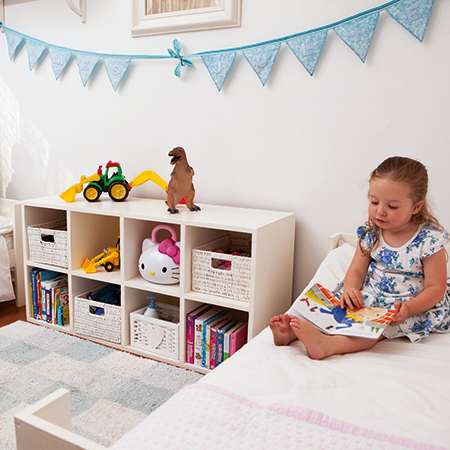
Ideal for a children's bedroom, this freestanding unit is designed to be easy as books or stuffed animal storage (or just any toys).There is even enough space to add storage baskets inside the individual compartments. The unit to designed to fit in the space between the two beds in his older twins' bedroom. You can modify the measurements if you want to make a custom unit to fit into a particular space. Overall dimensions 1200mm long x 383mm wide x 600mm high.
YOU WILL NEED:
2 of 380 x 1200mm pine - top and bottom shelf
1 of 600 x 120mm 3mm masonite - backing board
2 of 380 x 560mm pine - external sides
1 of 380 x 1160mm pine - middle shelf
3 of 380 x 560mm pine - internal dividers
4 x 45mm cut screws
Wood glue
Acrylic sealer
120- and 240-grit sanding pads
TOOLS:
Drill / Driver plus assorted bits
Countersink bit
Wood chisel
Orbital or random orbit sander
Tape measure and pencil
Steel rule or straightedge
Carpenter's square
Jigsaw + clean-cut blade
Find all the tools, materials and supplies for this project at your local Builders Warehouse.
Note: Due to the problems in working with pine for this project, I would recommend using 16mm SupaWood as an alternative. Having also previously experienced problems with our local pine, SupaWood is far stronger, will not bow or warp, plus it's easy to paint.
HERE'S HOW:
Assemble the frame
1. Start by joining the top and bottom of the unit to the sides to
make the outer frame. There are various methods of joining the sections
together; using a pockethole jig, using a biscuit joiner or dowels,
drilling countersunk pilot holes and driving in screws, or adding angle
brackets.
Assemble the inside shelves
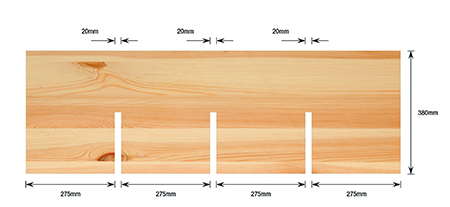
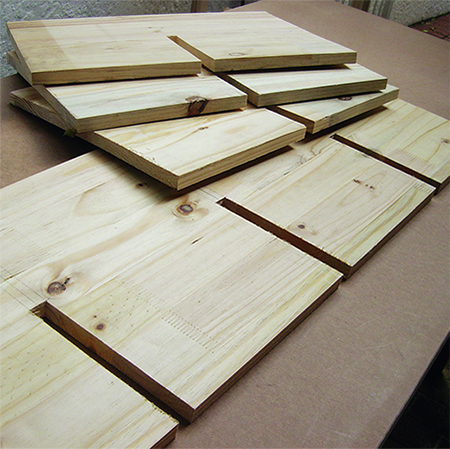
2. On the horizontal middle shelf you need to make 3 half-slots for
mounting the internal dividers. From one end measure and mark at
275mm and 299mm, and repeat for the other 2 slots. Divide the width of
the board in half. i.e. 190mm and draw line across. Double-check all these measurements because any inaccuracies cannot
be resolved and a new piece of wood will have to be cut if a mistake is
made (I learnt this the hard way).
3. Cut out the slots with a jigsaw and clean-cut blade. Ensure the necessary safety gear is worn and that the correct jigsaw blade is fitted to the saw.
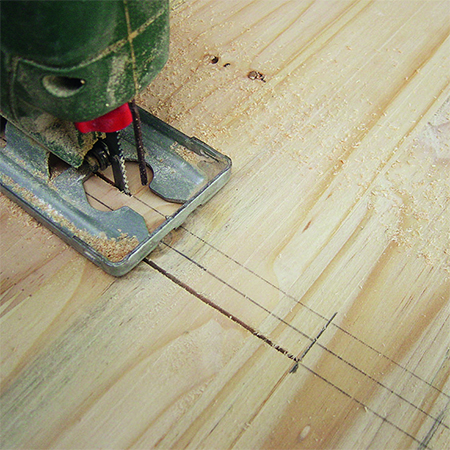
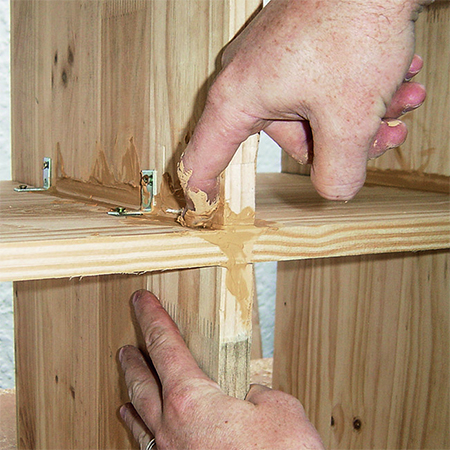
4. Use a wood chisel to make the short cut in the middle of the wood at the end of the long cuts, as shown below. Repeat this step for the other two slots in the middle shelf, as well as the corresponding slots in the uprights. (Also see Good To Know below).
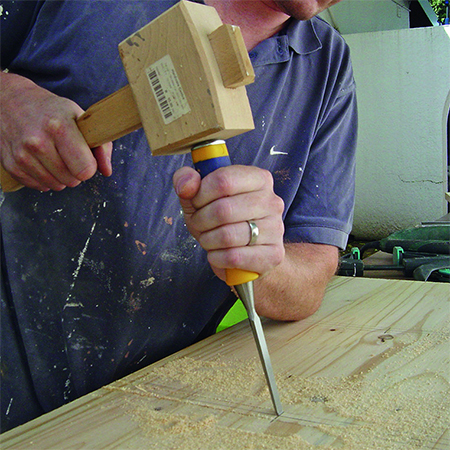
GOOD TO KNOW
Rather than use a chisel and hammer, use your jigsaw to cut a
'V' shape at the end of the slot and then move the jigsaw backwards and
forwards to remove the remaining wood or board.
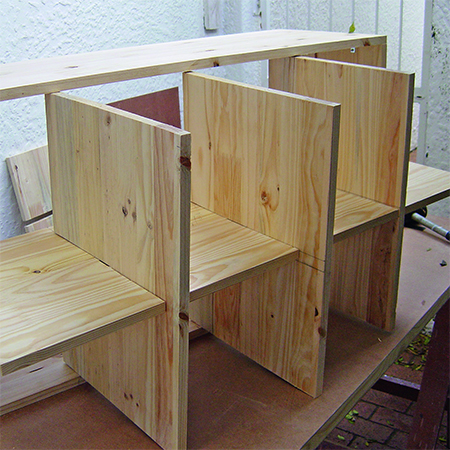
Complete assembly
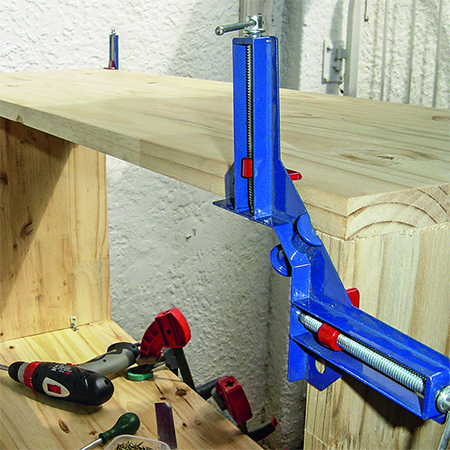
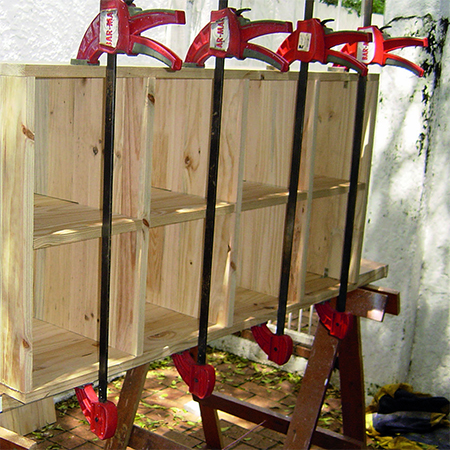
5. Slot the sections together and fit within the
outside frame. Clamp the full assembly with long quick grip clamps, as
shown, or preferably use sash clamps. Square up all right angles by
checking with a carpenter's square. Adjust where necessary using a
rubber mallet.
6. Secure the inner sections using corner brackets and screws while the clamps are in place. If you have extra clamps, use them at equal intervals to exert consistent force on the top shelf while fastening the interior components together. This will avoid bending the wood and leading to further inaccuracies.
Finishing
- Sand all the edges with 120-grit to remove any uneven edges and then sand down the entire piece with 240-grit sanding pads. Wipe clean to remove all traces of dust.
- Secure the backing board with panel pins hammered in at a slight angle, or with a heavy-duty staple gun and 10mm staples.
- You can paint or stain and varnish depending on your décor requirements. If you plan on staining and varnishing the finished project - use screw caps rather than wood filler. When painting, prime with wood primer if using an acrylic paint, or spray with Rust-Oleum 2X or Universal spray paint in your choice of colour.