
Woodoc gel stains
Get a high-end look for less with an easy-to-do gel stain process for wooden furniture. With 6 colours and 6 wood tints to choose from, gel stains allow you to be far more creative without the mess.

YOU WILL NEED:
Unfinished piece of furniture
Woodoc gel stain
Paintbrush
Rag
Woodoc 5 or Woodoc 10 interior sealer
Woodoc steelwool
Sponge
Latex gloves
Apron
HERE'S HOW:
1. Unfinished furniture is ready to go, while furniture with an existing finish will need to be sanded to remove existing paint or varnish. If staining kitchen cabinets, clean them with Sugar Soap, rinse and wipe dry .
DIY Tip:
Gel stain will not work on previously sealed or oiled furniture. For best effect use unfinished pieces.
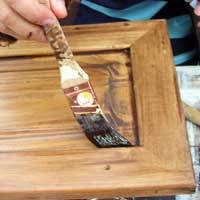
2. Brush gel stain generously onto the piece. If staining a large piece, work in sections to prevent drying lines.
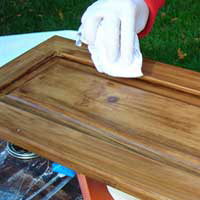
3. Take a rag and wipe off the excess gel stain. What remains on the piece creates the finish, so continue to apply stain and wipe to achieve desired result.
4. Apply a second coat of gel stain for a darker effect, repeating the brushing on and wiping off process.
5. To add more character to the piece, apply gel stain with a brush directly to the crevices, highlighting the architectural features. Take a rag, wrap it around your finger and lightly wipe the crevices to remove the excess.
6. A more advanced technique adds even more dimension by focusing on the corners. Apply a little bit of gel stain on the tip of the brush and apply it to the corners. Using a rag, lightly blot and wipe the stain in both directions, about 5 to 6 cm. The stain should look darker in the corners and fade out.
7. Let the gel stain dry overnight. When dry, apply three coats of Woodoc interior sealer to protect your finish. Wipe with Woodoc steelwool once the first coat is completely dry and then apply two additional coats, allowing sufficient drying time between coats.
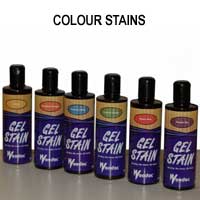
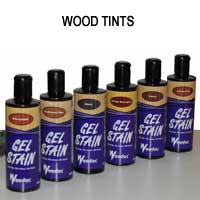
Woodoc gel stains come in 6 colour and 6 wood tints and are available at your local Builders Warehouse or hardware store.