
Easy workshop storage solution
If you need storage in your workshop, these plywood storage boxes are just the thing. You can make them any size you want and add more battens to increase the amount of storage capacity for screws, accessories, hardware and more.
The workshop storage system consists of plywood cubes or boxes with a French cleat mounting system on the back. Battens mounted onto the wall allow for easy removal by simply lifting the boxes up and slotting back in place when done. Buy 16mm plywood and PAR pine at your local Builders Warehouse and then grab your tools!
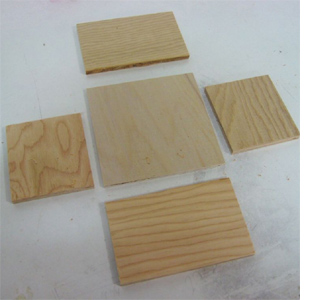
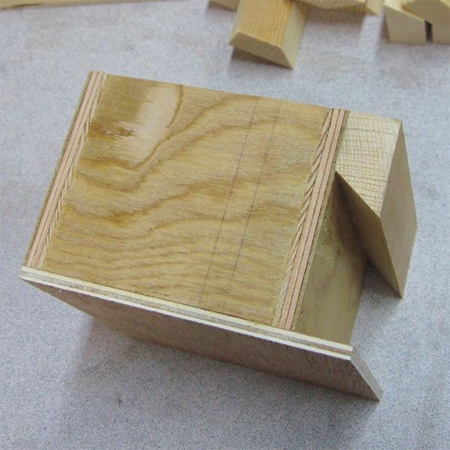
You can make as many plywood boxes as space allows. This projects shows 20 small boxes and 4 large boxes. A good size to work with is 300mm and 600mm long x 200mm deep x 150mm high. You could use a variety of materials for a simple project like this, 16mm plywood seemed to work especially well for this application, plus it allows for a nice, tidy design with no complicated measurements.
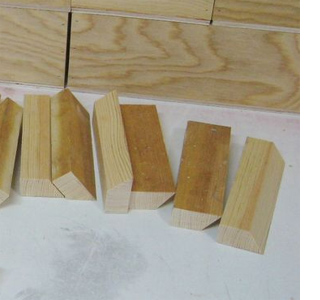
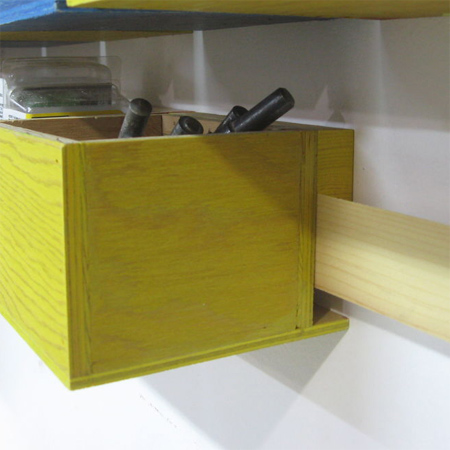
Use 20 x 67mm PAR pine for the box cleats and cut these on a 45-degree angle to make a French cleat hanging system. Cut with a mitre saw, table saw or jigsaw with adjustable base.
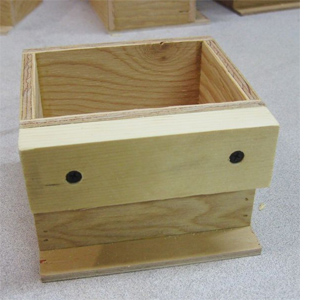
Assemble the plywood boxes using wood glue and screws and then attach the top section of the cleat to the back of each box. Note that the plywood base protrudes to the full length of the box with added cleat.
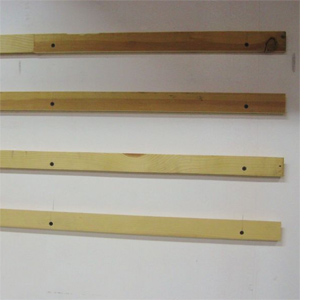
Mark the location of the battens with a spirit level, allowing space between for the height of the boxes plus extra for lifting the boxes if they need to be removed - about 15cm. Mount the 20 x 69mm battens (bottom section of the cleat) to the wall with wall anchors/plugs and screws. Use nylon wall plugs (Fischer) for secure fastening of heavy load once the boxes are filled with hardware.
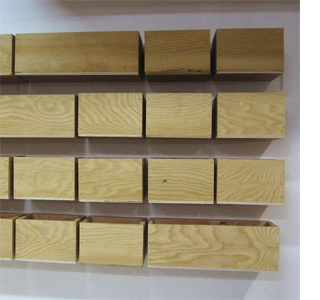
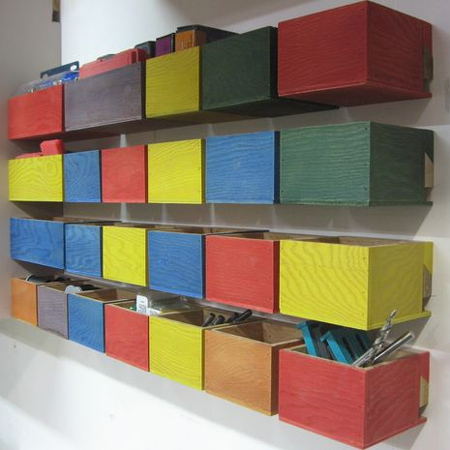
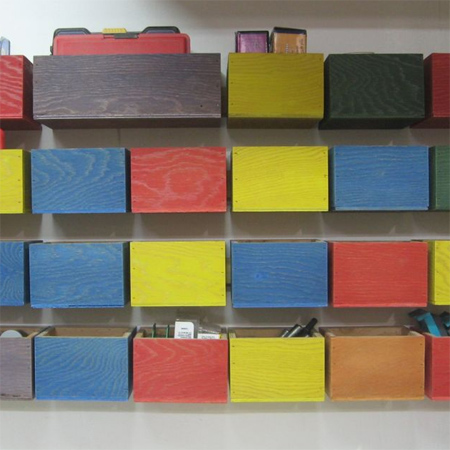
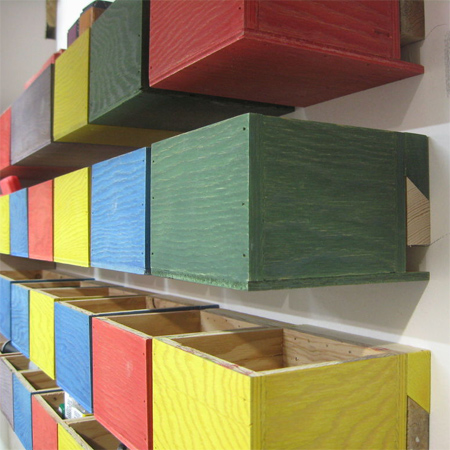
Here you can see the completed boxes or bins mounted on the battens.
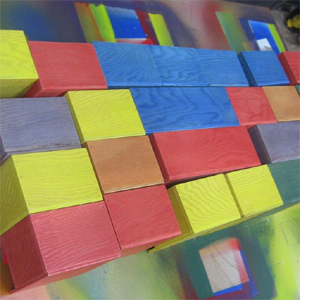
My workshop needed a little bit of visual excitement, so I spray painted the boxes a variety of Rust-Oleum 2X colours.
I filled the boxes with screws and other hardware, and hung them on the wall. I may add some labels at some point, or maybe not. This was a pretty simple one-evening project, and now I’ve got all my screws and stuff organized, close at hand and very easy to access.
instructables.com