DIY dog kennel
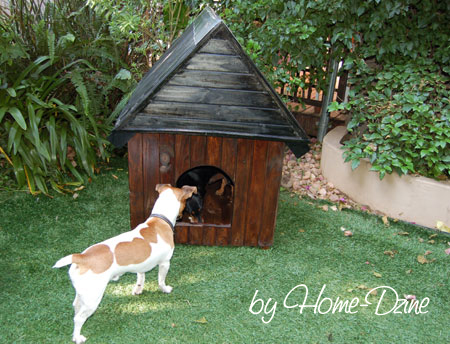
If you have a dog that is kept outdoors during the day, a good dog kennel is essential for keeping them dry in rainy weather, warm in winter, and cool in the summer months. Our dog kennel does all this - and looks good too!
The design of this dog kennel allows for a roof that is built as a separate section from the base frame, allowing for easy access for cleaning as and when required. The two separate sections also make it easier to transport and move the dog kennel around. The raised base ensures that the floor of the kennel stays dry during wet weather, and once sealed with Woodoc 30, the interior remains dry during wet weather.
GOOD TO KNOW
This kennel is sized for a small to medium sized dog. You will need to increase the overall dimensions for a larger dog.
YOU WILL NEED:
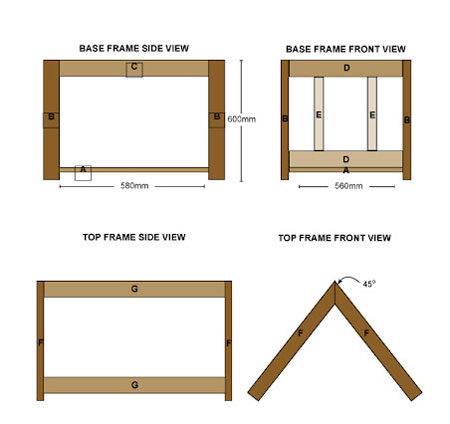
| A | 1 | 648mm | 800mm | laminated pine | |
| B | 4 | 110mm | 600mm | 34mm par pine | |
| C | 2 | 76mm | 580mm | 20mm par pine | |
| D | 4 | 76mm | 560mm | 20mm par pine | |
| E | 2 | 76mm | cut to length | 20mm par pine | |
| F | 4 | 76mm | 600mm | 20mm par pine | |
| G | 4 | 76mm | 900mm | 20mm par pine |
4 packs of pine tongue & groove
4 steel angle braces
Wire nails
Wood glue
Galvanised tin for ridge cap
Woodoc 30 & stain concentrate*
TOOLS
Dremel DSM20 or jigsaw
Pockethole jig
Drill/Driver + bits
Orbital sander
Hammer
Tape measure and pencil
*We used ebony and imbuia wood stain for this project.
HERE'S HOW:
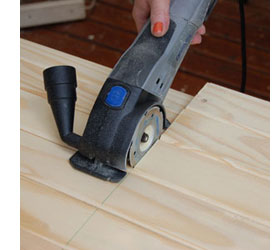
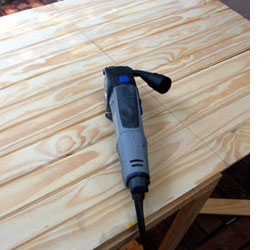
Step 1
Cutting all the pieces to size with a Dremel DSM20 is quick and easy. The tool is easily operated with one hand and cut smoothly through laminated pine. Alternatively, use a jigsaw or circular saw.
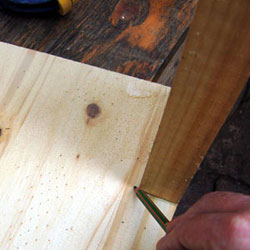
Step 2
On all four corners of the base [A] you will need to cut out a section to allow for the corner posts [B]. Use the corner post as a template to mark out the areas to be removed.
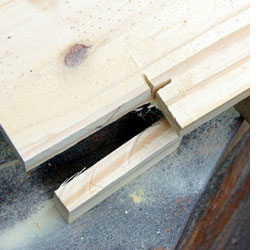
Step 3
Support the base [A] on a couple of battens and cut out the rectangular sections with the Saw Max or jigsaw.
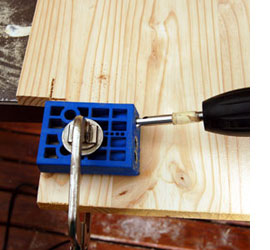
Step 4
Use a pockethole jig to drill recessed holes on each corner of the base [A]. If you don’t own a pockethole jig you will use angle brackets as a replacement.
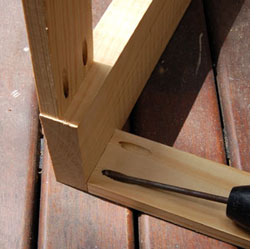
Step 5
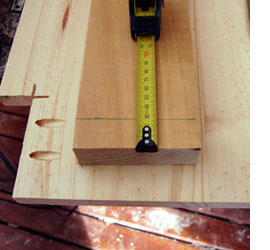
Measure up 30mm on each corner post [B] and draw a line across. This will be the ‘feet’ for the kennel.
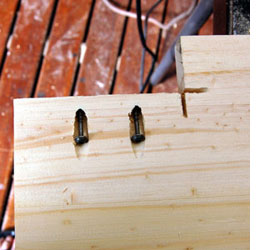
Step 6
Place the corner post [B] in the rectagular corner, making sure that the mark line is visible. Use smooth shank wood screws to attach the leg to the base [A].
Repeat for each corner.
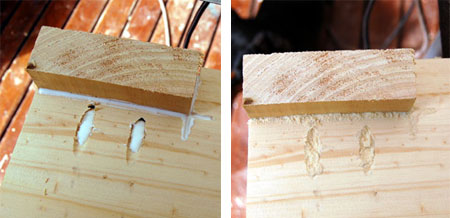
DIY TIP
Collect all the sawdust accumulated during cutting out and use this to fill in pocketholes or small gaps. Apply wood glue and then cover with sawdust for an almost invisible finish.
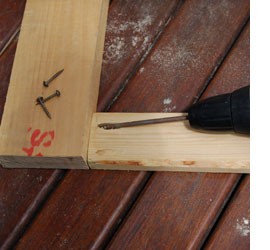
Step 7
Once again using the pockethole jig, attach the front cross beams [D] to the corner post [B], making sure that the beam is flush with the front of the corner post [B]. Use steel corner braces and dowel joints if you don't own a pockethole jig.
Step 8
Repeat this process to attach the side cross beams [C] to the corner post [B].
Step 9
Dry fit tongue and groove panels to both sides. You may need to cut at one end so that the panel fit nicely onto the side frames.
DIY TIP
I found it easier to lay all the tongue and groove panels on the side and then use the Dremel Saw Max to cut to the exactly length.
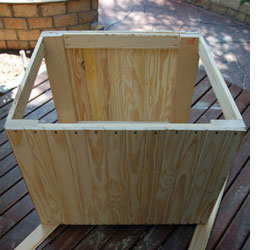
Step 10
Starting at one side, screw all tongue and groove boards to the frame at the top and bottom.
Note: Don’t screw too deep or the boards will split.
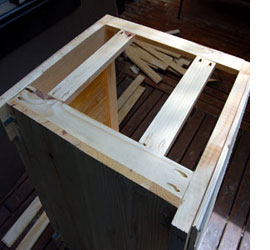
Step 11
Use a pockethole jig to drill holes into the front base beam and add two upright supports [E] and screw these into place.
Step 12
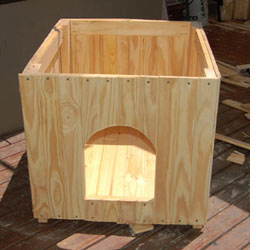
Assemble the front and sides with tongue and groove panels, using a jigsaw to cut out an opening in the front section.
Step 13
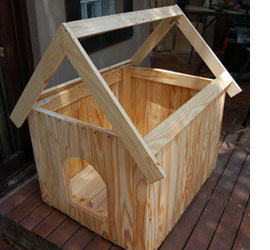
Assemble the roof frame by joining the two front 45-degree cut sections [F] and then attaching the top and side beams [G]. Reinforce the mitred front and back sections with steel angle braces screwed to the back.
Step 14
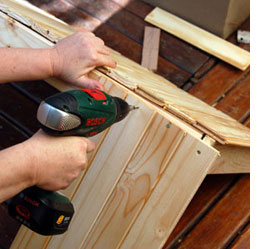
Attach the tongue and groove panels to the roof in the same way as you did for the sides. Allow a 5mm overhang and the front.
Step 15
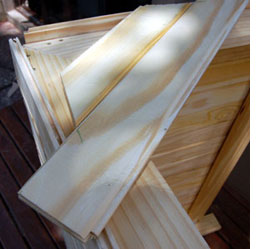
For the front and back of the roof section, tongue and groove panels were individually cut on a mitre saw for a perfect fit. The ends of each panel was then screwed onto the front frame.
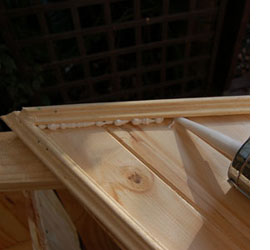
Step 16
As a decorative effect I added pine moulding around the edge of the front section. Use an exterior sealer to fill in any gaps.
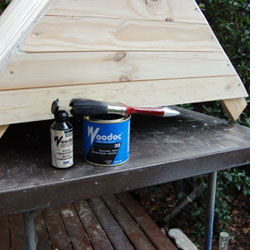
Step 17
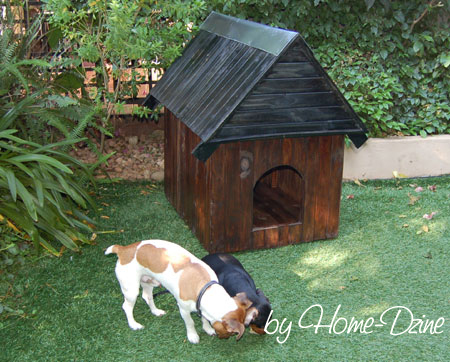
Woodoc 30 with ebony stain was applied to the roof section and Woodoc 30 with imbuia stain applied to the kennel section - both inside and out.
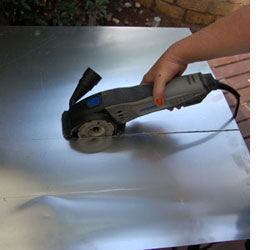
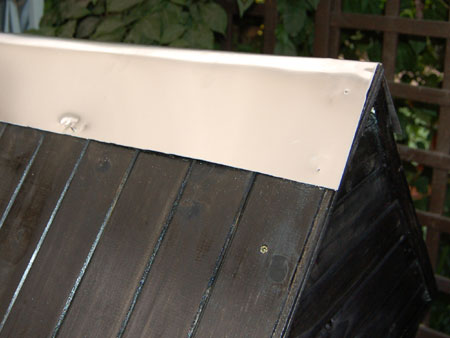
Step 18
A strip of tin was cut as a ridge cap for the roof, to make the kennel waterproof. The Dremel Saw Max makes short work of this task.
Step 19
The ridge cap was fastened onto the top of the kennel with short panel pins. On the inside roof section, thick black plastic was stapled to the underside of the roof to create a completely waterproof kennel. The roof section is easily fitted and removed to allow for easy cleaning, and re-pplication of the sealer, as and when required.