
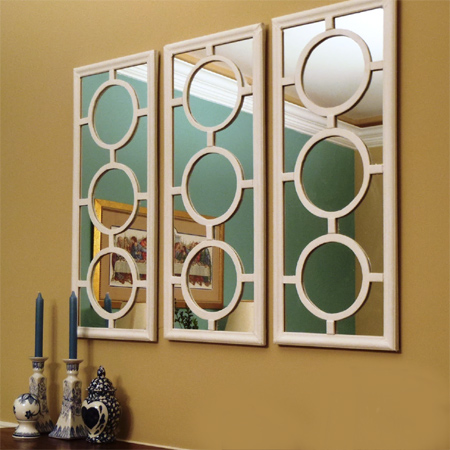
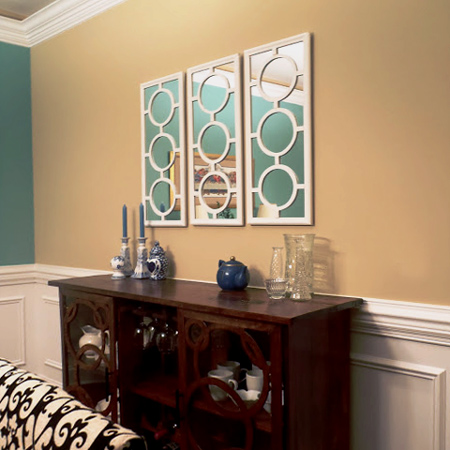
Make decorative mirrors
If you have some time on your hands, making a set of decorative mirrors is not as difficult as you think. A set of three decorative mirrors similar to the ones in this project normally retail at about R2500, but you can make your own for a fraction of the cost.
YOU WILL NEED:
Pine or SupaWood moulding (or skirtings)
6mm plywood or SupaWood
Steel corner braces/brackets and small screws
No More Nails adhesive
Mirror - cut to size
3 picture hangers and small screws
Rust-Oleum 2X satin blossom white
Wood filler
120- and 180-grit sandpaper
Tape measure and pencil
TOOLS:
Drill/Driver + assorted bits
Jigsaw and clean-cut blade
Mitre saw or mitre box and backsaw
Find everything you need for this project at your local Builders Warehouse.
HERE'S HOW:
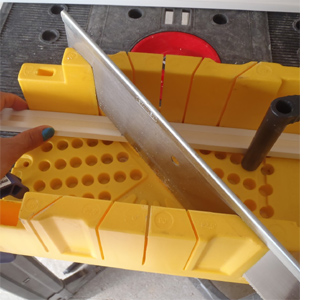
1. To make the mirror frames, use a mitre saw or mitre box and backsaw to cut the moulding for your frames. Each corner is cut at a 45-degree angle. Cut one side and one top and then use these to cut the remaining sections, so that the sections are exactly the same size.
When shopping for moulding for frames, make sure there is a lip or recess at the back of the moulding that will hold the mirror in place once assembled.
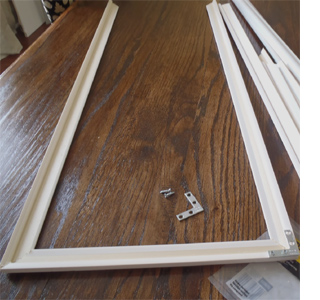
2. The join the cut sections together use a combination of No More Nails adhesive and steel corner braces/brackets.
GOOD TO KNOW
Any gaps at the corners can be disguised and filled in using wood filler. Let this dry before sanding smooth.
3. Measure up the inside of the frames so that you know what size of mirrors to have cut. Take exact measurements, as the mirrors also add strength to the frame.
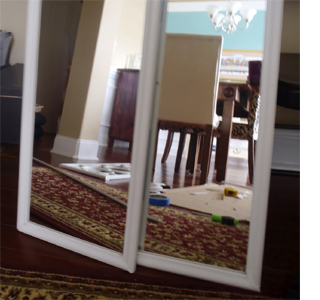
4. Once assembled, paint the frames with Rust-Oleum 2X santin blossom white.
5. To mount the mirrors in the frames, apply a thin bead of No More Nails adhesived around the inside edge of the frame and press the mirror down on top of this. Wipe away any glue that oozes out immediately.

6. On a piece of 6mm plywood or supawood draw out the pattern for your mirror. You don't have to use a circle design - you can experiment with other shapes. Drill 8mm holes in the centres so that you can insert the jigsaw blade and cut these out.
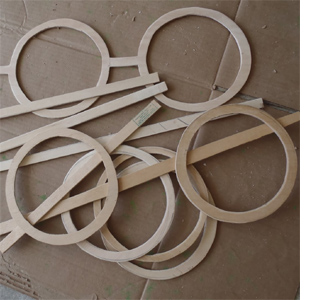
7. After removing the centre section, cut out around the outside of the shapes. Don't stress if the shapes aren't perfect, you can hand sand them with 120-grit sandpaper - or use a Dremel Multitool and sanding disc - to correct any mistakes.
GOOD TO KNOW
It is easier to cut the circle and straight strips separately, rather than as complete pieces.
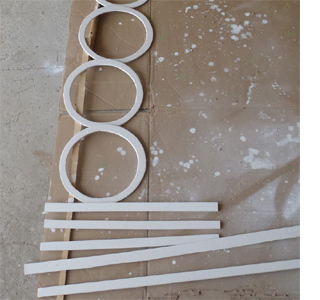
8. Spray the cut sections with Rust-Oleum 2X satin blossom white. Once dry, these are glued onto the front of the mirror with a thin bead of No More Nails adhesive. Finally, add a hanger at the back of each frame for mounting onto the wall.
lazylizonless.blogspot.com