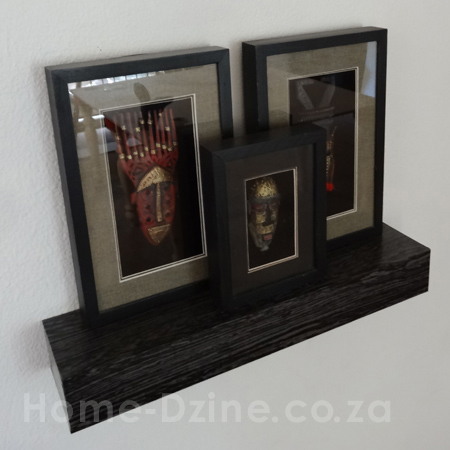
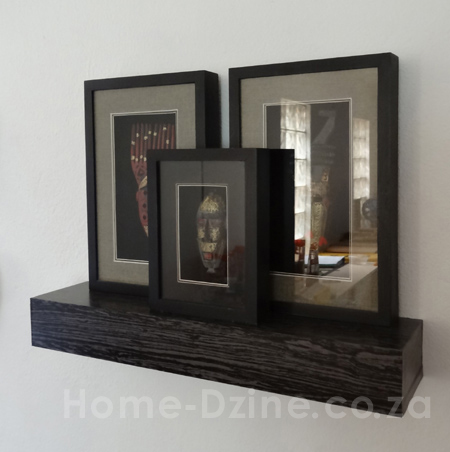
Modern chunky floating shelf
Here’s an affordable and simple way to make an attractive floating shelf. You can easily modify the dimensions to make the shelf longer or thicker.
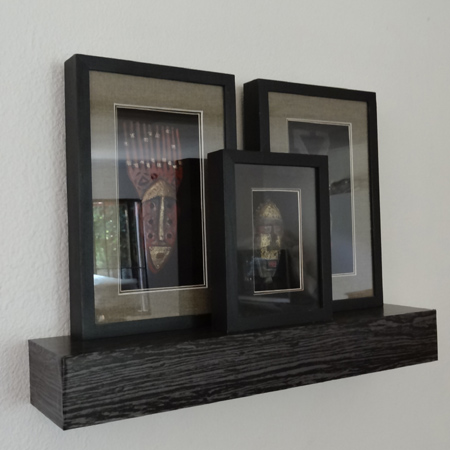
We have finished our floating shelf in a self-adhesive vinyl, and there are several styles to choose from, or you can paint your floating shelf to match your décor. You will find everything you need for this project at your local Builders Warehouse.
YOU WILL NEED:
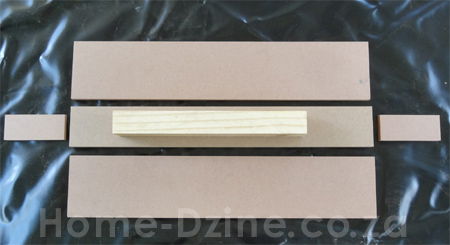
2 of 12mm PG Bison SupaWood 200 x 500mm – top/bottom
1 of 12mm PG Bison SupaWood 100 x 500mm - front
2 of 12mm PG Bison SupaWood 36 x 200mm - sides
1 of 32 x 32 x 400mm PAR pine - batten
No More Nails adhesive
Self-adhesive Contact vinyl
6mm UX nylon wall plugs
55mm screws
TOOLS
Craft knife and cutting mat
Spirit level
12mm spade bit
5mm wood bit
6mm masonry bit
Electronic detector
Drill/Driver and assorted bits
HERE'S HOW:
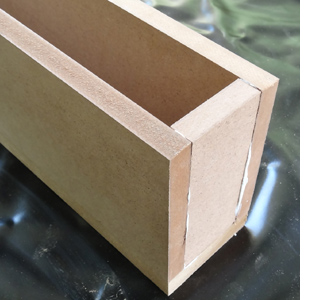
I used some offcuts that I had lying around for this project, cutting them all to size on my mitre saw.
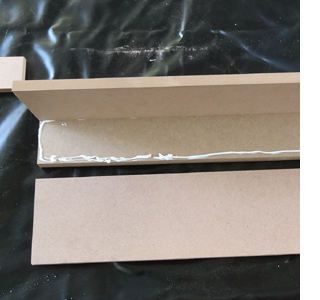
1. Squeeze a bead of No More Nails adhesive around the edge of the front piece and gently press the top section in place.
2. Apply glue to the edges of the sides and press these in place.
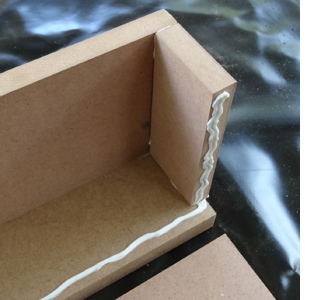
3. Lastly, press the bottom section in place.
4. Make sure that all edges are flush and use a damp rag to wipe away any adhesive that has oozed out of the joins.
5. To press down and ensure a good bond, place something heavy on top of the boards until the glue dries, or for approximately 15 minutes.
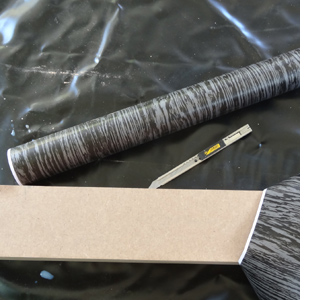
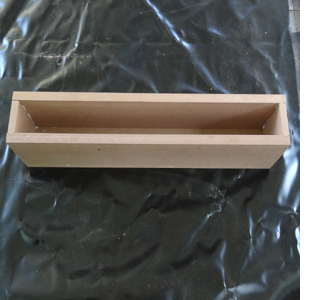
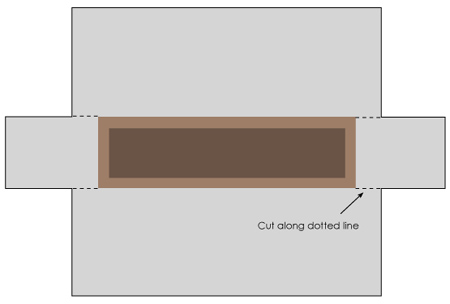
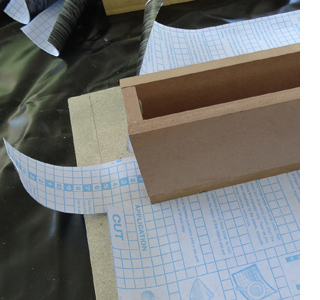
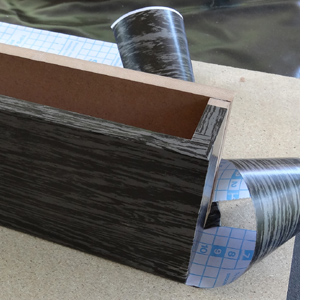
6. Place the assembled shelf onto your contact paper and cut out around the shape. You need enough paper to cover the front, top and back, with an extra 2cm for folding inside at the back.
GOOD TO KNOW
To cover the shelf you need to cut out the covering out of a single piece of self-adhesive vinyl. This will ensure that there are no loose bits that might peel open later on.
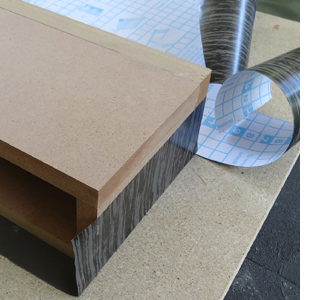
7. Remove the backing from the section of vinyl that will cover the bottom and place the shelf bottom onto this. Fold the side piece over onto the sides as shown.
8. Use your fingers to push any air bubbles to the sides and top. This is important, as they will spoil the look of the finished shelf. Once you have removed all the air bubbles, fold the vinyl over the edge and secure to the inside of the shelf.

9. Remove the backing from the section of vinyl that will cover the front of the shelf. Repeat the process described above to remove air bubbles.
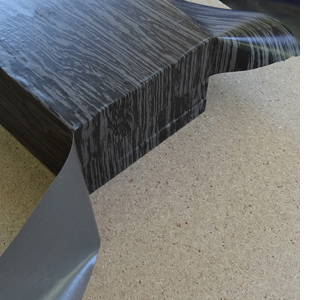
10. Remove the remaining backing to secure this to the top of the shelf, folding over the sides and removing air bubbles before folding over the top and securing to the inside of the box.
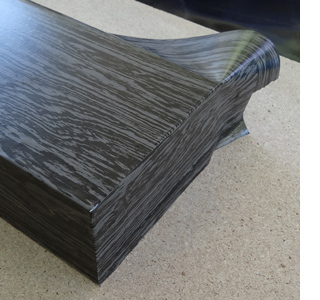
11. Finally, lift up the side flap and secure on the side pieces. Again, this can be folded over the top and secured to the inside of the box.
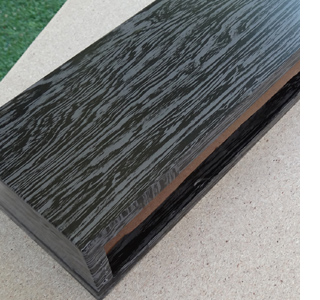
By using a single piece of self-adhesive vinyl and securing on the inside of the box, the vinyl won’t peel off.
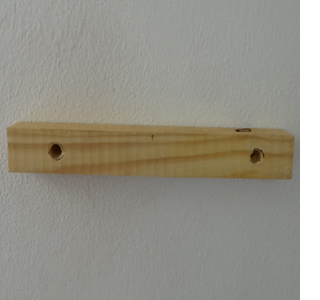
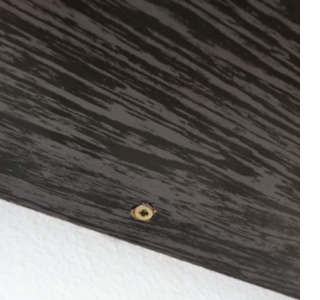
12. To mount the shelf to the wall we are using a pine batten. The batten has two holes drilled into the front. These holes are 12mm diameter and half the depth of the batten and will allow us to use shorter screws for mounting the batten onto the wall. Use a 5mm wood bit to drill a hole in the remaining half depth.
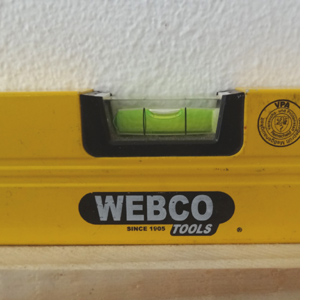
Always use a spirit level when mounting onto a wall. If you mount it and it’s not straight you end up with holes that have to been filled in. Check that the horizontal bubble is between the two markers and then draw a pencil line above and below the batten.
GOOD TO KNOW
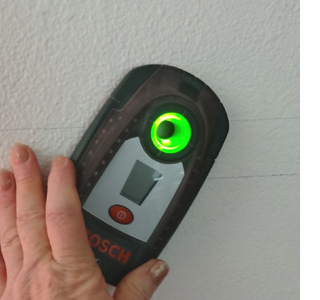
Always use an electronic detector before drilling into walls. These handy tools tell you where power conduits and water pipes are located and will prevent expensive mishaps.
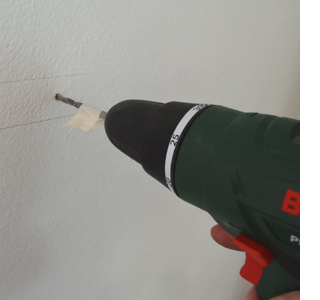
13. Place the batten against the wall between the pencil marks and use a masonry bit to mark where to drill. Remove the batten and drill 6mm holes for the nylon wall plugs. Remember to drill the holes 5mm longer than the length of the plug. A handy tip is to wrap masking tape around the drill bit as a depth guide.
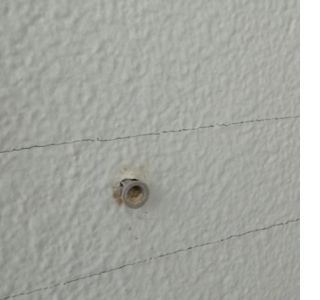
14. Insert the nylon wall plugs and tap with a hammer to ensure they are flush with the surface of the wall.
GOOD TO KNOW
Nylon wall plugs are far stronger than plastic ones, so look for Fischer wall plugs.
15. Now you can insert the screws and attach the batten securely to the wall.
16. Place the shelf on the batten. To secure the shelf to the batten, add a couple of screws through the base of the shelf.