
How to stain a seal a raw pine table
How to give new, inexpensive pine furniture an antique finish for a fraction of the cost than store pre-sealed - if you do-it-yourself.
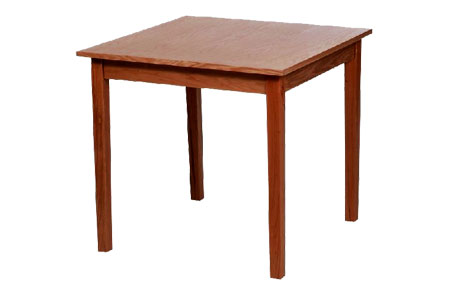
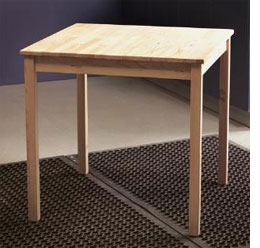
You can save yourself a lot of money by buying raw pine furniture and applying your own stain and sealer. Plus, you can use quality products you know you can trust, and stain in the colour of your choice.
YOU WILL NEED:
220-grit sandpaper
Wood filler - pine
Clean, lint-free cloths
Woodoc gel stain
Woodoc 5 or 10 interior sealer
Woodoc steel wool
Paintbrush
HERE'S HOW:
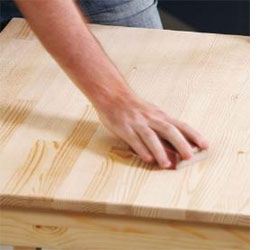
1. Prepare the Table
Most pine furniture needs pre-treatment before it's ready to stain and seal. Fill any exposed nail holes or gaps with wood filler in a pine colour. Lightly sand with 220-grit sandpaper - in the direction of the grain and then wipe with a cloth to remove all traces of dust from the surface.
GOOD TO KNOW
Always sand with the grain, which helps camouflage any scratches.
Whether sanding by hand or using a power tool, always progress from coarser-grit (120) sandpaper to fine (220).
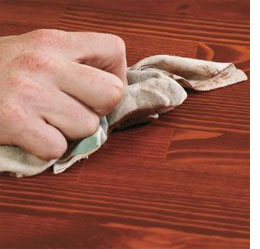
2. Apply Woodoc Gel Stain
Use a soft cloth or sponge to apply the gel stain to the surface if long, even strokes - going with the grain of the wood. Work from one side of the table to the other to prevent overlapping stain. We used Cherrywood Gel Stain.
GOOD TO KNOW
The intensity of colour depends on wood porosity and application of additional layer for a darker colour.
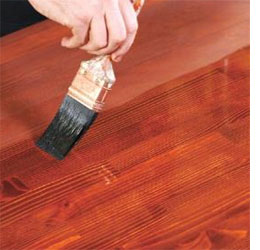
3. Apply Woodoc Interior Sealer
Use a paintbrush to apply Woodoc 5 or 10 interior sealer. Apply with the grain, working from one side to the other in long, even strokes.
Leave it to dry overnight.
GOOD TO KNOW
If the surface appears dry within 10 minutes, re-apply more sealer until the surface remains wet.
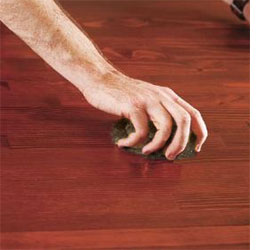
4. Finishing Off
Lightly sand with Woodoc steel wool to remove any excess sealer from the surface and then apply a second coat of sealer. Leave to dry for 6 to 8 hours.
GOOD TO KNOW
The third and final coat ensures ultimate protection and highlights
the natural grain with a luxurious finish.