Make decorative wall shelves
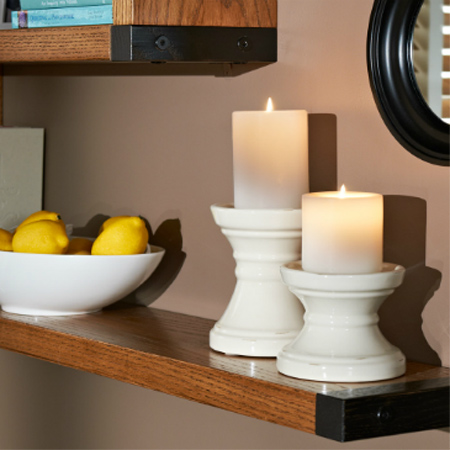
Moving around the furniture in our newly decorated living room meant that the wall where the sofa was originally placed was empty. Since this is the first wall you see when you enter the room, it offered the perfect opportunity to create a feature, and this was done with some do-it-yourself shelves perfect for adding a few favourite accessories to be put on display.
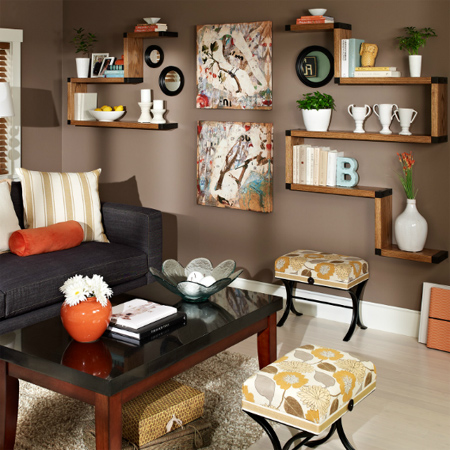
To build this shelf unit you can use inexpensive laminated pine shelving and PAR that you will find at your local Builders Warehouse. To make the shelves look like floating shelves, they are mounted to the wall with steel angle brackets at the back of individual sections.
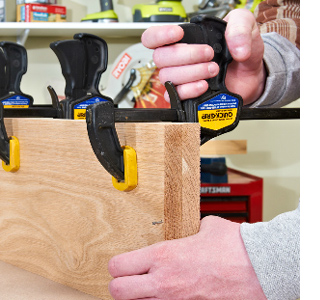
1. Measure up to determine the length of the shelves that you want and double this up. To give these shelves their chunky look, two boards are glued together.
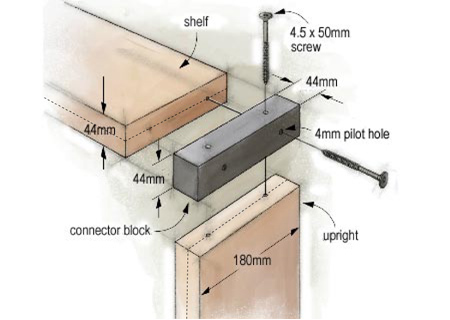
The PAR pine connector blocks are 44 x 44mm and laminated pine shelving varies from 20 - 22mm thickness, so you may have to do a bit of sanding for the shelves and blocks to fit perfectly together.
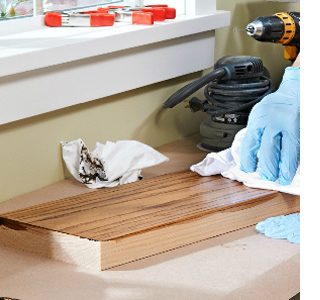
2. After gluing and sanding, stain the shelves before assembly. Woodoc Gel Stain is the no-fuss way to apply various wood stains to pine. The connectors are stained in a darker tint that also ties in with the dark wood on the coffee table.
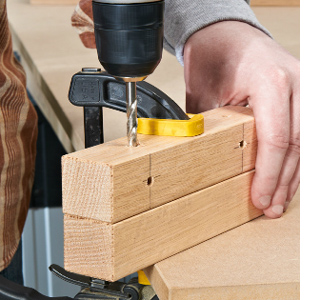
3. On each connector block drill 4mm pilot holes along the sides to be joined to shelves. To know where to drill you holes in the shelf end, insert a screw into the blocks so that only the tip of the screw is visible, and press this against the shelf edge to make a mark for drilling pilot holes.
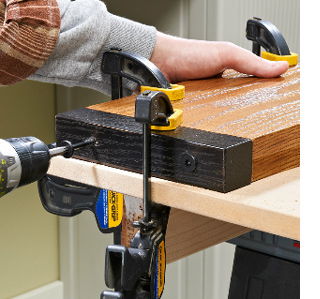
4. Attach the connector blocks to the individual shelves and then join the shelves together in your desired configuration.
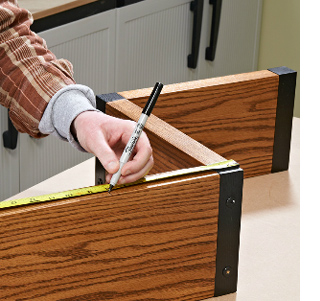
5. Measure and mark to add steel angle brackets to the top and bottom horizontal shelves for mounting onto screws in the wall. Position the angle brackets so that they can be easily disguised by accessories placed on the shelves.