How to make your own beadboard
When looking to make your own cottage, country or shabby chic furniture and accessories, you are going to need some beadboard. But here in SA, finding beadboard is like hunting for lost treasure. If you own a Dremel Trio, making your own beadboard is quick and easy...
In this feature I'm going to show you how easy it is to make your own beadboard using the Dremel Trio and Bit Kit - or you can use a conventional router and router bits.
YOU WILL NEED:
Dremel Trio - or conventional router
Trio bit kit
Edge guide
Steel rule
2 quick clamps
Board - I'm using 3mm white-coated masonite board
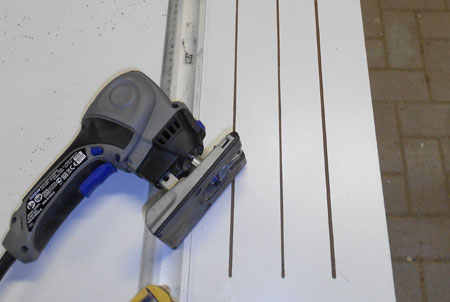
To create the beading, use the bit that has a sharp point. Insert this into the Dremel Trio with only a 2mm tip showing below the base plate.
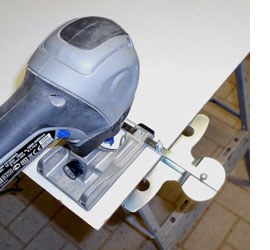
Set up the Dremel Trio by fitting the edge guide. The guide helps you move from top to bottom of the board smoothly and neatly. This is essential when making your own beadboard.
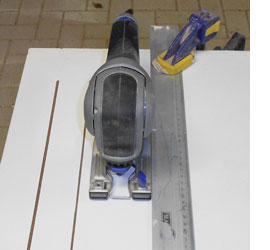
If the guide is not wide enough, or you want to add beading to a much larger piece of board, use a steel rule that is clamped at the top and bottom and used as a line guide. Draw a pencil line along the top and bottom edge where you want to beading to start and end. Place the tip of the router bit above this line; switch on and lower (plunge) the Dremel Trio into the surface of the board and slide forwards. Lift the Dremel Trio as you reach the end marker.
Painting Tip
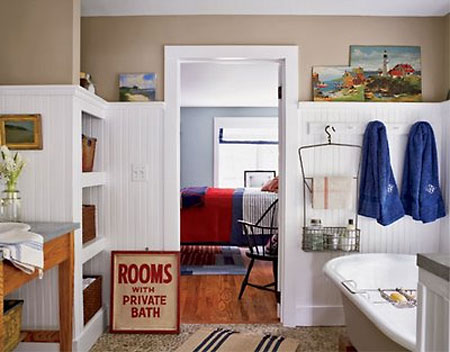
If you are placing beadboard in a bathroom ensure that masonite or supawood is raised at least 5mm from the floor. You can easily cover up the gap by fitting a decorative skirting as part of the design.
Paint cut pieces with two coats of water-based gloss or enamel prior to assembly to provide protection from water ingress. Once assembled, apply a final coat of water-based gloss or enamel.
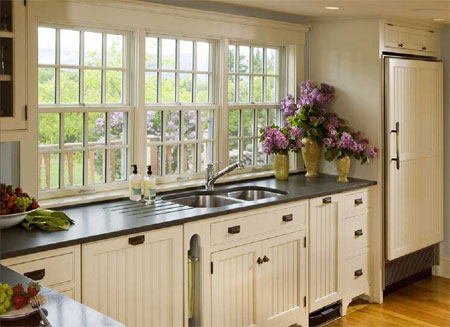
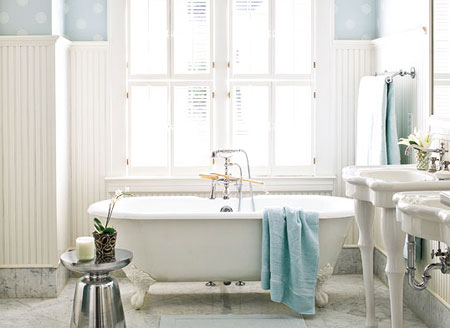
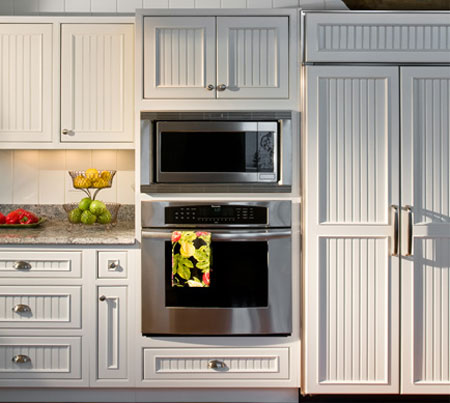
Being able to make your own beadboard allows you even more creativity with home improvements and renovations. Custom wallpanelling, cabinets and more are yours for the making.